Categories
Apple Projects Retro Computing

OpenBSD + iMac G4

Fun fact: You can put the latest version of OpenBSD on a PPC 32-bit processor like the G4. Fun to dual boot with Mac OS 9 if you want a modern, secure computer!

Some notes

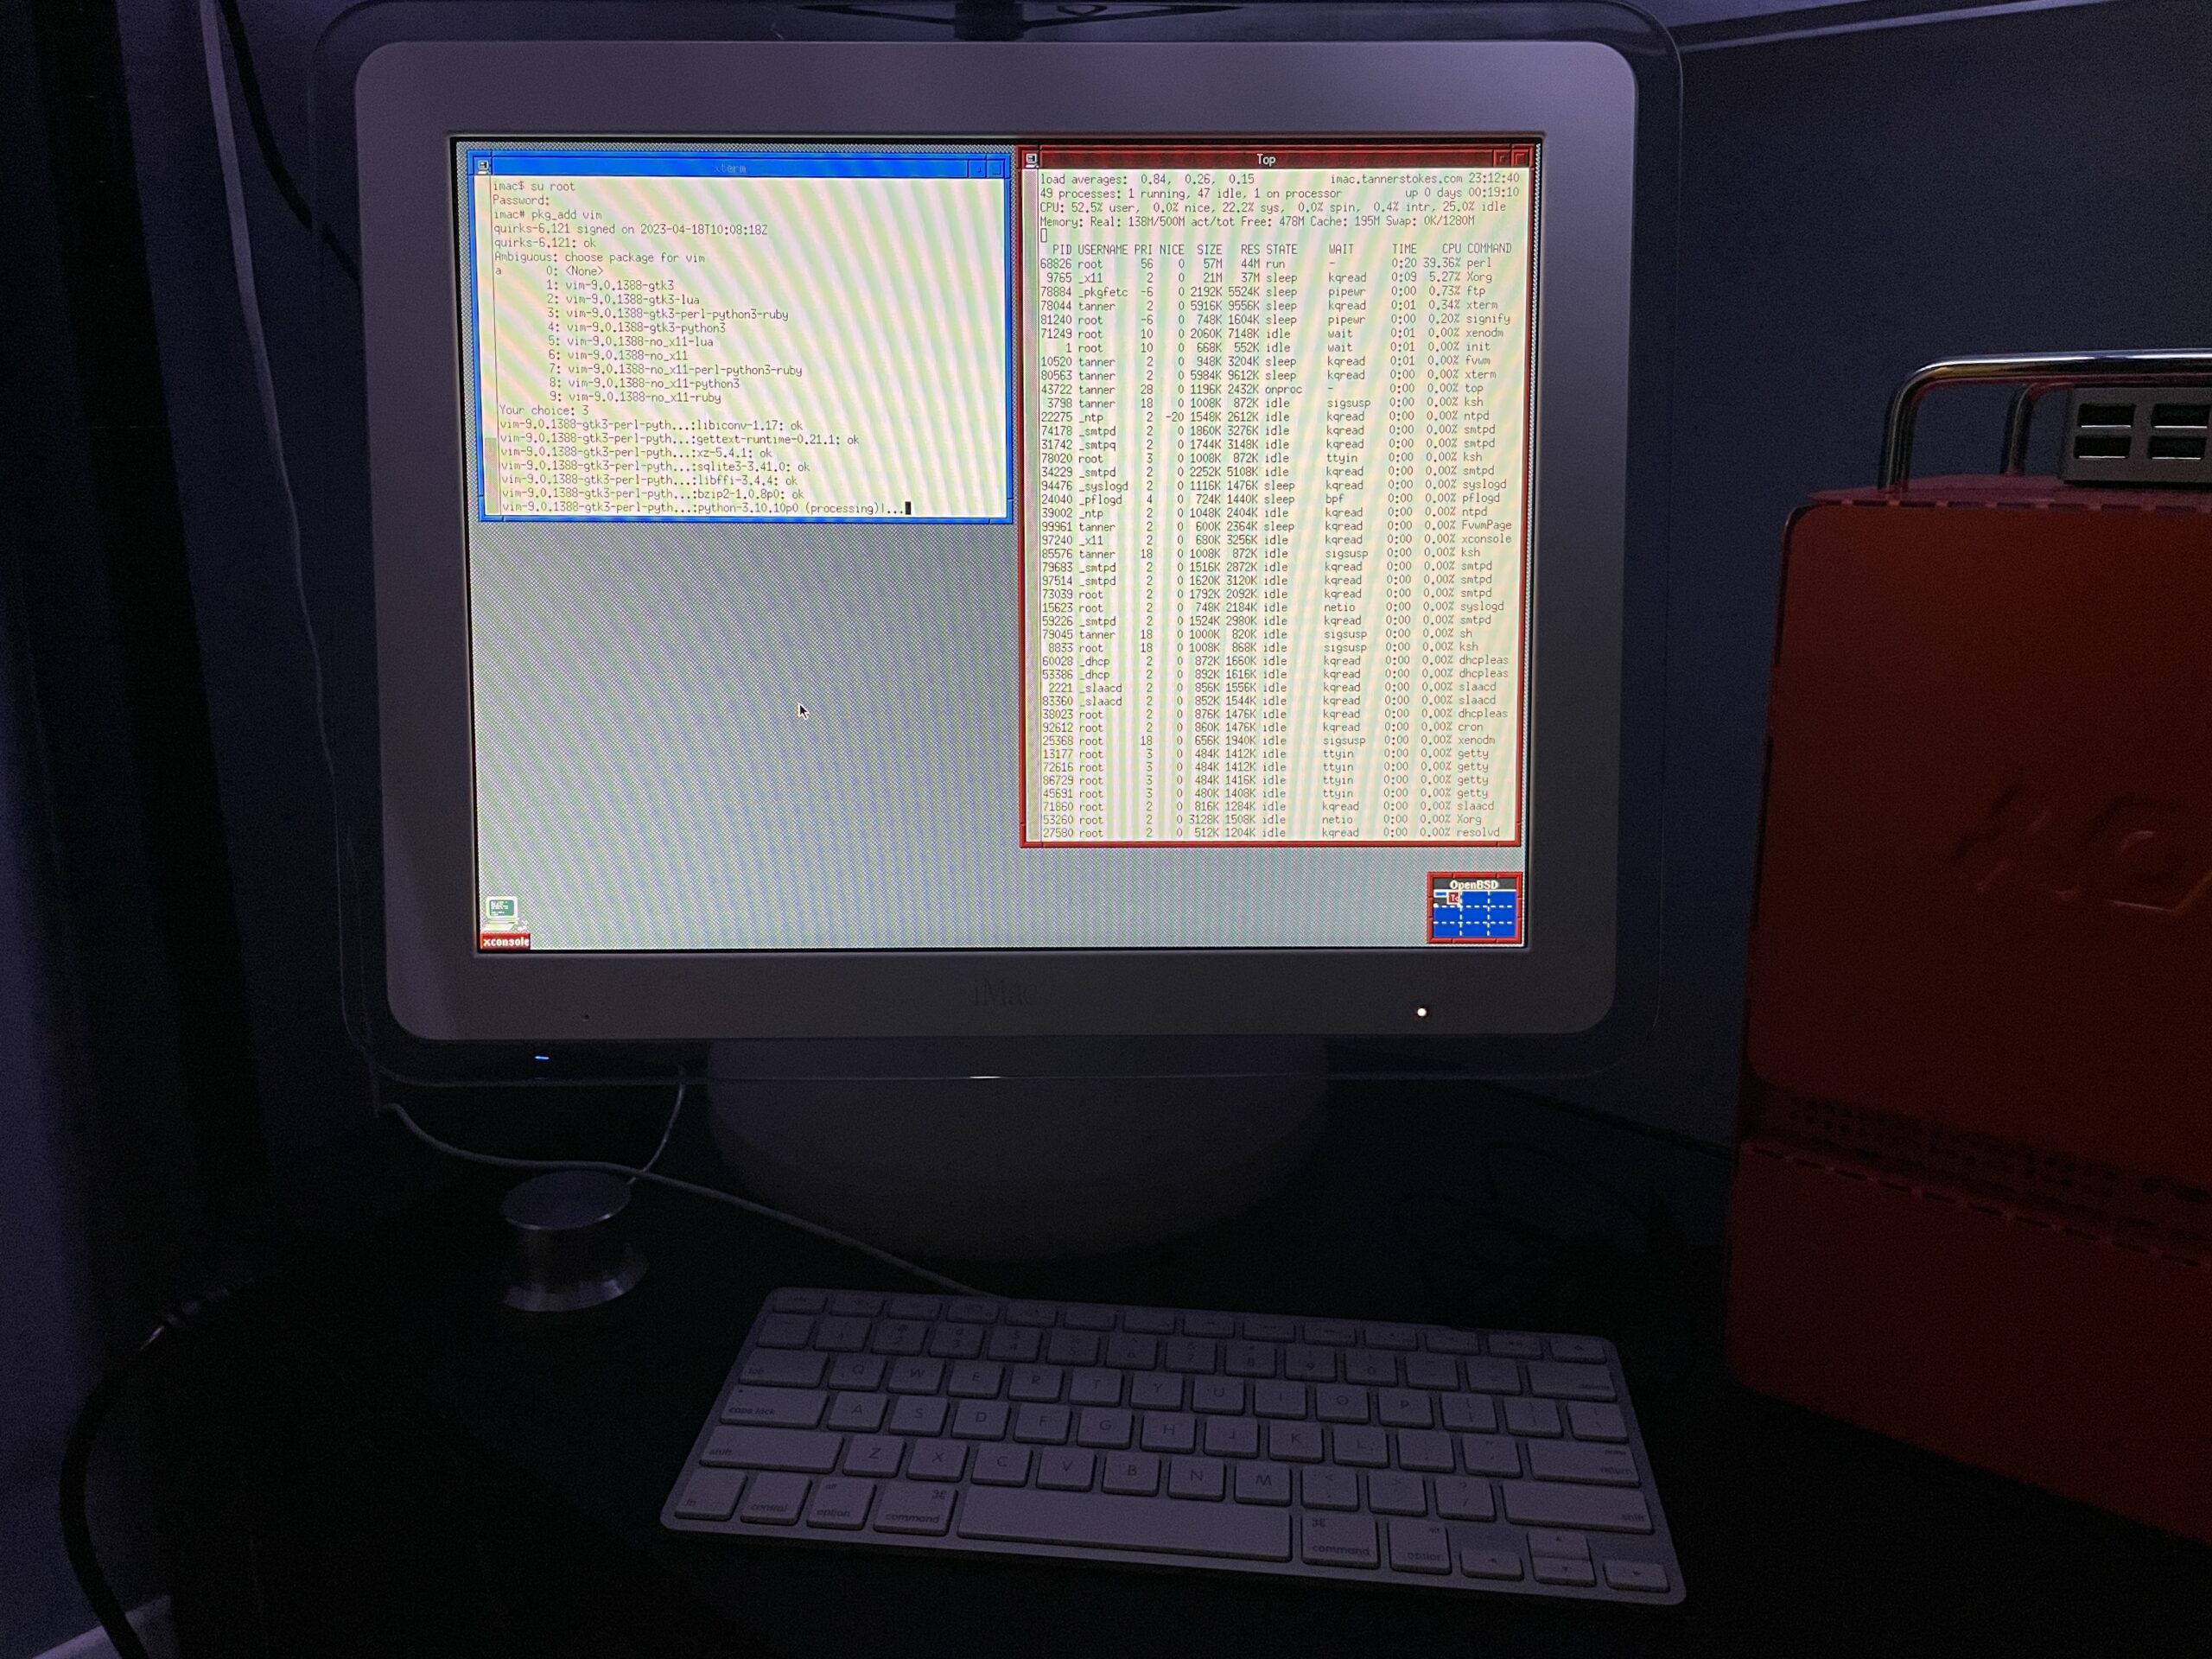
The OpenBSD docs are really good and thorough. Open Firmware needs some tweaking if you want to boot directly into OpenBSD, so this is what I did after booting into it with command+option+o+f:

setenv auto-boot? True
setenv boot-device hd:,ofwboot
reset-all

I failed to get a USB install working

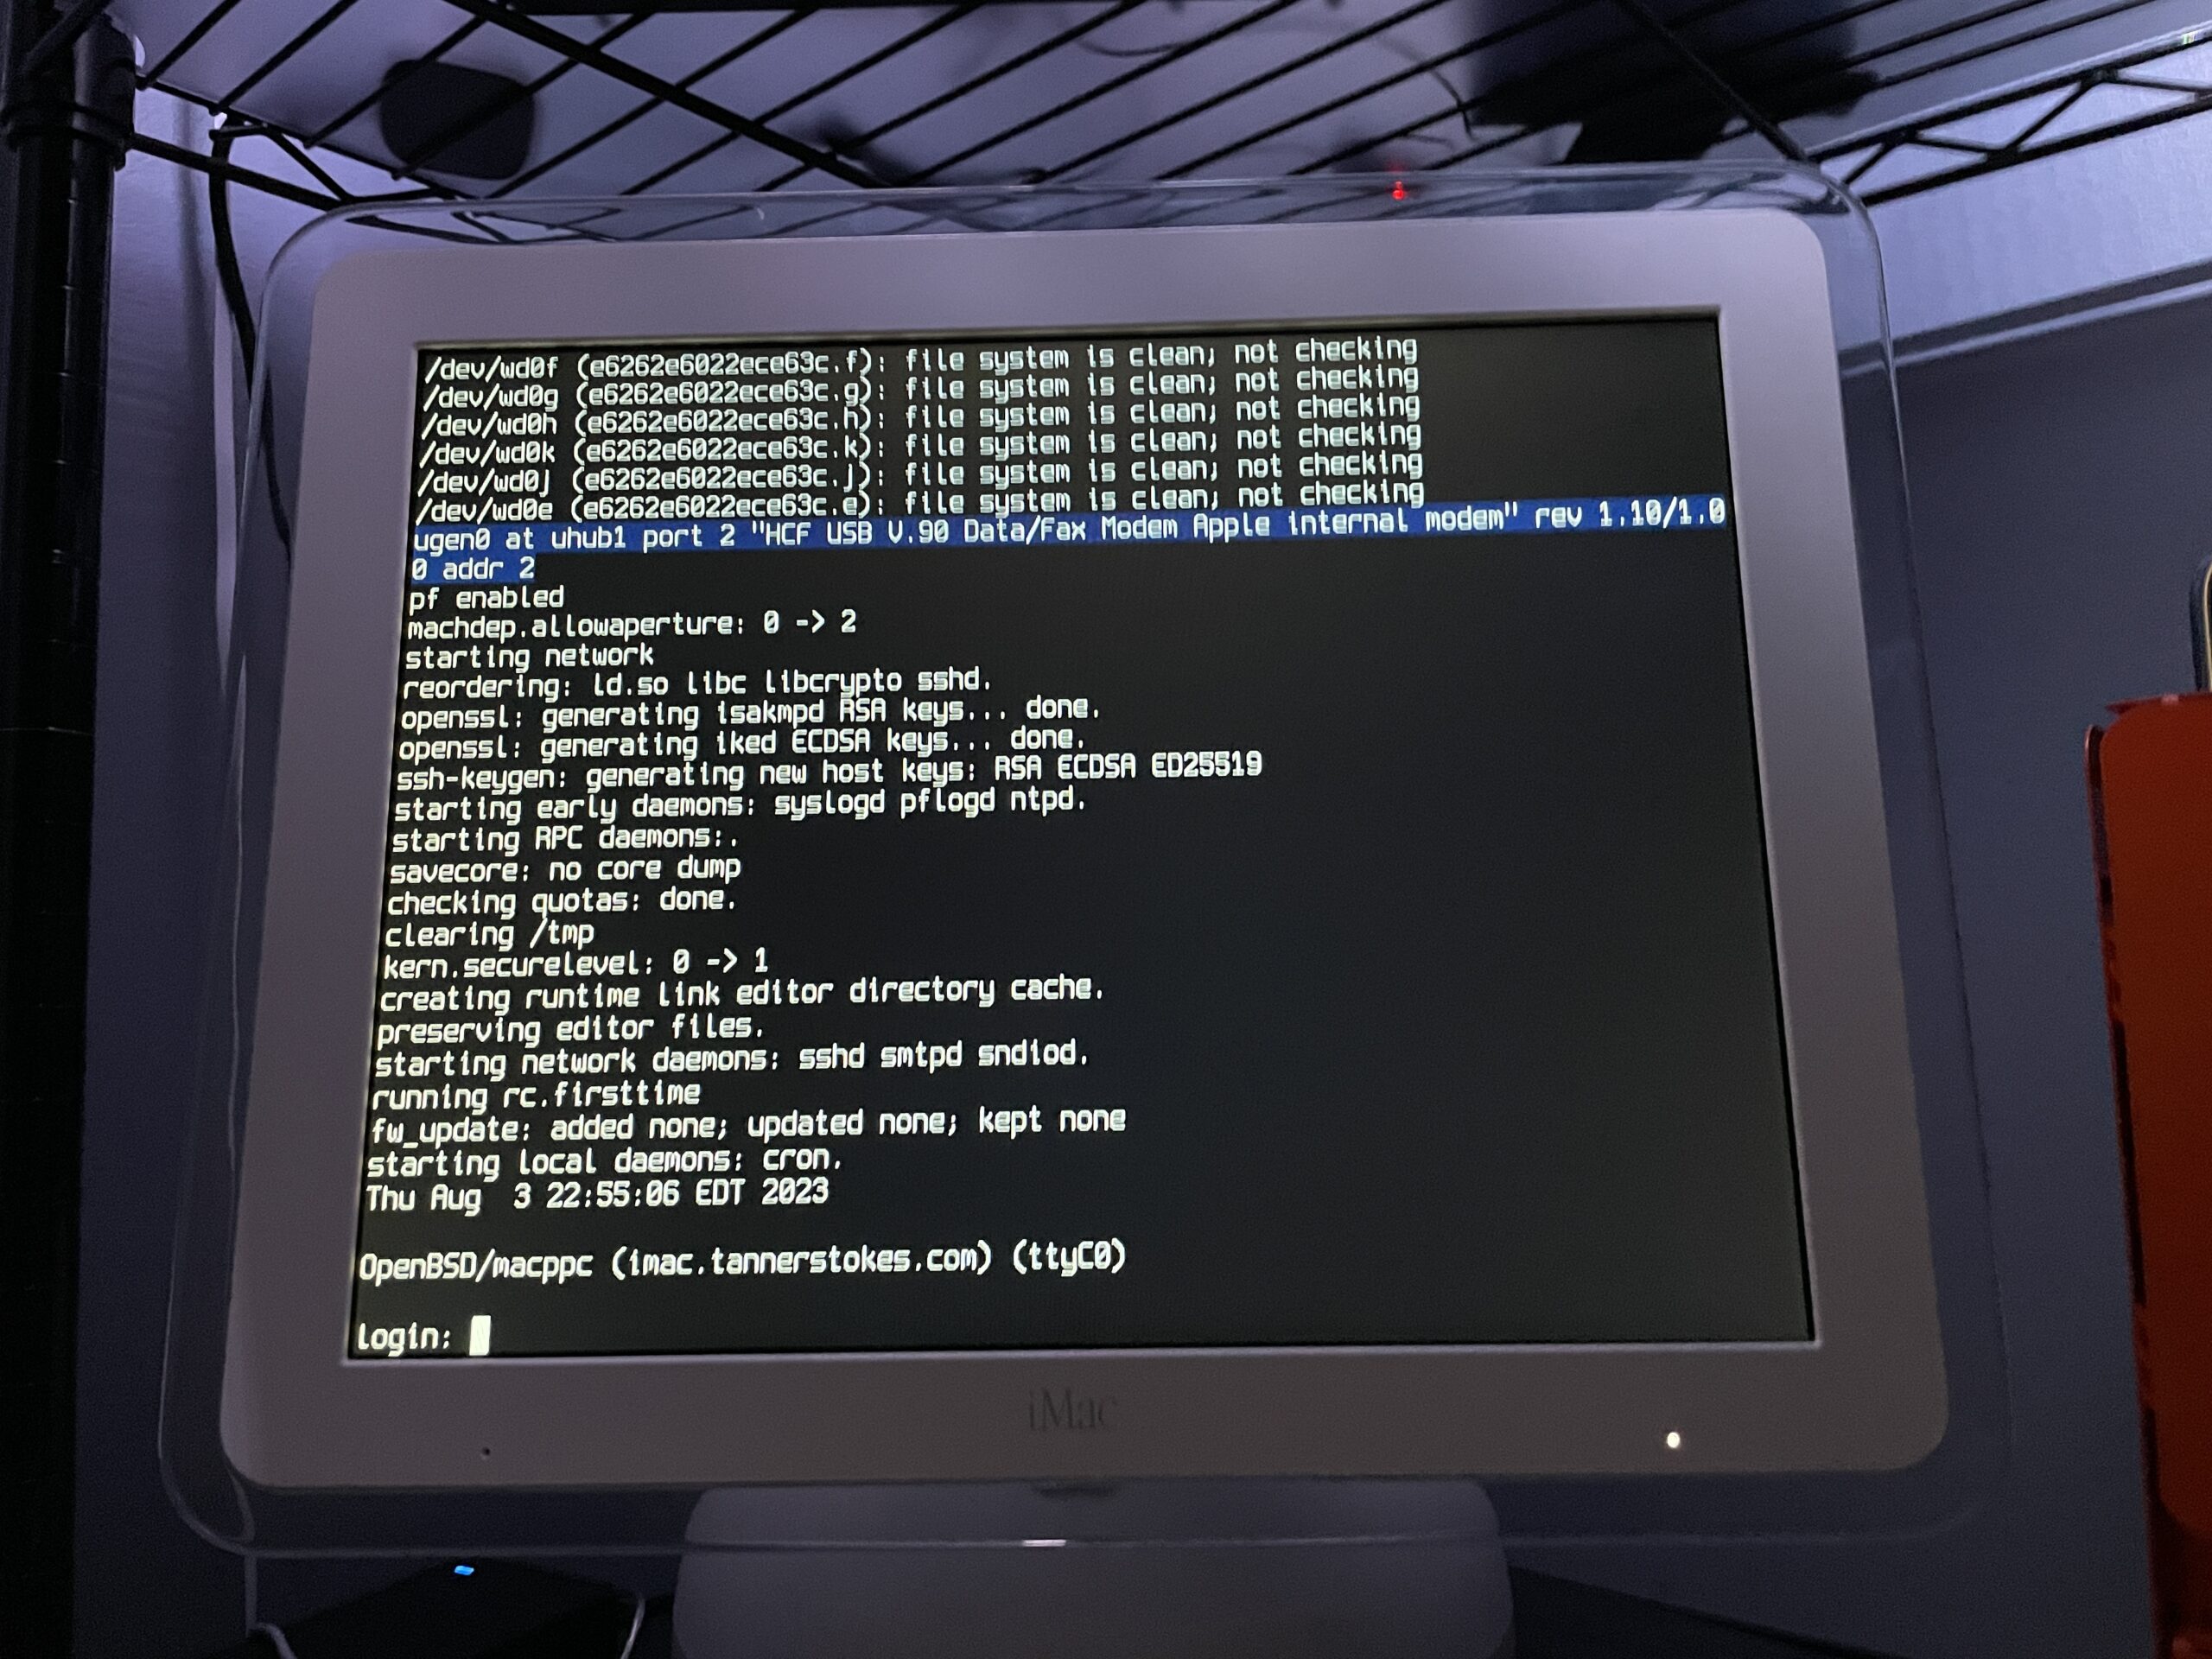
Initially I didn’t want to mess with the internal drive of the iMac since I had both Mac OS 9 and Mac OS X installed, so I tried to install to a USB drive. Although the installation succeeded (albeit extremely slowly due to USB 1.1), the boot into the system failed due to the following error:

panic: rootfilesystem has size 0

Looking at the trace of the kernel boot process it was evident why: Even though we installed the OS to sd0 (the mounted USB device), the kernel kept trying to mount wd0 which is the internal IDE drive.

I tried what I knew:

  1. Tweaking the boot-device variable in Open Firmware
  2. Using a different USB slot
  3. Booting into the recovery kernel (bsd.rd) and mounting the USB to see if I could tweak fstab

Supposedly if we get to the boot prompt we can pass a -a flag for the root device (docs), but I couldn’t figure out how to get there.

Ultimately I decided to install OpenBSD to the main internal drive for now. If I get a hankering for Mac OS 9 I still have the trusty Power Mac G4.

The best setup will eventually be a dual or triple-boot. Trying to make the super-slow USB drive work is probably a terrible idea unless we plan to run it in a ramdisk mode the entire time.

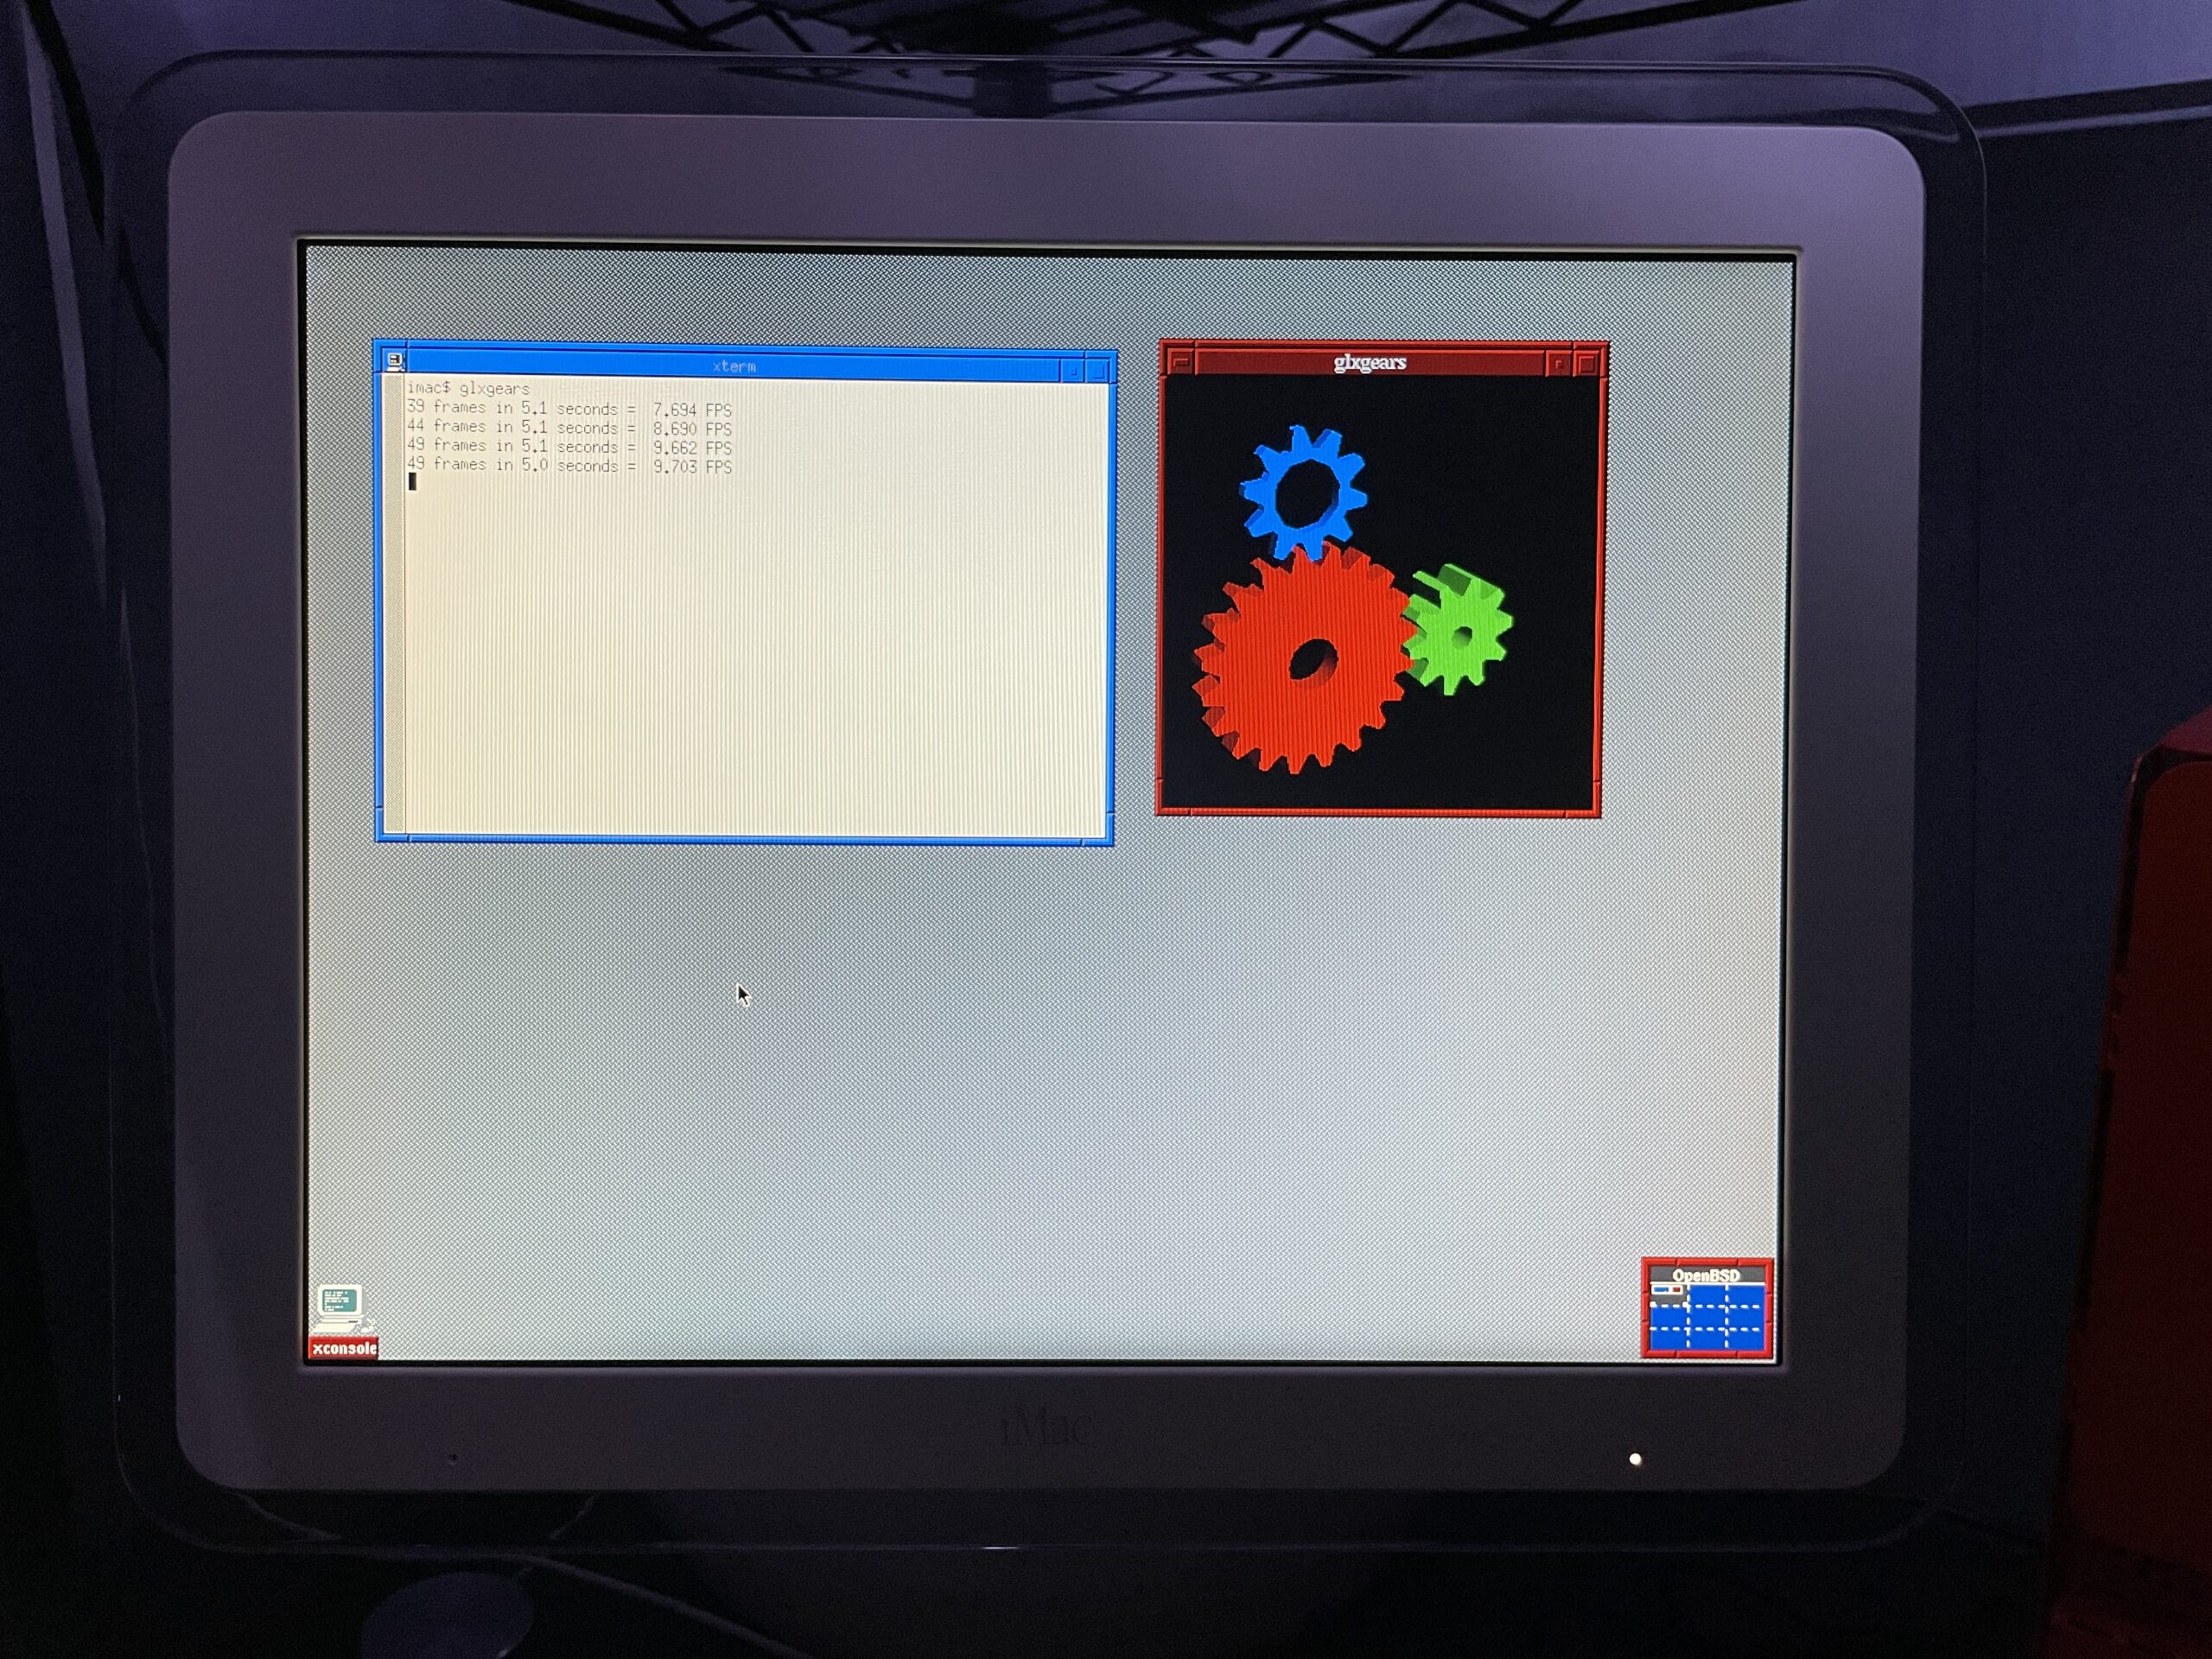
The graphics driver kinda works

As you can see from the glxgears output above graphics are not accelerated. I’ve mostly played with the machine over SSH in a headless state so this hasn’t bothered me too much. I did glance at dmesg and saw that the expected driver, nv, was loaded and detected the card so I’m not totally sure what’s happening. I’m having flashbacks of when I used to spend hours tweaking xorg.conf and that may be on the horizon again.

If just running the console we still want the screen to sleep and I found I needed to make a couple tweaks for that to work.

First I needed to shut down X Windows:

rcctl stop xenodm

Then I needed to disable output activity from waking the screen:

display.outact=off

After that the screen would shut off after however many milliseconds were set for display.screen_off.

Copying over /etc/examples/wsconsctl.conf to /etc/ is a great starter config.

Oh yeah, it runs DOOM

(Very poorly, presumably until the graphics driver is tweaked)

Running Chocolate Doom was painful. Even the setup utility had a good second or so input lag!

Categories
Gaming Retro Computing

Terminal Velocity + CH Flightstick Pro

Categories
Arduino Coding Fun iOS Projects

Flip Dots! The technical bits.

I first want to acknowledge that I did the thing that I try to never do: I showed off a snazzy project, left some hints here and there of how it worked, said I would follow up with full details… and never did. That’s lame.

I’ve had multiple people reach out for more info and I’m glad they did, since that’s pushed me to finally get some repos public and this belated follow-up written. Apologies!

To jump straight to it, I’ve published these two repos:

Hardware

Let’s first go over the hardware involved. The most important piece, of course, is the Alfa-Zeta XY5.

In my case, the 14×28 board was made up of two 7×28 panels connected together via RJ-11.

The panels are pricey, but they can be thought of as “hardware easy-mode”. Alfa-Zeta has done the hard job building the controller that drives the hardware and all we have to do is supply power and an RS-485 signal that abides by their protocol.

If you purchase a panel from them there are two important documents to request:

  1. The main manual that describes the specs, features, and things like the DIP switch settings.
  2. The protocol for sending commands to the controllers (which is really simple).

These can easily found by searching around, but if you own a panel the company should supply them. Most of the protocol can be deduced by looking at open source code.

Components

The 24V -> 5V converter isn’t necessary if you supply power to the MCU independently, say through a USB power adapter.

Connection overview

  • 24V DC goes to both panels
  • 24V DC goes to the step-down converter, 5V DC goes to the 5V input of the NodeMCU
  • NodeMCU is wired to the RS-485 to TTL converter
    • VCC -> 3.3v
    • Gnd -> Gnd
    • DE -> 3.3v pulled high because we're always transmitting
    • RE -> 3.3v pulled high because we're always transmitting
    • DI -> TX[x] x being 0 or higher depending on board
    • RO -> RX[x] most boards only have the main serial IO, but boards like the Mega have multiple
  • RS-485 -> Only one panel controller – not both

An Arduino Mega is driving the board in this photo.

Software

The MCU

See https://github.com/twstokes/flipdots for the code that runs on the MCU.

At the moment there isn’t much to it – you can either compile the firmware to run in a mode that writes data from UDP packets to the board, or you can draw “locally” using Adafruit GFX methods.

See the README in the repo above for more details.

iOS / iPadOS / macOS

See https://github.com/twstokes/flipdots-ios for the code that runs on these devices.

Semi-interestingly I utilized Adafruit GFX again, this time via swift-gfx-wrapper to draw to the board over UDP. It’s hacky and experimental, but that’s part of the fun.

See the README in the repo above for more details.

Categories
Technology Video

Controlling monitor inputs with DDC

I’m really happy that most modern monitors support DDC so that we can programmatically change settings rather than go through clunky OSDs.

The problem

At my desk I have my Mac Studio and my latest gaming PC and they both share a triple monitor setup. When I want to switch the monitors between the two, I either need to:

  1. Turn on auto-switching mode
  2. Manually change the input x 3

Auto-switching kinda worked, but has quirks I can’t live with. One is when I’m playing a game on the PC and the Mac wakes up for whatever reason, the PC receives a signal that hardware has been connected or disconnected and the screen freezes. It seems like a firmware bug to me – if an input is being actively used the others should be ignored.

The manual route is pretty bad as well. The M32U‘s input switchers are on the back of the monitor, which is pretty much the worst spot possible. Only the far right monitor is slightly more convenient to access.

How DDC solves it

By using m1ddc on the Mac we can easily script a way to switch between the two machines. 🎉 This means I can create a keyboard shortcut to toggle the inputs, a physical button, or even run it from an external computer. Hooray!

Edit: Now with web appi-ness!

I threw together a quick Flask app that can be accessed from any device on my network to switch inputs. Neato!

Here’s a GitHub repo for it.

Note: Once I connect the left monitor the same way I connect the other two, the transition should be more in sync. Currently it’s a little slower due to the HDMI connection.

Categories
Scripts Tutorials

ZFS health check in Grafana / Telegraf

I recently set up a ZFS mirror on my home server and found myself needing a way to be alerted if something went wrong. That same server runs Grafana and InfluxDB, and collects various metrics from my other machines (and itself) via Telegraf. Since I already have email alerts set up with that stack, it felt simplest to use it for this solution.

A really simple script

#!/bin/sh

# Compares the expected zpool status output with the actual status.
# Copy to a global location such as /usr/local/bin so it's accessible to Telegraf.
# Note: This can provide a false-postive if the output of the command changes, which is not guaranteed to be stable.

# Returns 0 for "false" (not healthy), returns 1 for "true" (healthy)
# Chose using integers over booleans due to how Grafana handles alerts.

OUTPUT="zfs_status,host=[HOSTNAME HERE] healthy="

if [ "$(zpool status -x)" != "all pools are healthy" ]; then
	OUTPUT=${OUTPUT}"0i"
else
	OUTPUT=${OUTPUT}"1i"
fi

echo $OUTPUT

There are similar scripts floating around on the Internet so I used those for inspiration. The only difference with mine is that it outputs the InfluxDB Line Protocol.

host= is just a convenient tag where you could put your box’s hostname (or call the hostname command and interpolate it).

Everything else should be explained by the script, including the possibility of false positives. Feel free to rename the zfs_status field to anything you wish. In my instance I use tws_zfs_status to differentiate custom fields I’ve created and possibly prevent namespace conflicts.

The Telegraf side

Telegraf has a super handy exec input where you can run arbitrary commands, so that’s what we use:

[[inputs.exec]]
  commands = ["sh /usr/local/bin/zfs_check.sh"]
  timeout = "5s"
  data_format = "influx"

When Telegraf collects data from its inputs it will write a one or a zero for its zfs_status field.

And finally, Grafana

The basic setup in Grafana is:

  • Stat type
  • Grab the last value
  • Map 1 to “Healthy” / green, 0 to “Unhealthy” / red
  • Set up an alert for when the value is less than 1

That’s basically it! It’s a really good idea to test it by temporarily tweaking the script to output a 0 and waiting for an email to arrive. 🙂

Categories
Apple Coding Fun Nerd Sniped Retro Computing

DOOM on the Apple Watch

I know this has been done, but I hadn’t done it, so it was my weekend nerd snipe. (no game audio)

This was a lot easier thanks to doomgeneric!

Basic breakdown

Since doomgeneric exposes the framebuffer, I throw that into an SKTexture and that gets added to a node in the SpriteKit scene, which is subclassed to override the update method to call doomgeneric_Tick(). Objective-C is used for interop between C and Swift, and fulfills most of the functions listed here. SwiftUI ultimately outputs the scene.

Very few tweaks needed to be made in doomgeneric itself.

They were basically:

  • Conditional compilation for a few calls that watchOS didn’t support (and we didn’t need).
  • Tweaking the 32-bit color bit offsets.
  • Handling a crash related to passing in arguments.
    • On watchOS we pass the absolute path of the WAD file in the main bundle to the engine.
  • Adjusting some SDL2 includes so headers could be found.

GitHub repo: https://github.com/twstokes/AppleGenericDoom

Categories
Apple Retro Computing Video

It’s the little things

Since restoring a couple Mac OS 9 machines and playing with them, I’ve noticed some nice touches in various places.

One is that when you have the Platinum Sounds enabled and drag a window, the sound effect will pan in stereo with the window’s horizontal location.

I probably didn’t pick it up very well by recording with my iPhone, but just imagine it gets louder on the speaker the window is closest to. Pretty cool!

Categories
Places

Houston 2023

We visited the Space Center and had some great BBQ, Tex-Mex, and Vietnamese food. 😋

Categories
Commodore 64 Fun Retro Computing

My C64 Setup

I haven’t spent as much time on my Commodore 64 as my other retrocomputers (which can seem modern in comparison), but my explorations over time are trending towards older hardware. I can only assume that my final stop will be an abacus.

I have three C64s all passed down from my dad. One had been devoted to a home alarm system (of course we still have the schematics), but by the time I came around it was only used for playing half-working totally not bootlegged games.

A sampling of some favorite software from my childhood:

Retrocomputing plans

I hope to be able to fully restore at least one of these machines this year. The one pictured above powers on and is fully functional, but some flakiness at startup tells me that it’s overdue for a recap.

One not-so-smart thing I did when I unpacked all of this equipment was powering it up with the original C64 power supply. That’s a risky move and likely to damage the C64 with bad power, so I’ve since replaced it with a new modern one (see the parts list).

I’m not interested (nor do I have the space) to use these machines in the “pure way” with a CRT and 1541 drives, although I have both. Maybe down the road that would be fun, but for now I’m utilizing modern gadgets from the wonderful C64 aftermarket community.

Current parts list

Next steps and ideas

  • Restore one or more C64s by recapping / adding heatsinks
  • Fix my joysticks / get new ones
  • Play with the WiModem232 and connect to the Internet
  • Play with the user port breakout and connect it to an Arduino
Categories
Apple Projects Retro Computing

Power Mac G4 + SFX Power Supply

The Power Mac G4 didn’t get the “windtunnel” nickname for nothing – its power supply is quite loud. Thankfully with the help of an adapter, a standard ATX (or SFX) power supply can replace it. I love putting “modern” power supplies into my retro machines to get less noise and clean power.

I went with a Corsair SF600 from my previously built Mini-ITX machine and it’s worked really well due to its small form factor. Although it’s rigged in place with two wire ties it’s not going anywhere. 😀

Power Mac G4 with original power supply
Corsair SF600 installed

Resources: