
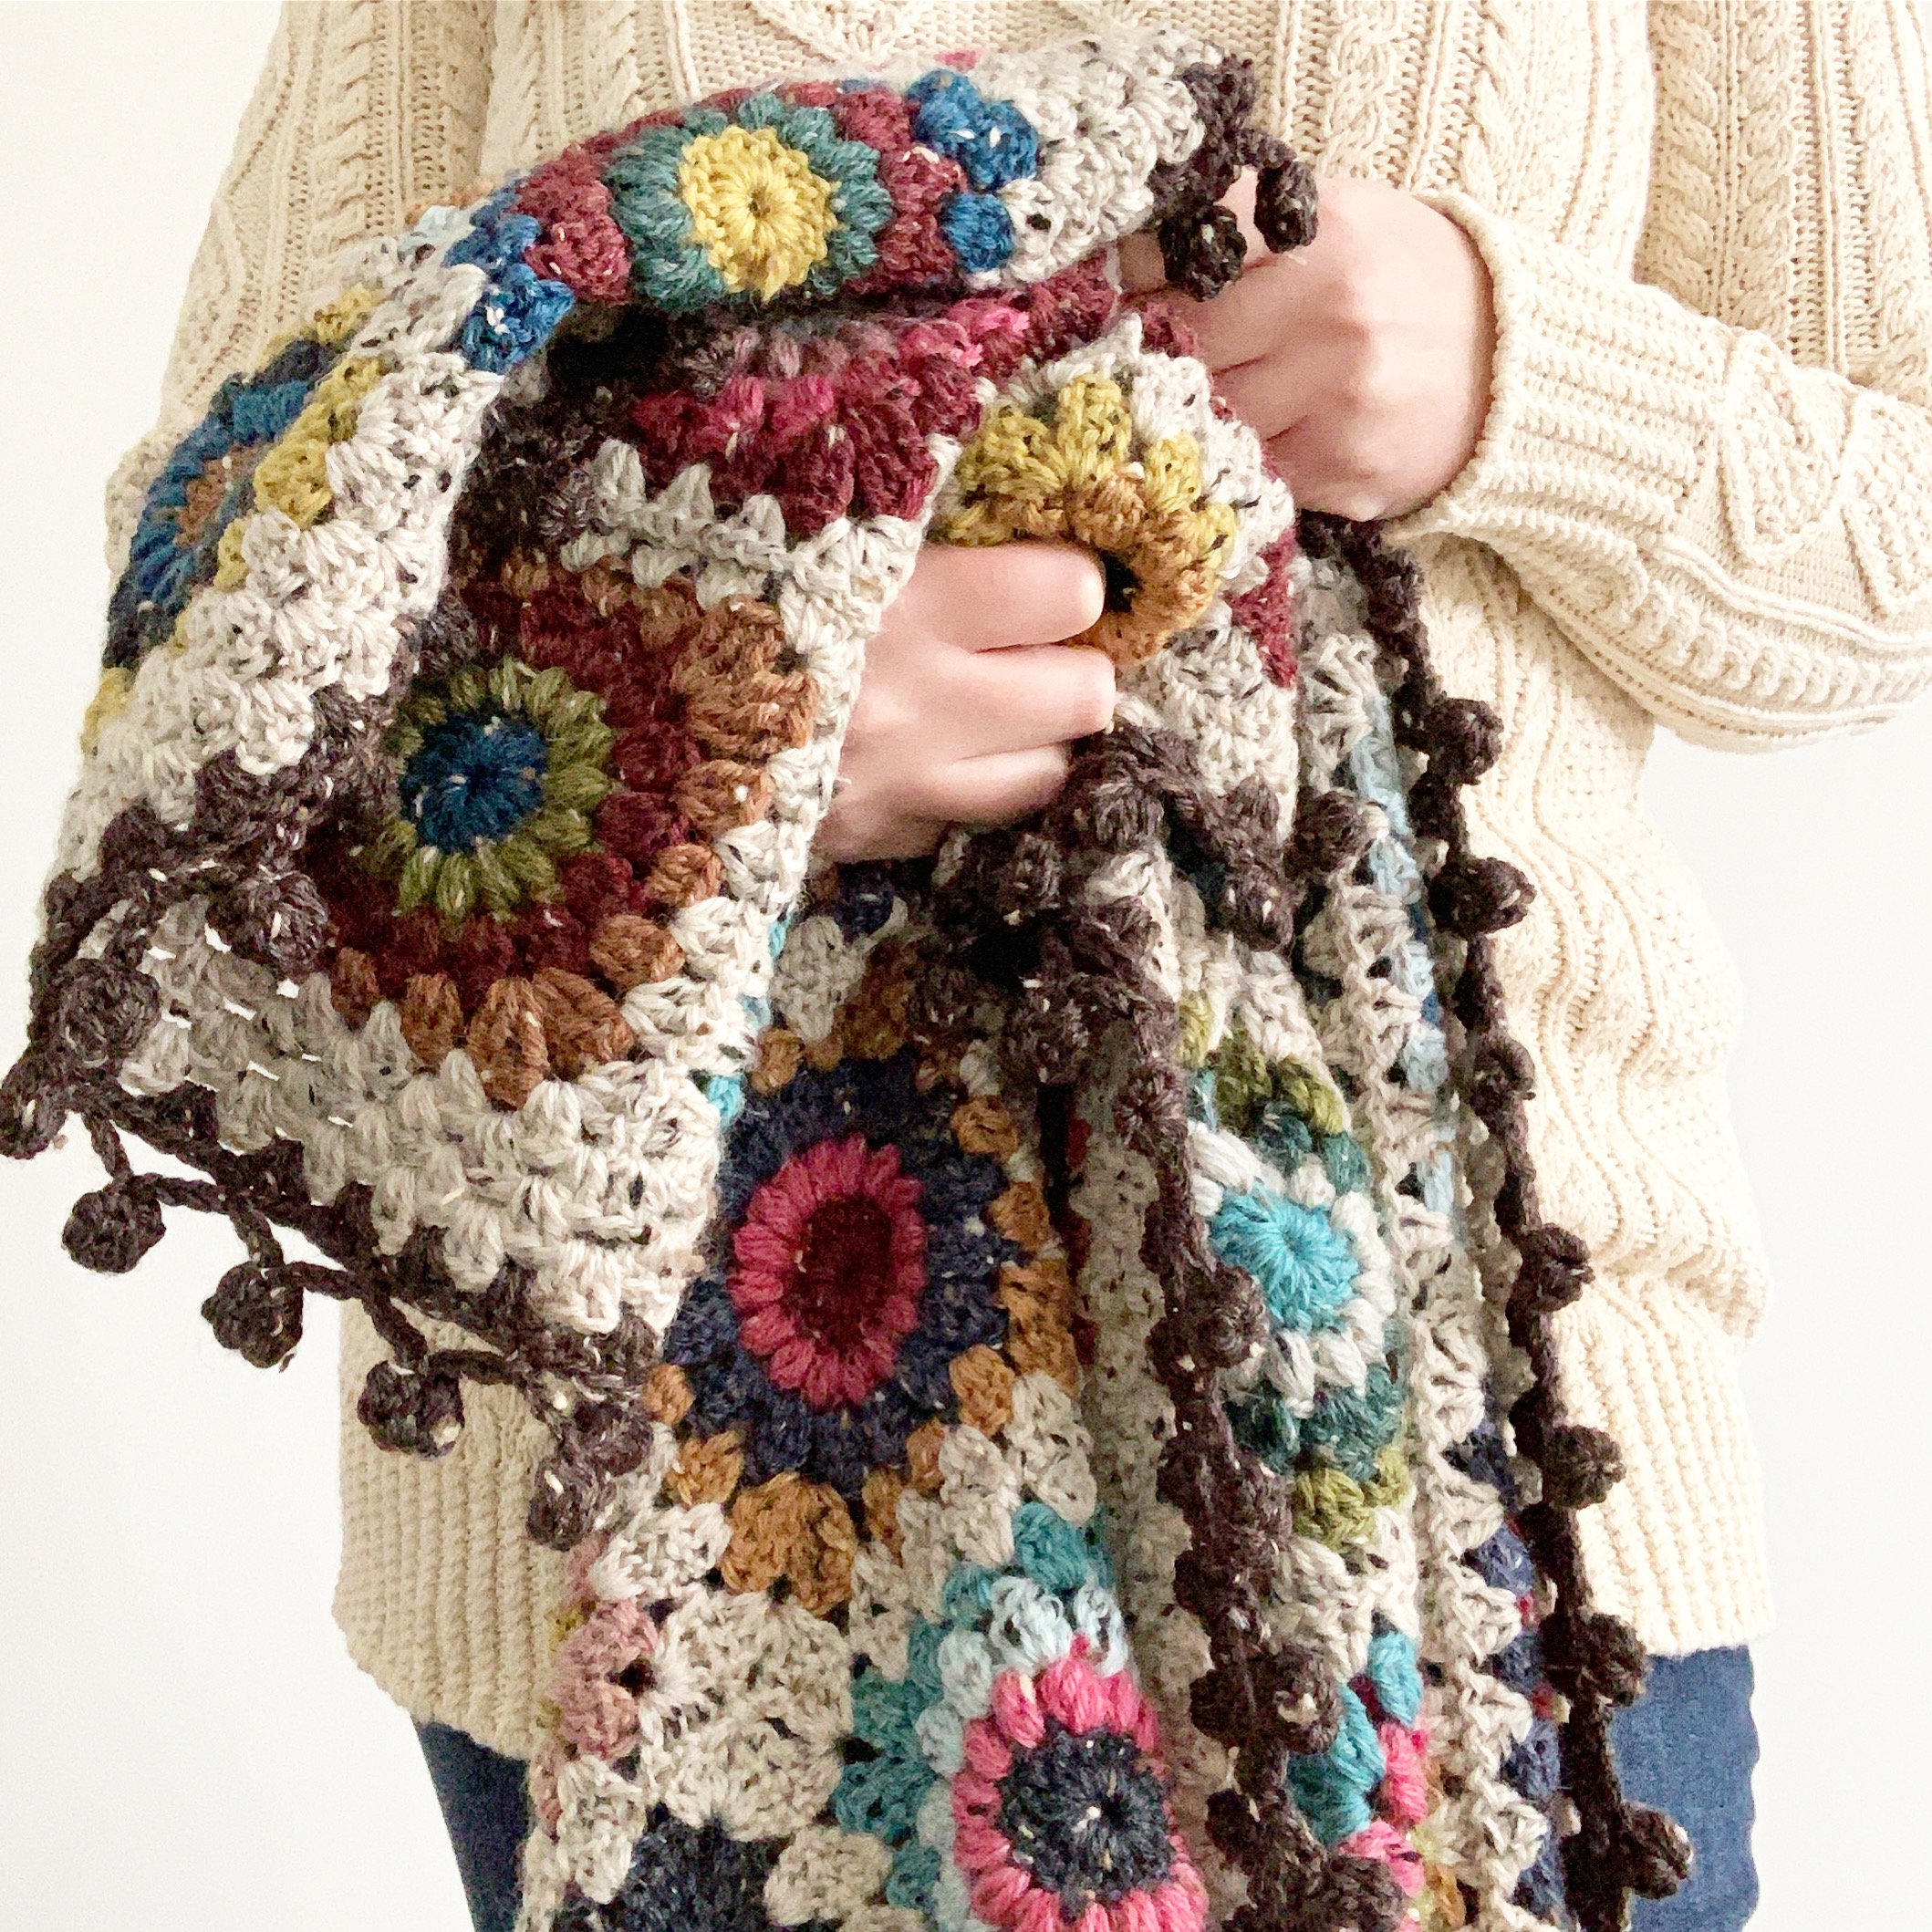
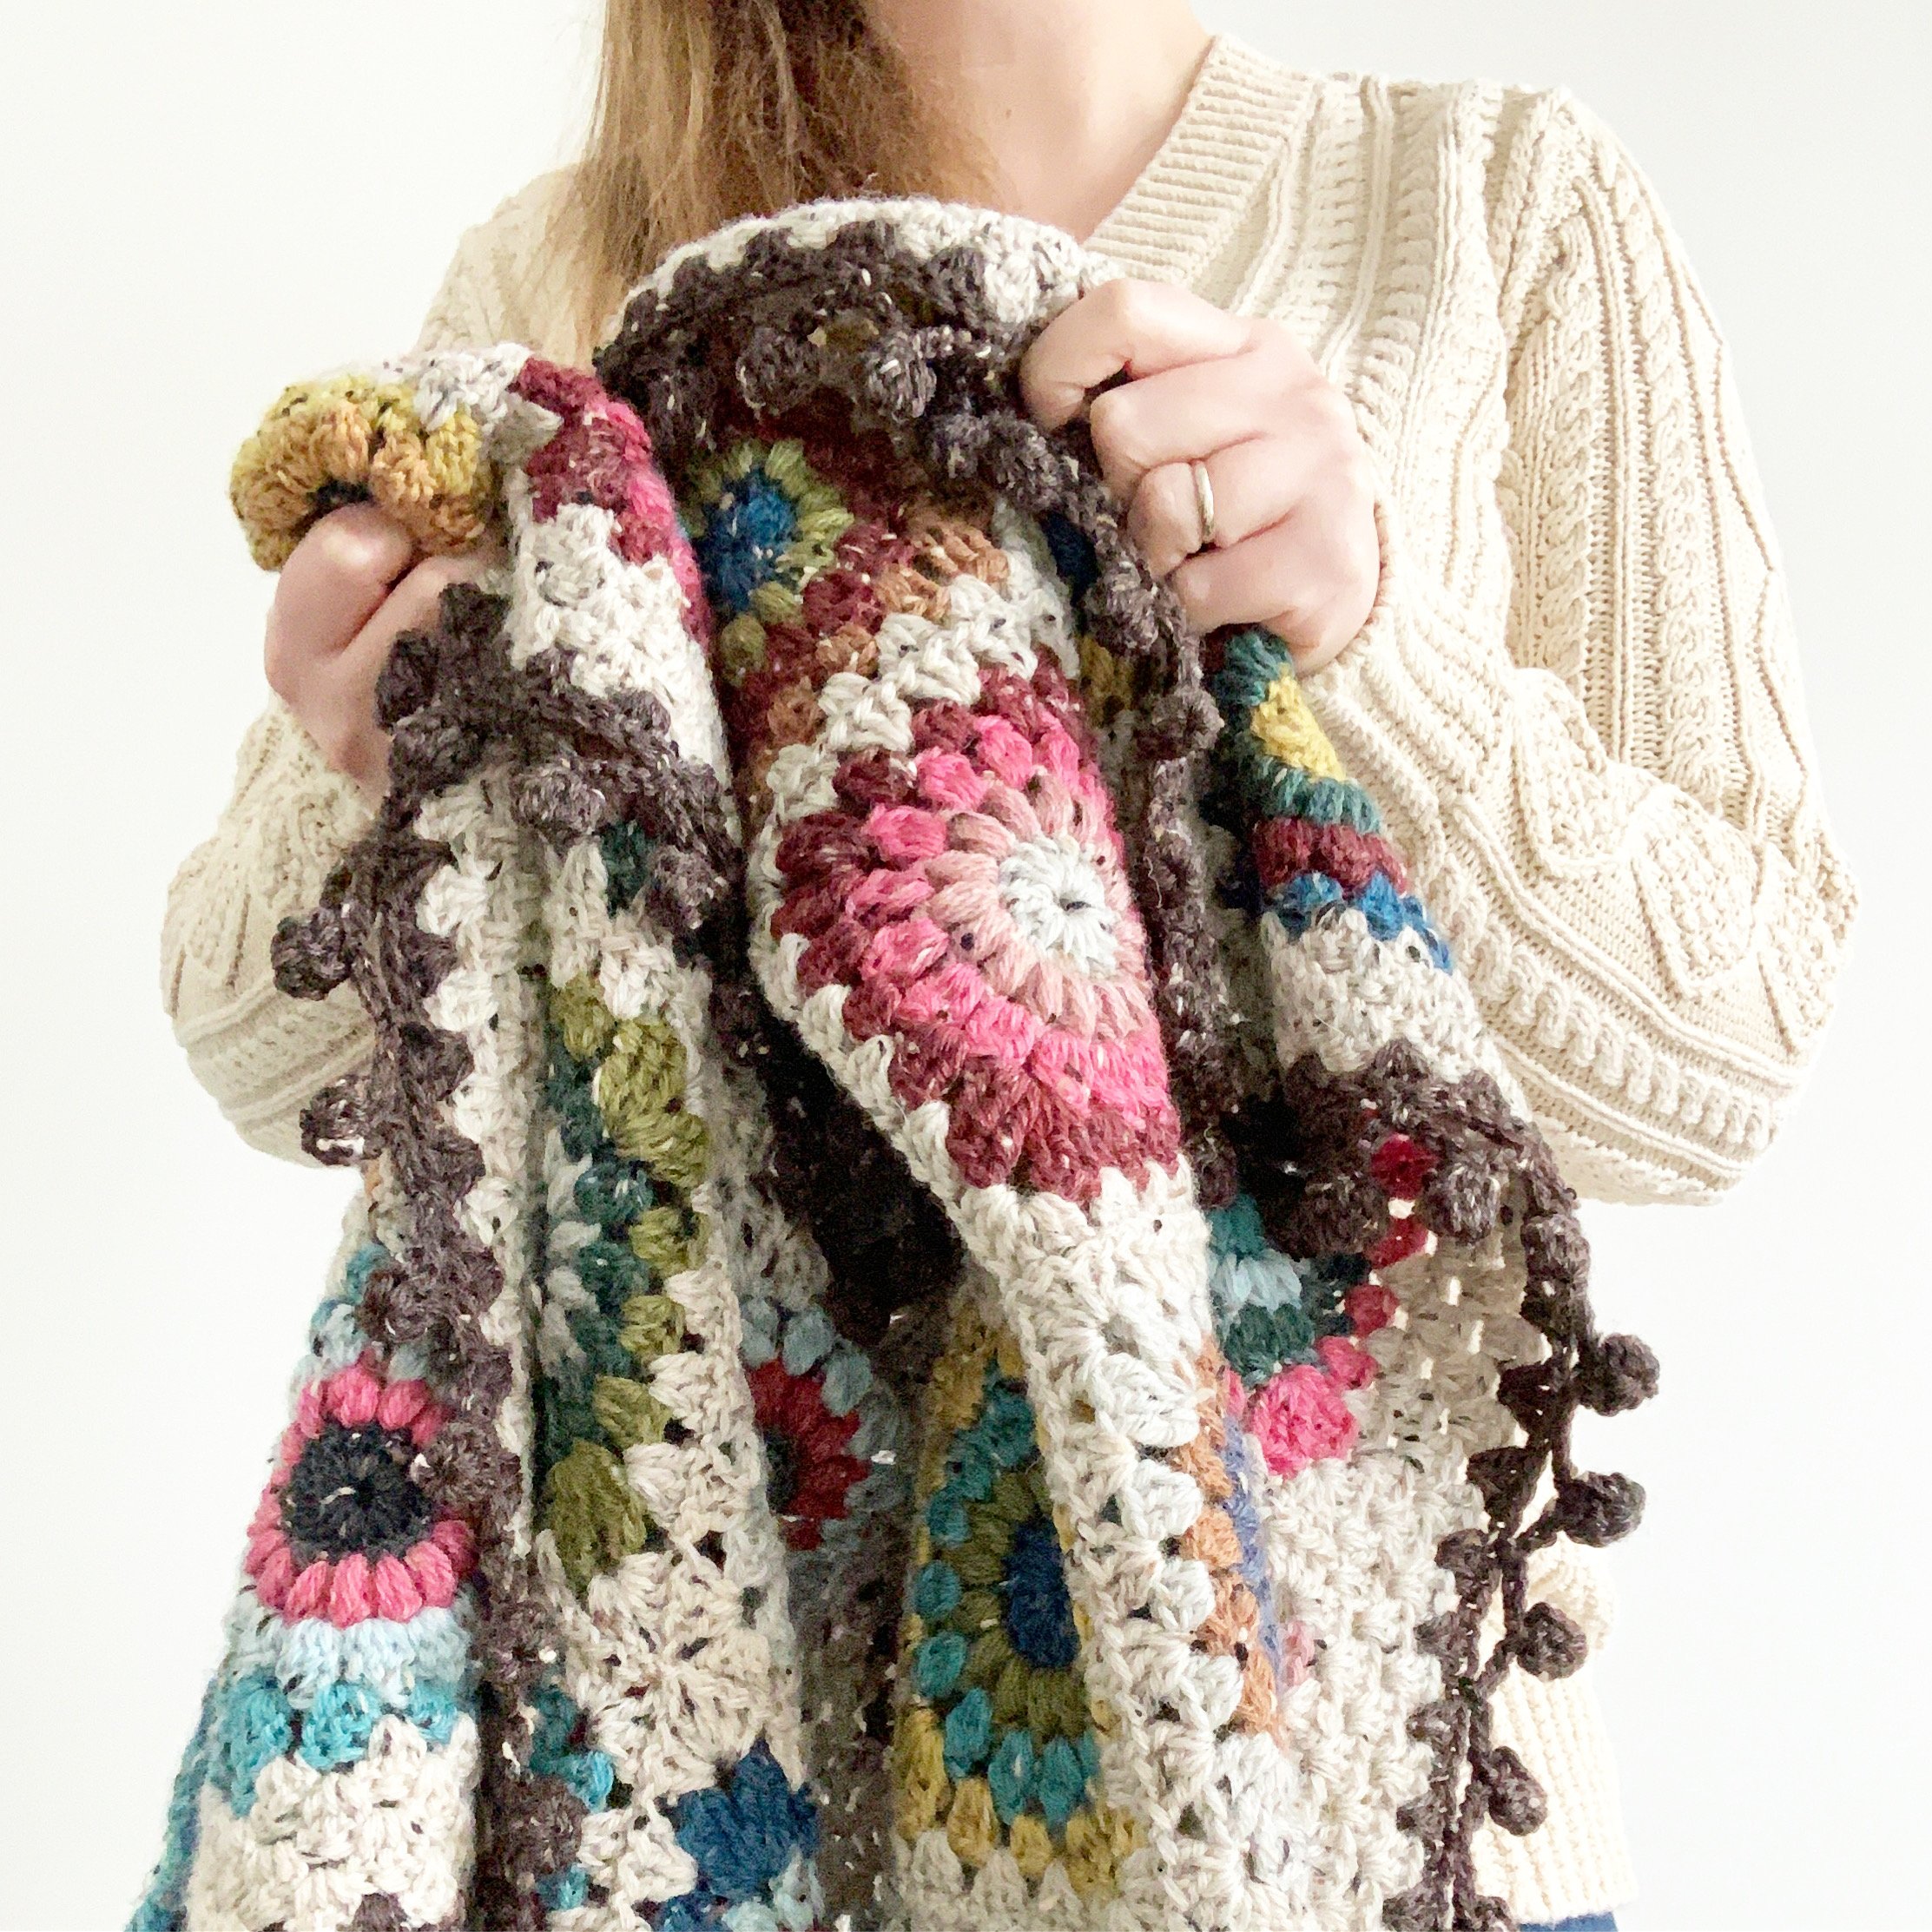
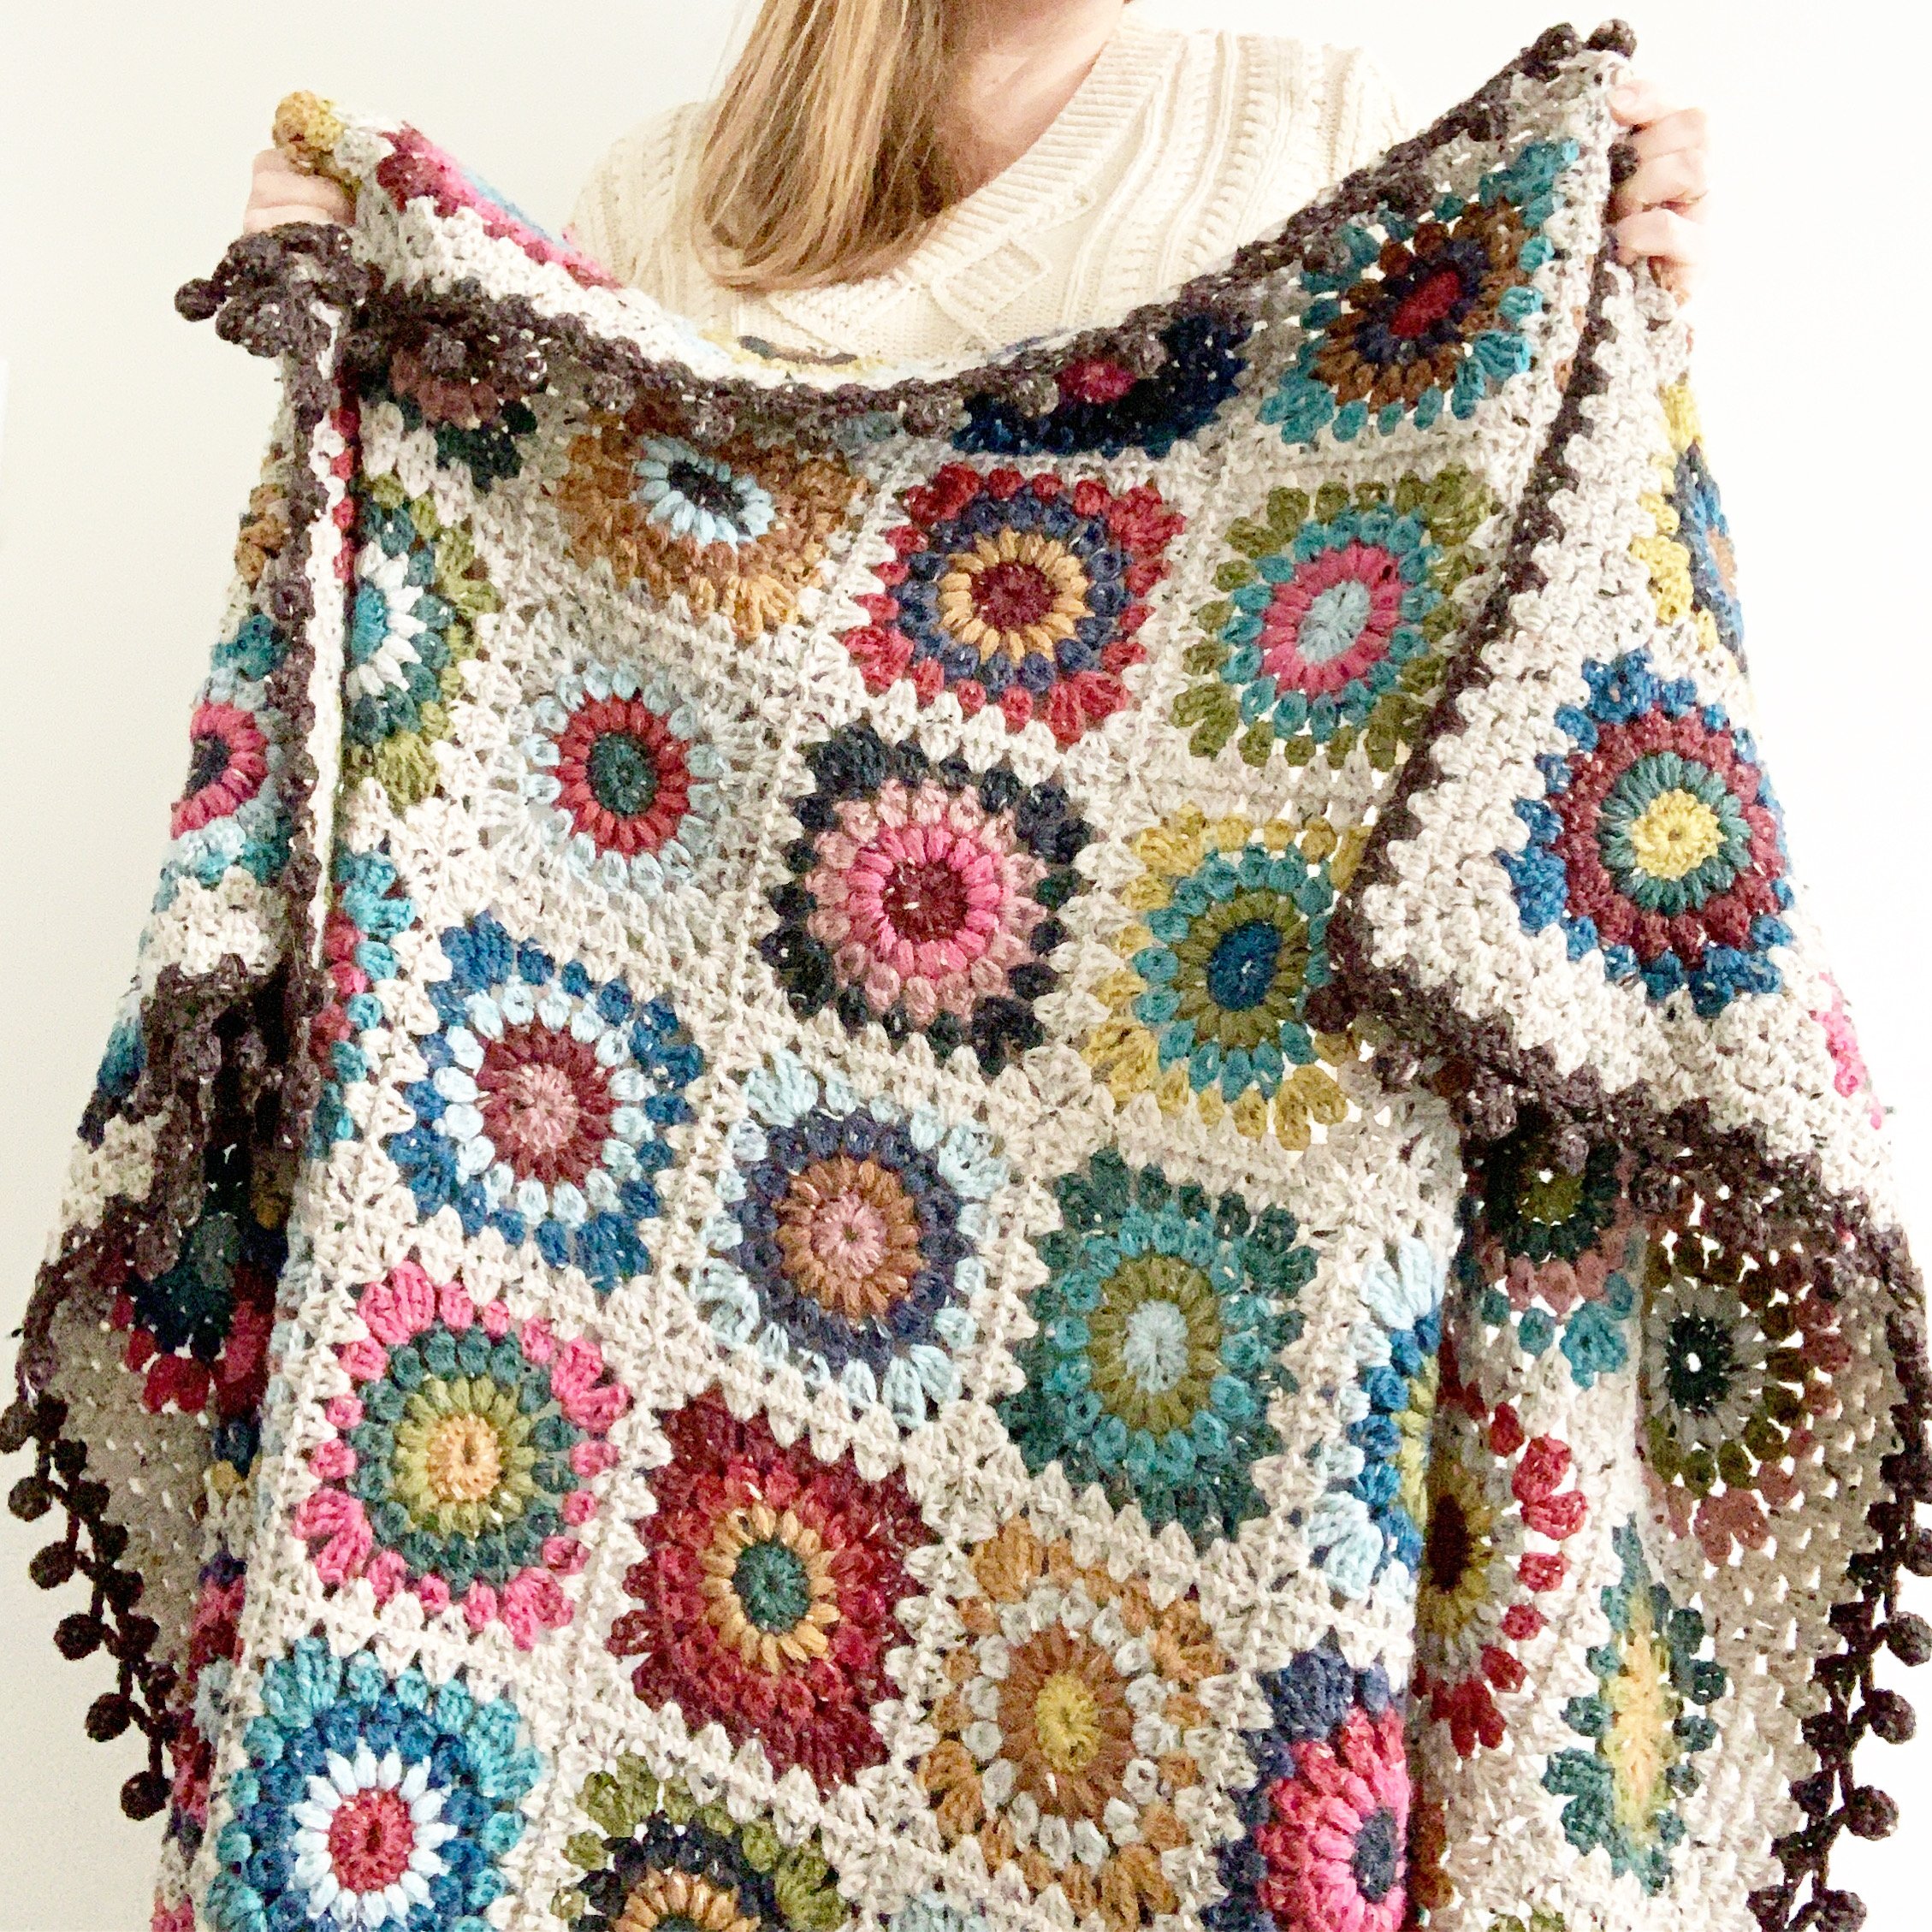
Hygge Burst Granny Square Blanket Pattern (Free)
This post contains affiliate links. Affiliate links cost you nothing, but when purchasing through these links you help me earn a small commission. This supports me and my family and my continued efforts to bring you free patterns.
Intro:
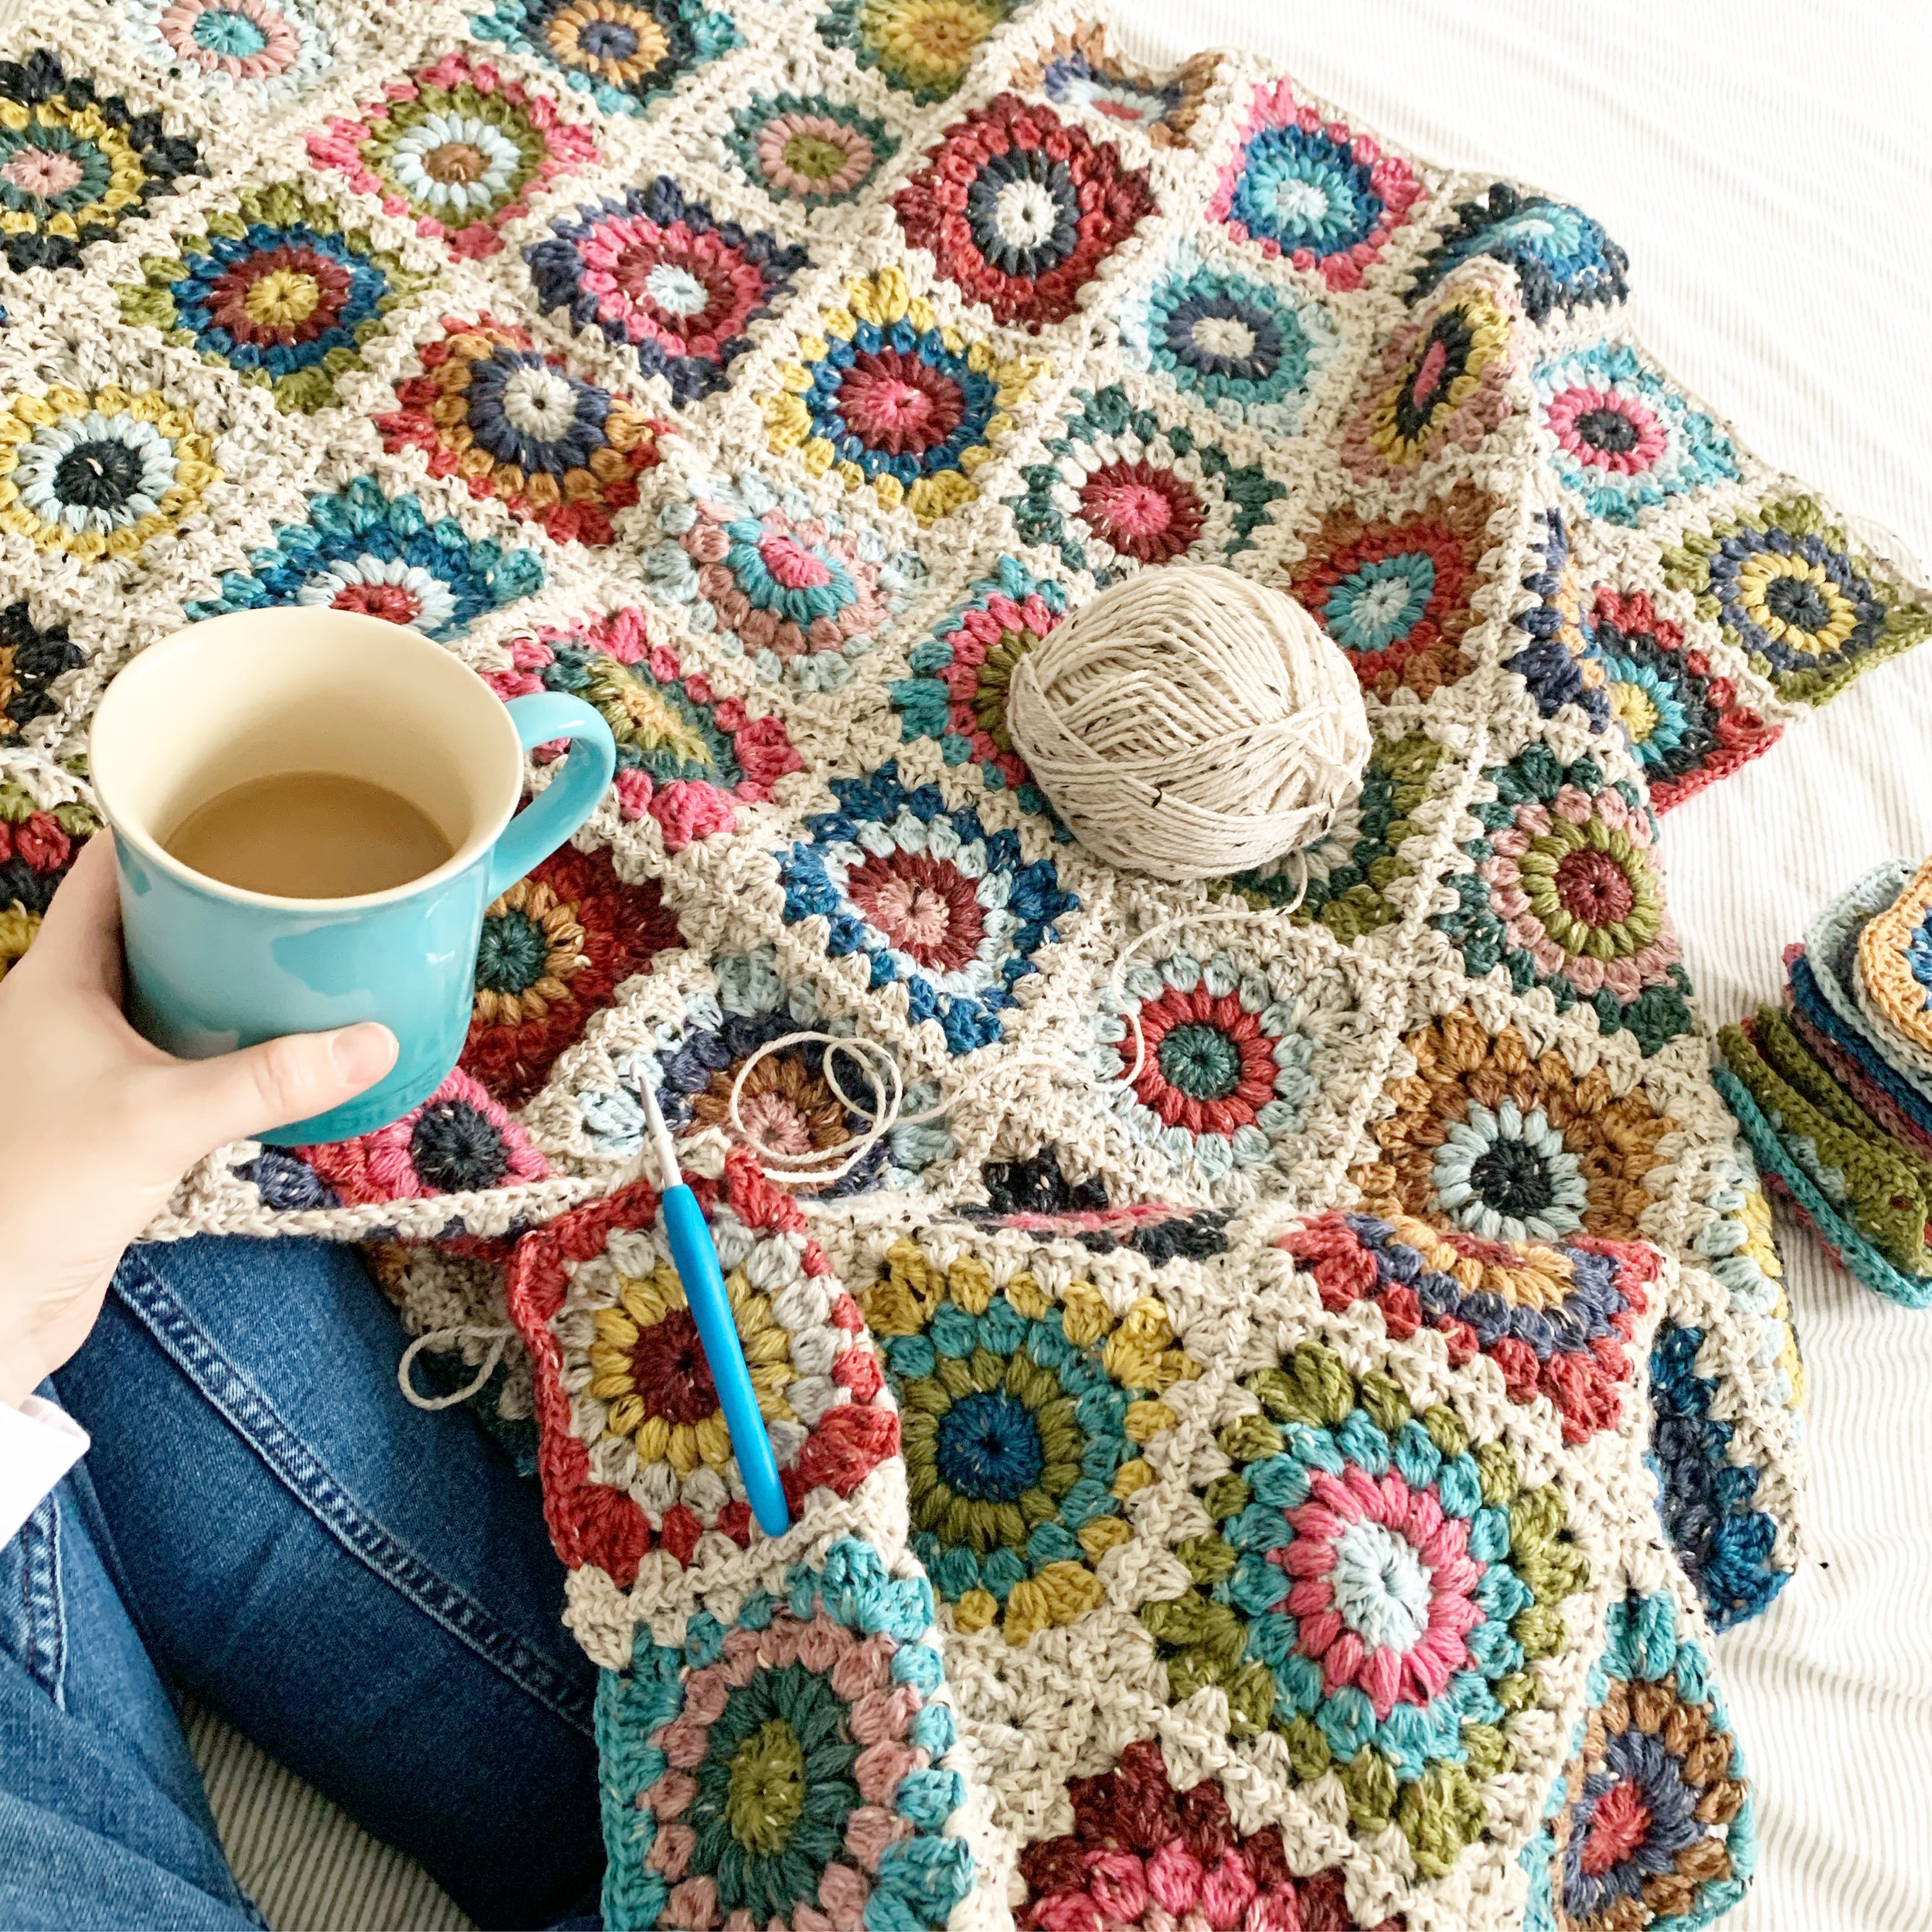
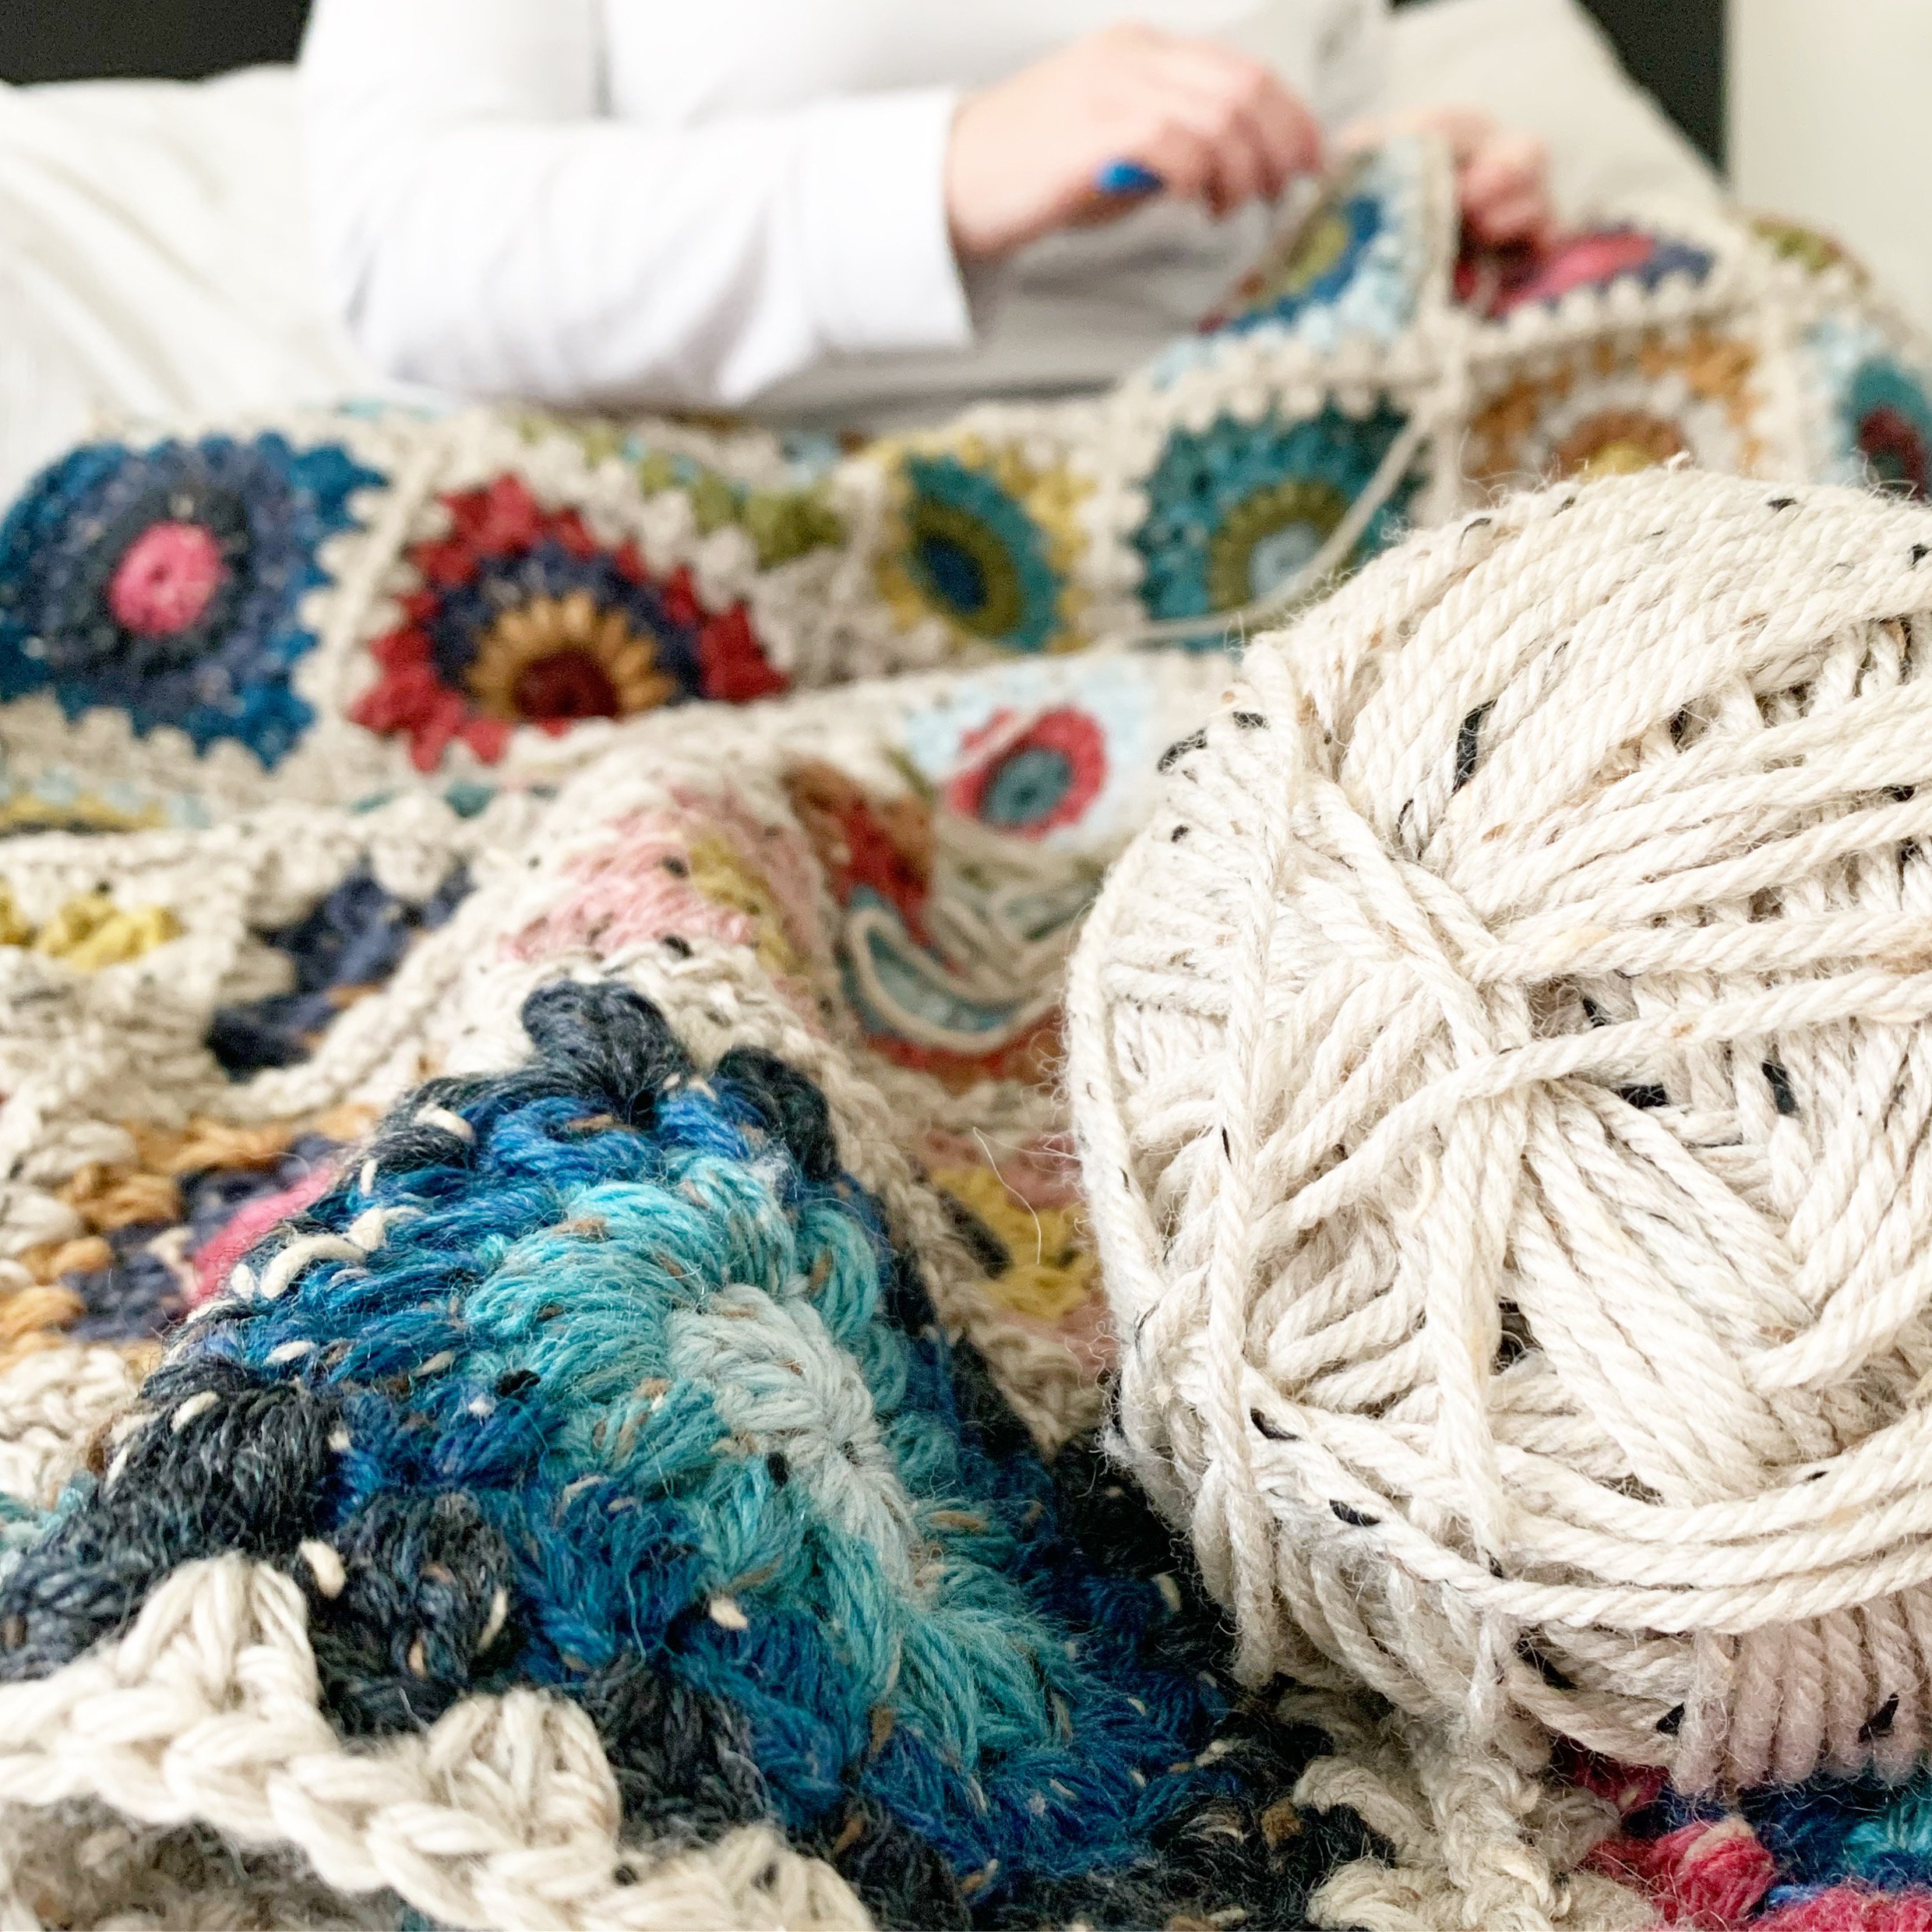
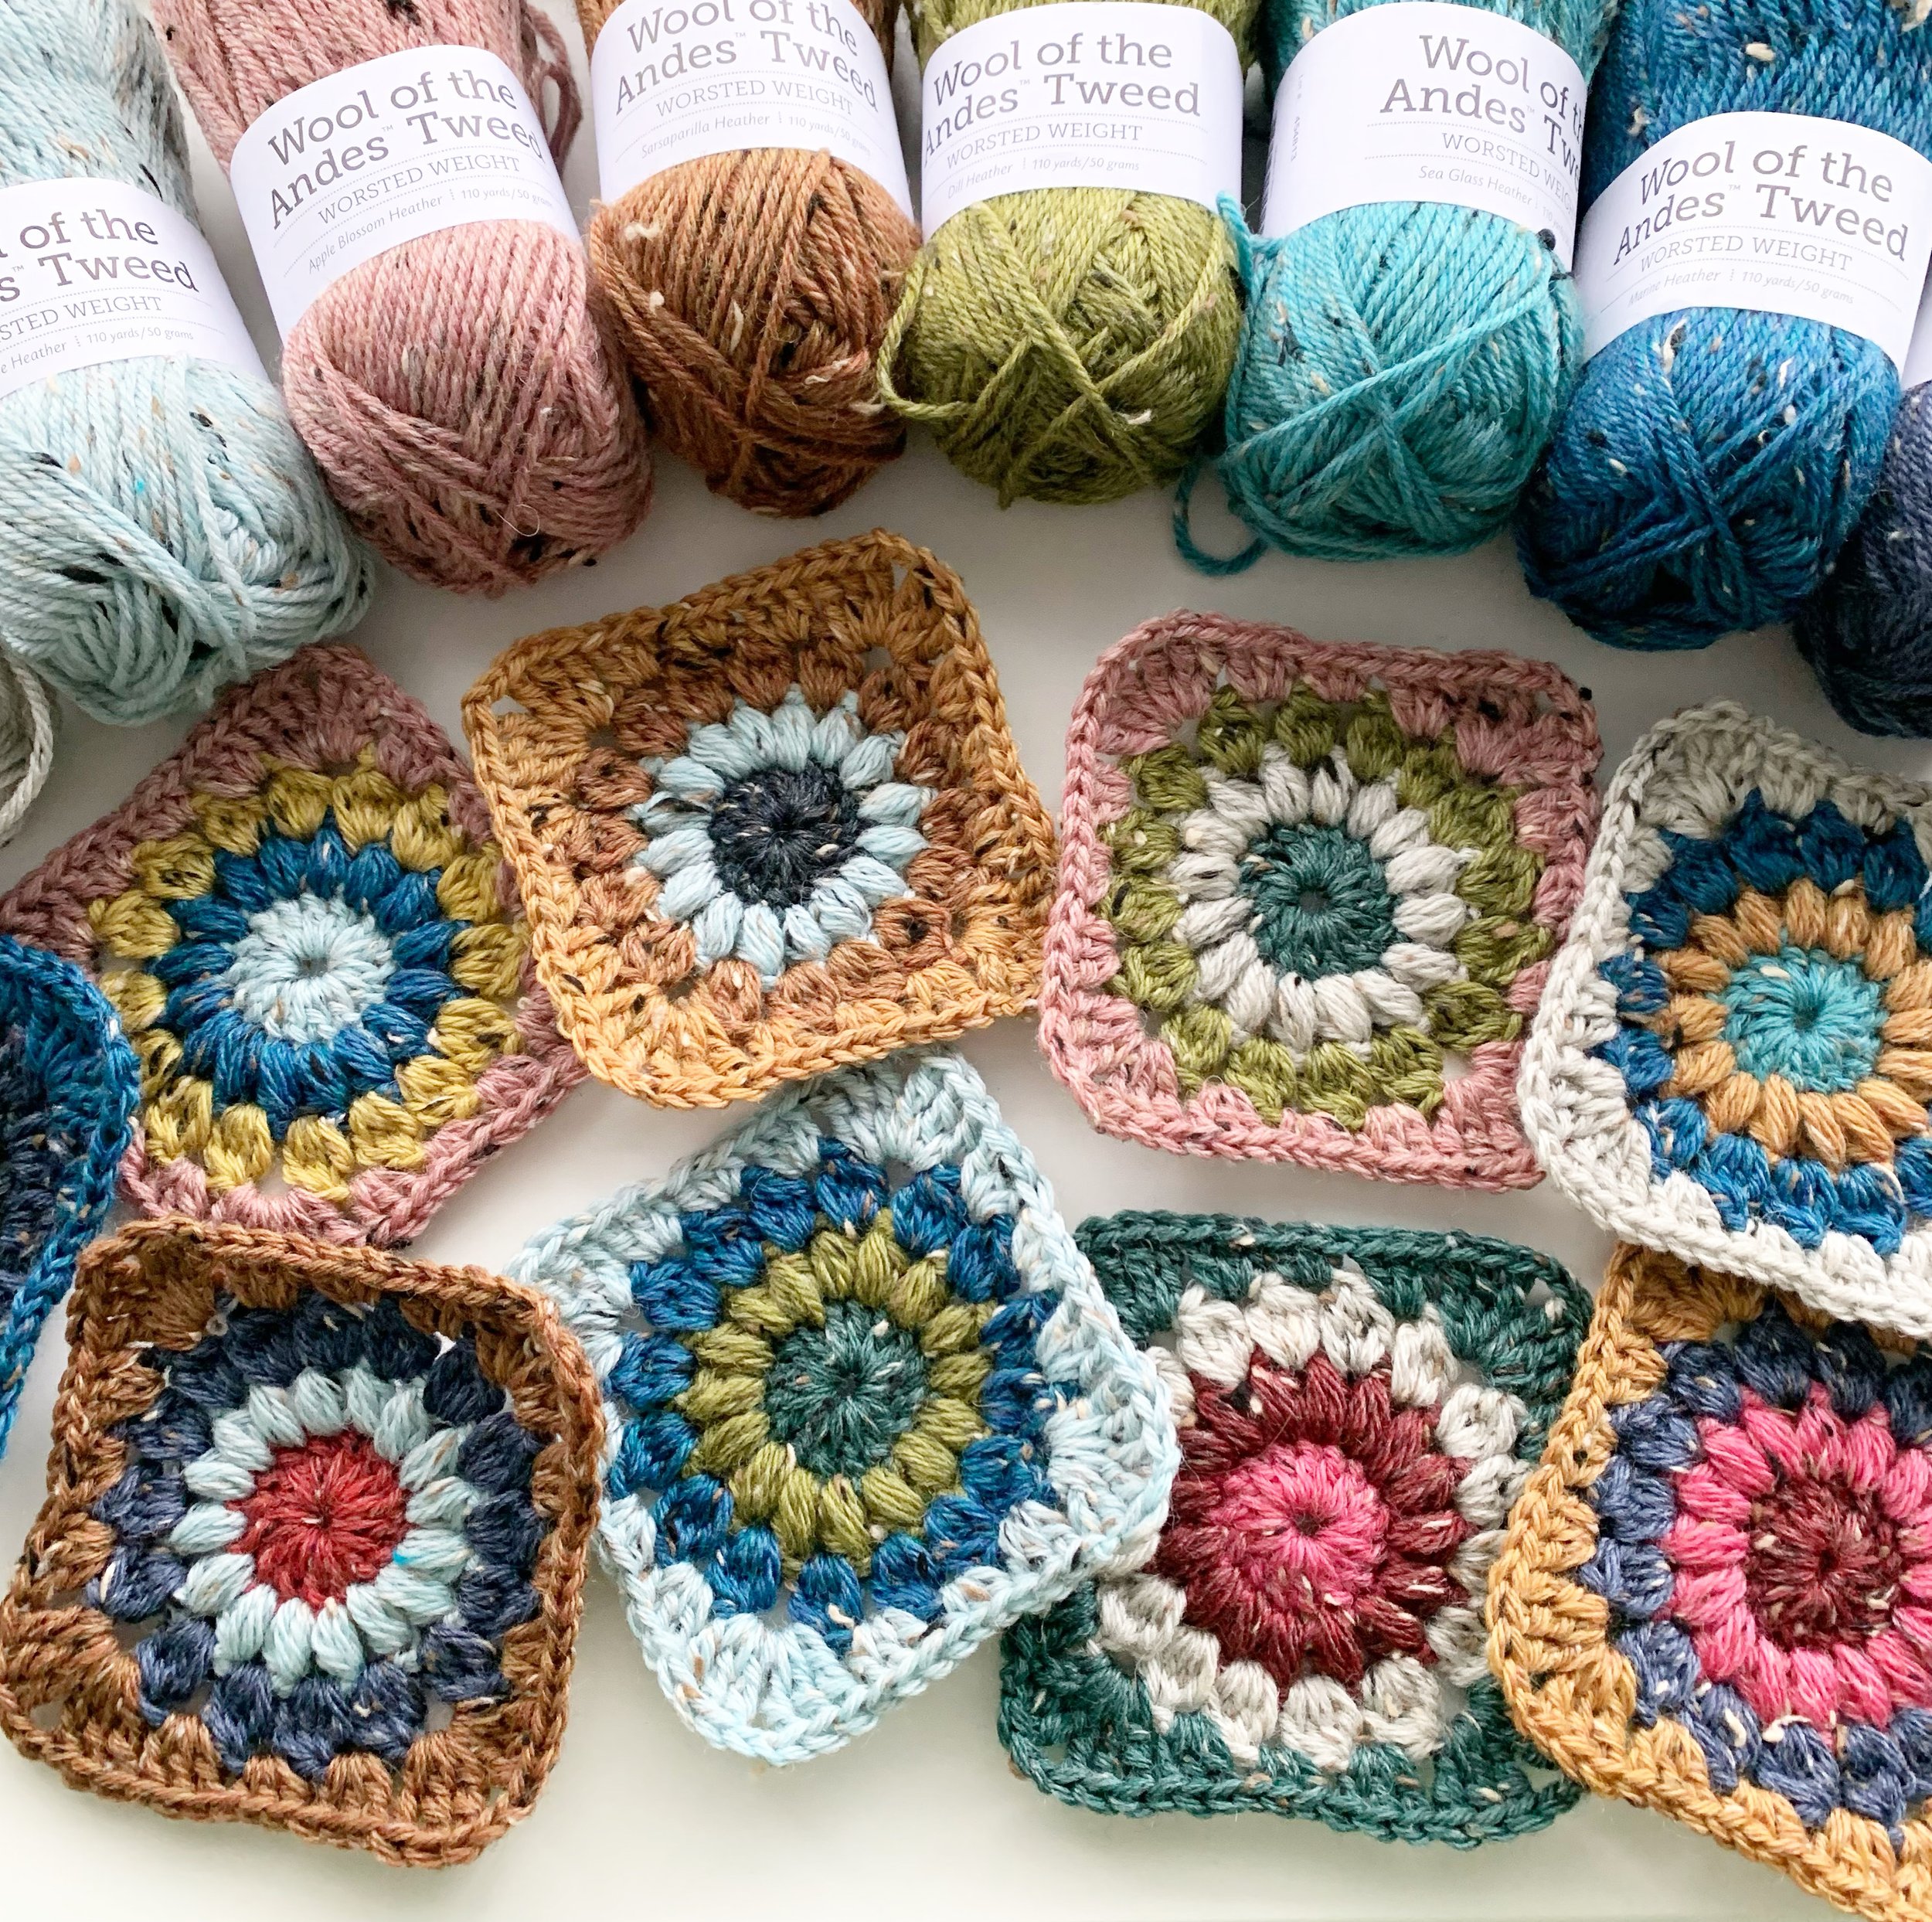
It all began with my favourite yarn: Wool of the Andes Tweed by WeCrochet (affiliate link) . I’ve been hoarding-no, “collecting”….this yarn for years. Ever since a friend of mine told me about it-I’ve been in love. You may think-but Mal, there’s a lot of yarn out there…why this one? -I’m not sure, really. I just love the warmth of the tweedy flecks, the colours have always been amazing, and it works up beautifully! What’s not to love, really?
One night while nursing a sore throat and a hot lemon tea I decided to play a game on Instagram. I was bored and tired of coming up with colour combos (if I’m being entirely honest). So I put it out there that anyone on my Instagram could pick a colour combo and I’d make up the square. The response was immediate and wonderful.
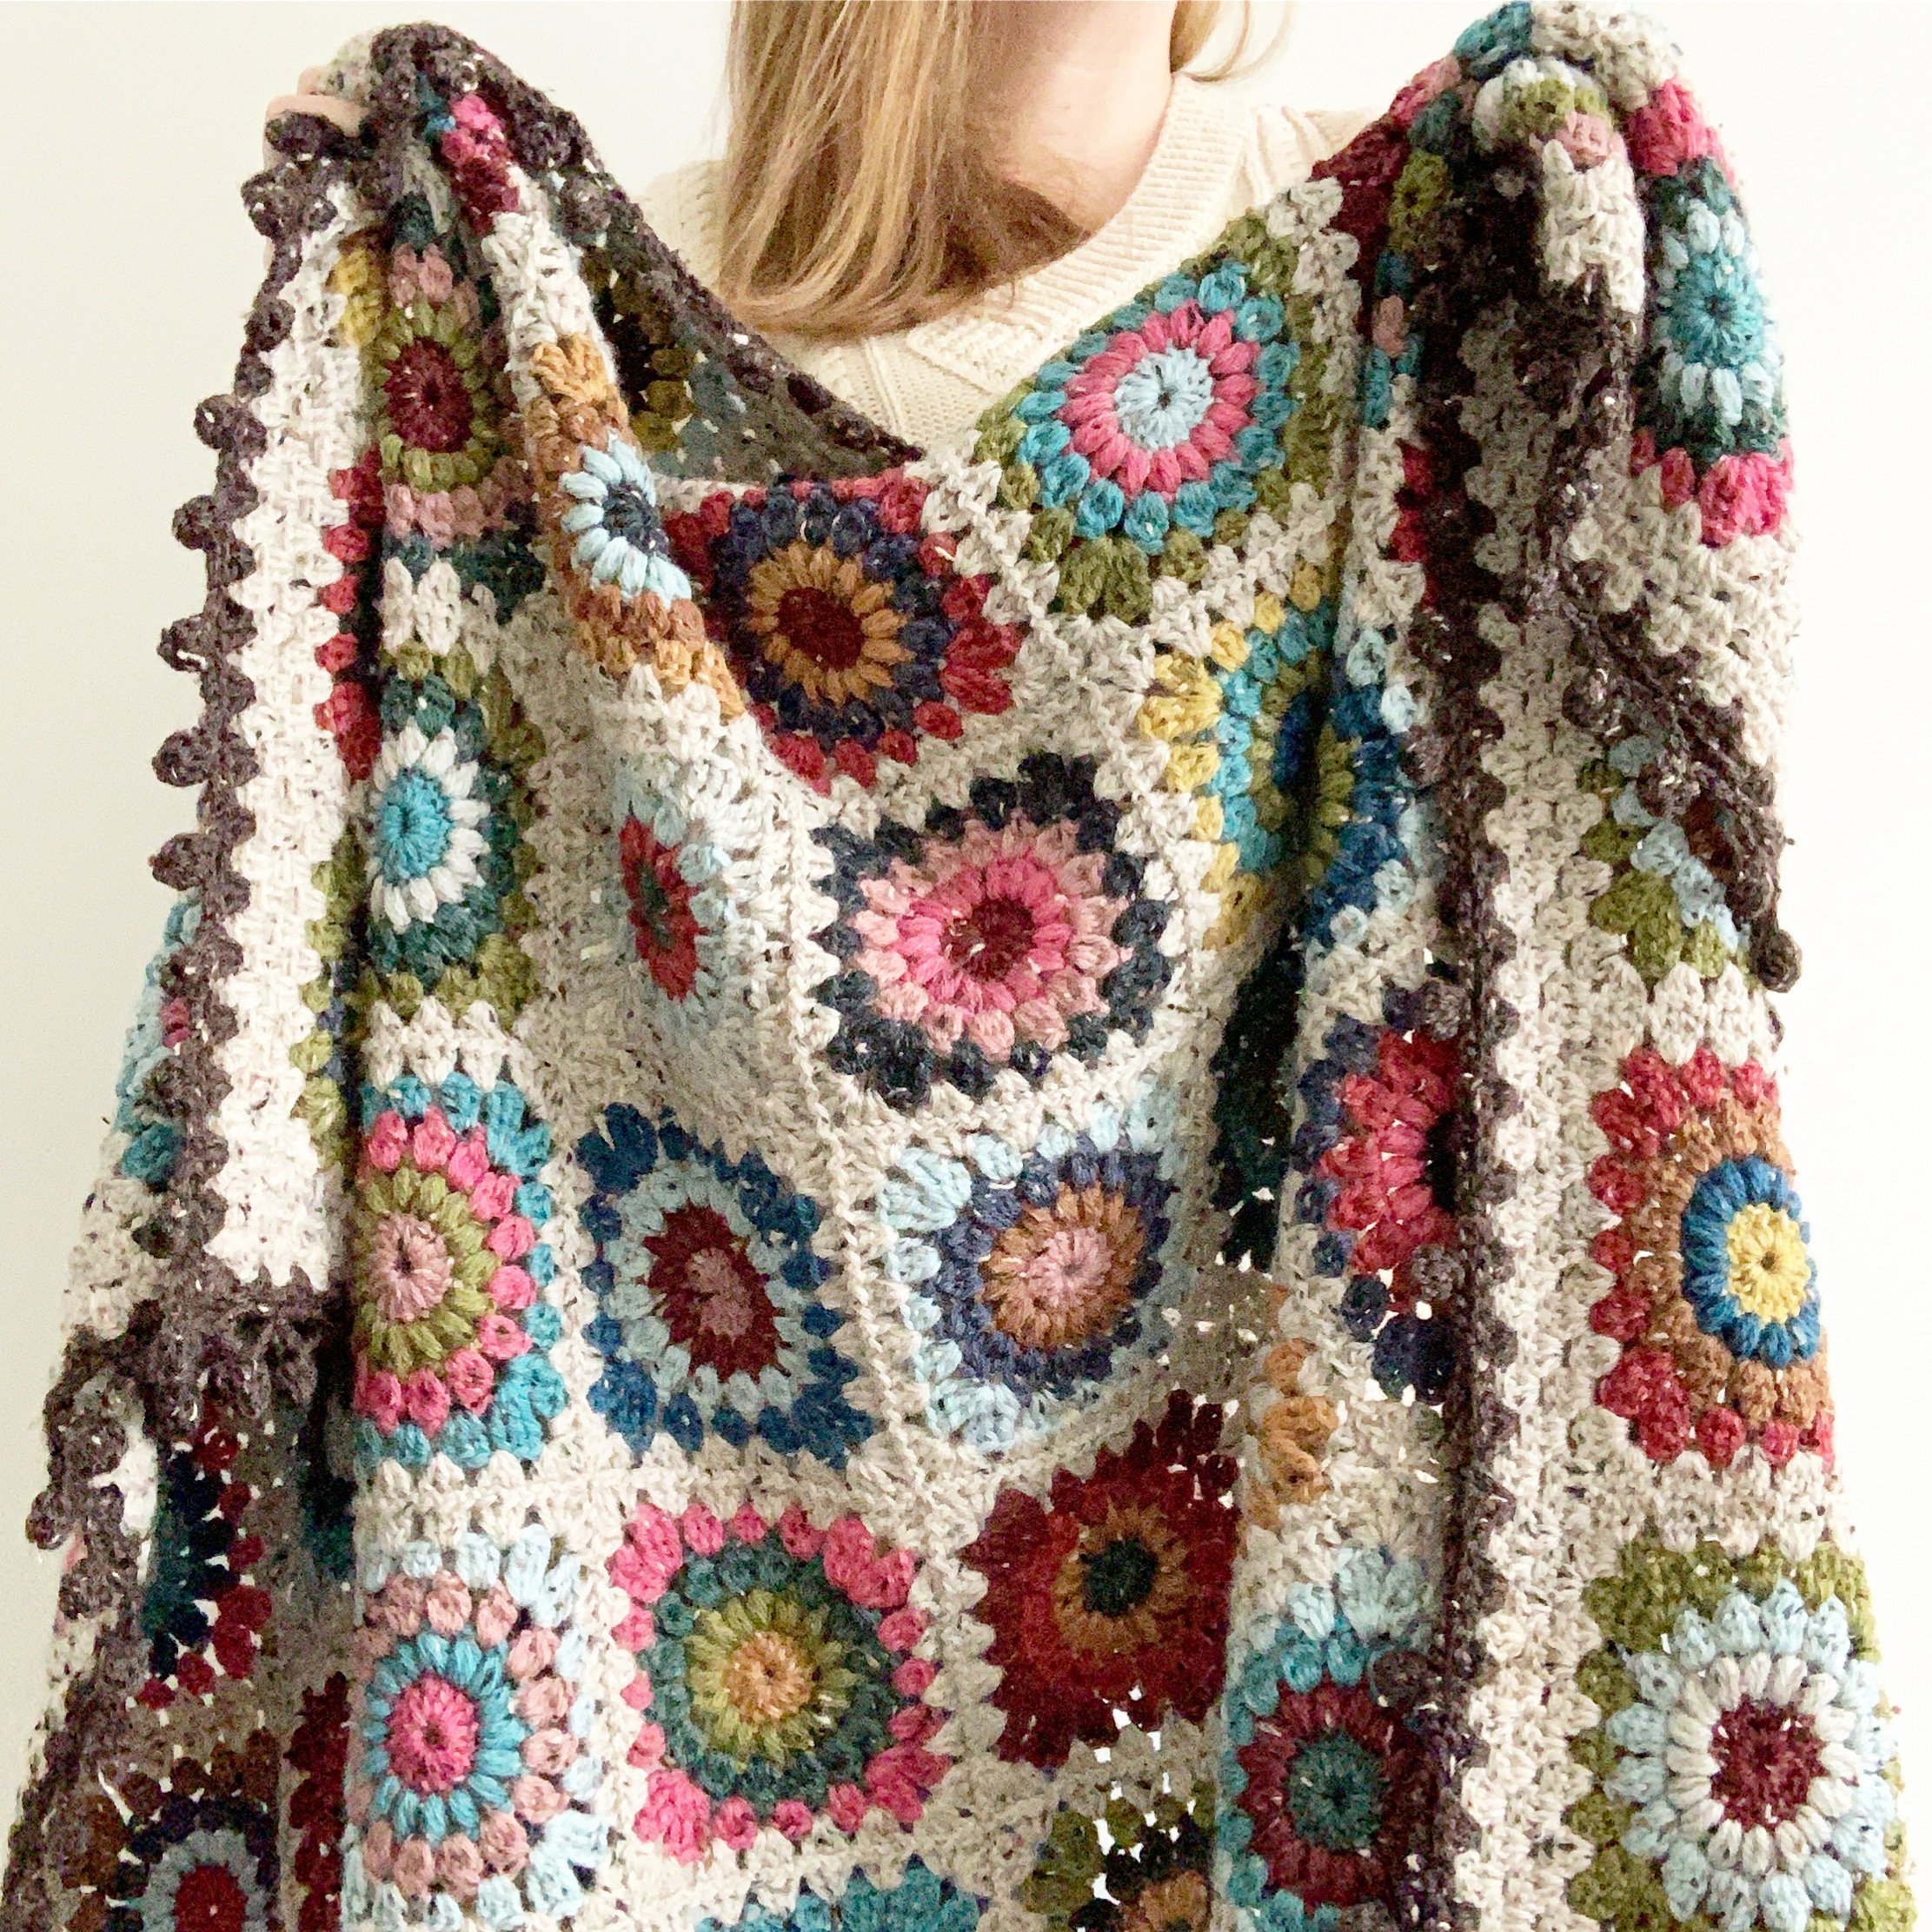
This quickly turned into a thing and I couldn’t be more pleased with the results. While only a quarter of the squares for this blanket were combinations thought up by the wonderful crafting community, I knew I wanted to share the pattern for free with everyone. So here we are. The final push needed to finally get this website up and running. Welcome: The Hygge Burst Blanket Pattern.
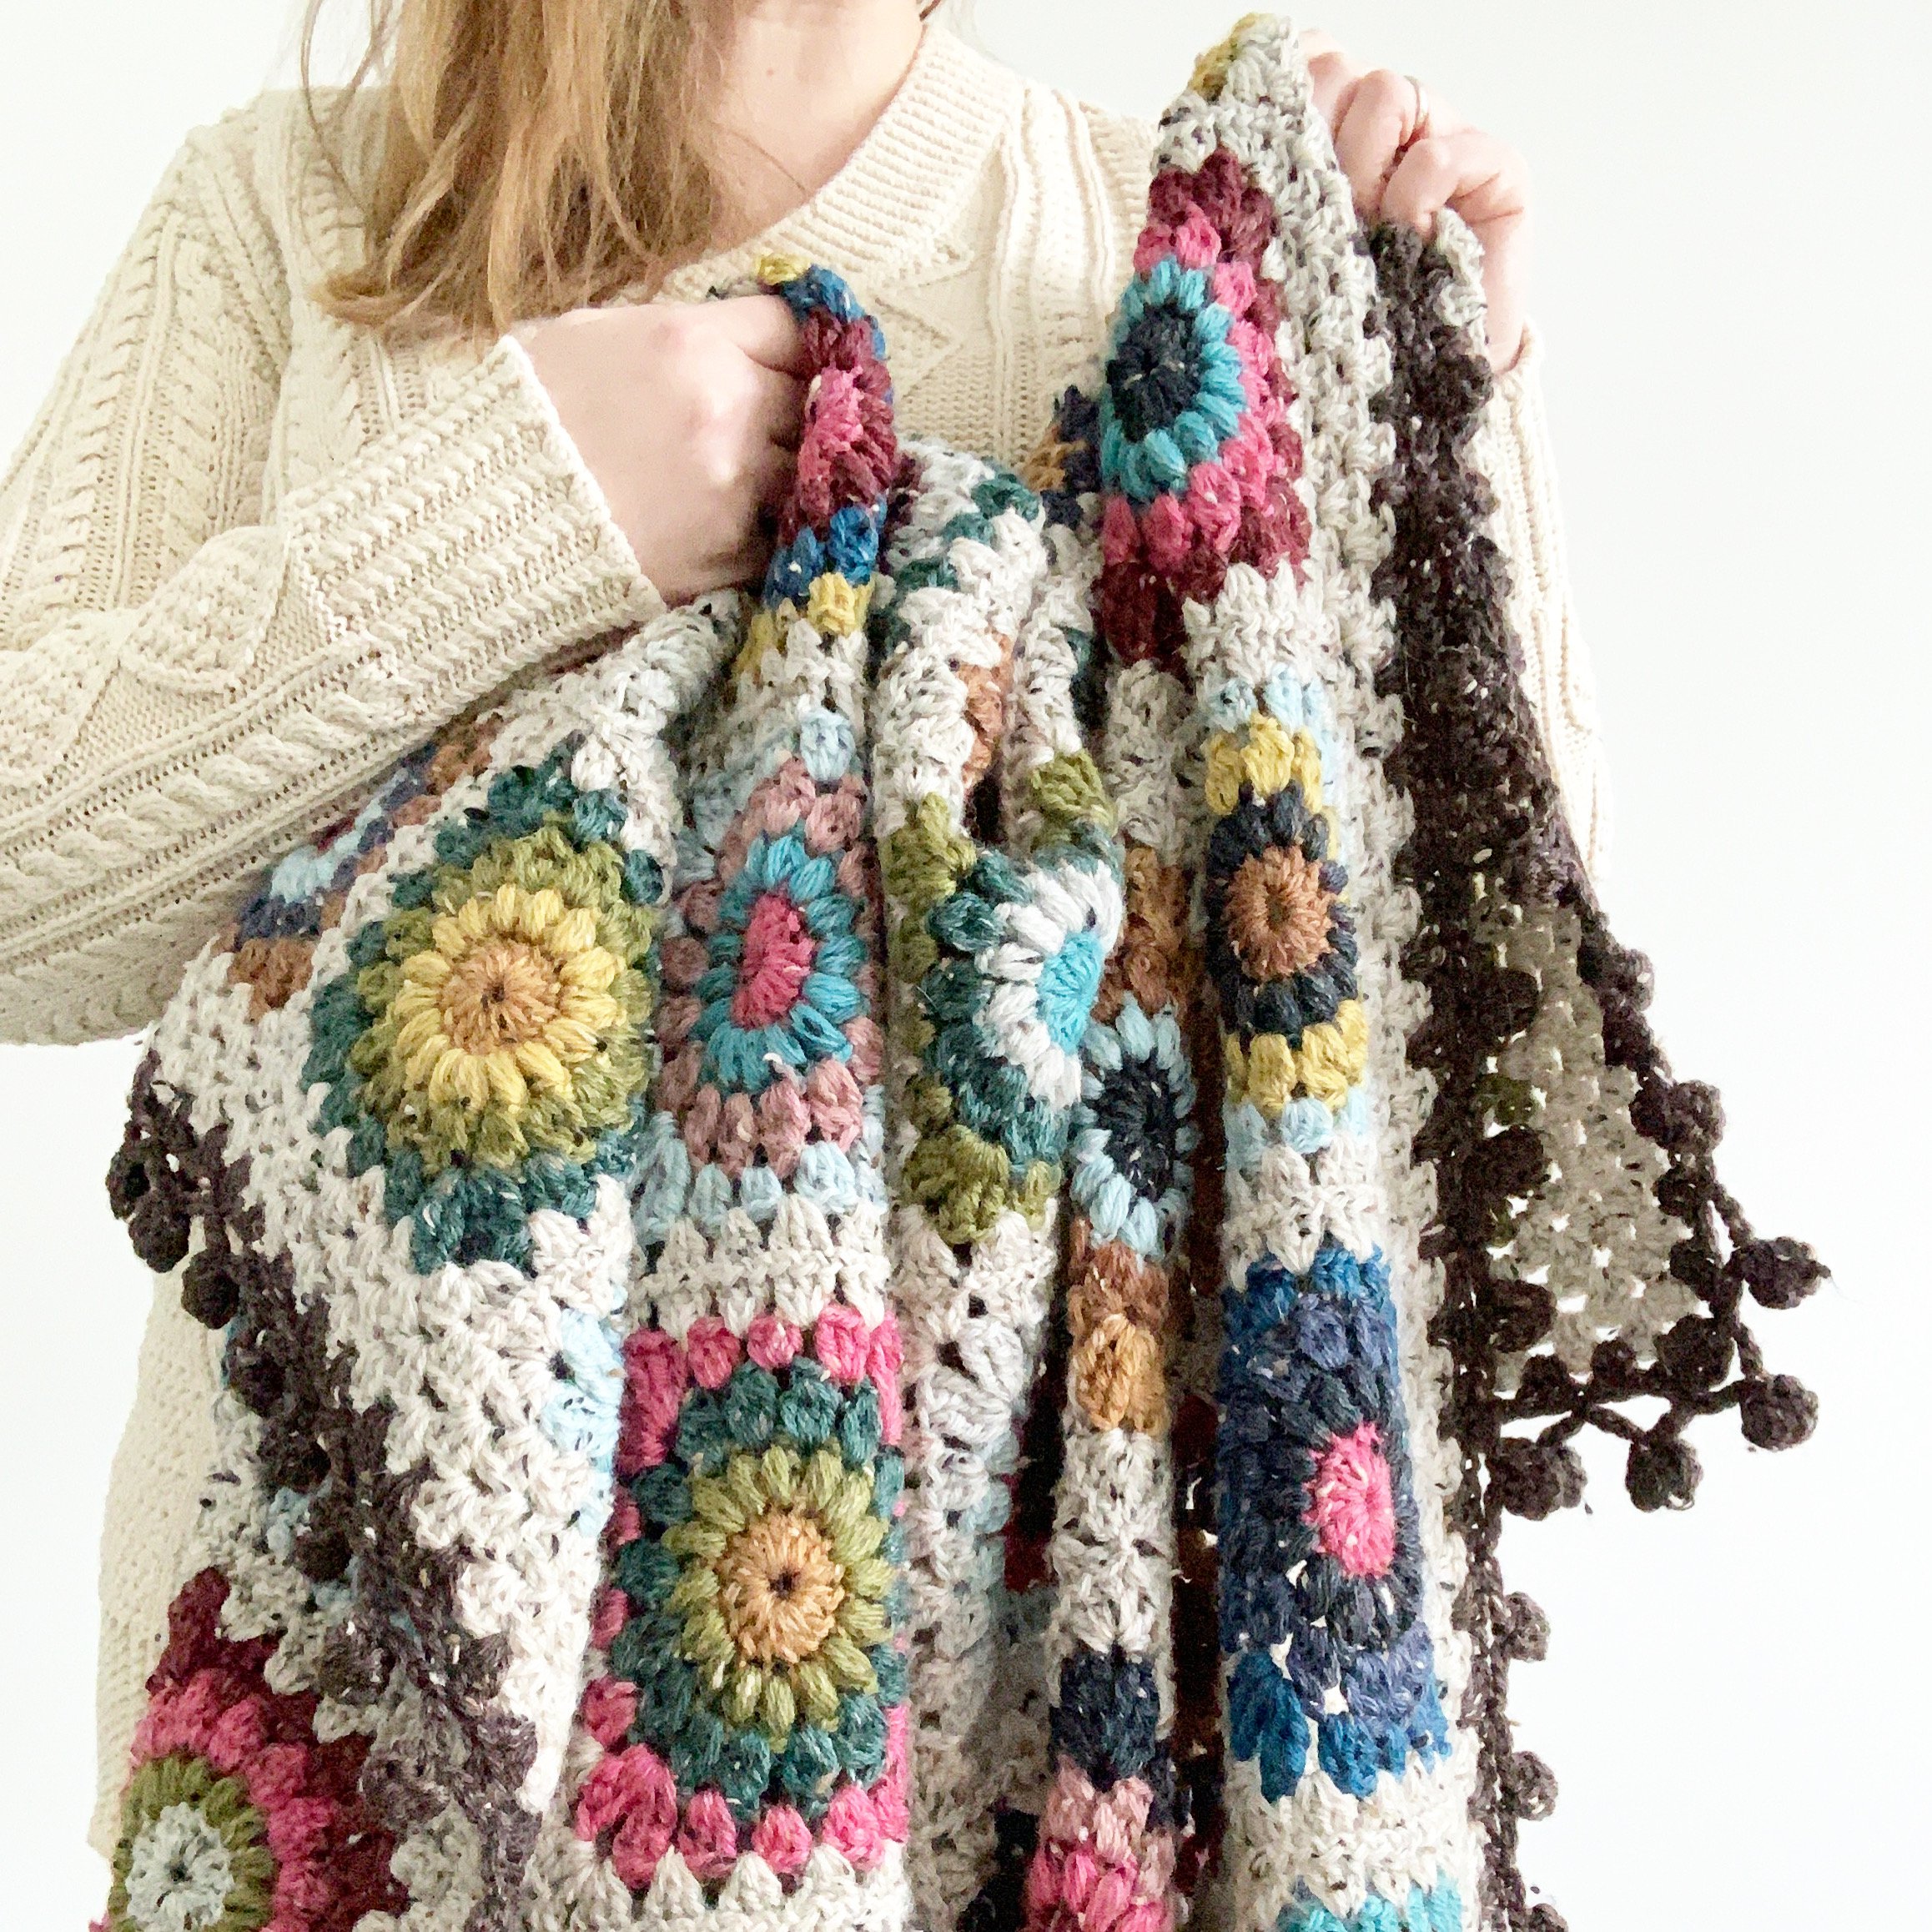
Hygge (pronouced “Hue-guh”) is a Scandinavian word meaning everything that is cozy, happy, special, warm and nice. It’s used as a noun, a verb and an adjective! I fell in love with the idea of hygge after reading The Little Book of Hygge: The Danish Way to Live Well by Meik Wiking. For me, this blanket encompasses all the warmth, coziness and happiness that you can get from a blanket. I hope you all feel the same too.
L, M
ps. If you would like a printable PDF of this pattern, you can purchase it here on ETSY or RAVELRY.

Notions
US 5.0mm (size H) crochet hook
Needle for weaving in ends
scissors
Yarn
WeCrochet Wool of the Andes Tweed (110 yds/50g) (affiliate link)
Apple Blossom Heather (112 yds/51g) 2 skeins
Square Dance Heather (126 yds/57g) 2 skeins
Gingham Heather (110 yds/50g) 1 skein
Garnet Heather (110 yds/50g) 1 skein
Sarsaparilla Heather (99 yds/45g) 1 skein
Maple Heather (110 yds/50g) 1 skein
Olive Heather (110 yds/50g) 1 skein
Dill Heather (154 yds/70g) 2 skeins
Wreath Heather (110 yds/50g) 1 skein
Sea Glass Heather (156 yds/71g) 2 skeins
Marine Heather (123 yds/56g) 2 skeins
Prussian Heather (110 yds/50g) 1 skein
Lighthouse Heather (110 yds/50g) 1 skein
North Pole Heather (167 yds/76g) 2 skeins
Down Heather (110 yds/50g) 1 skein
Farmhouse Heather (205 yds/93g) 2 skeins
Picket Fence Heather (931 yds/423g) 9 skeins
Gauge
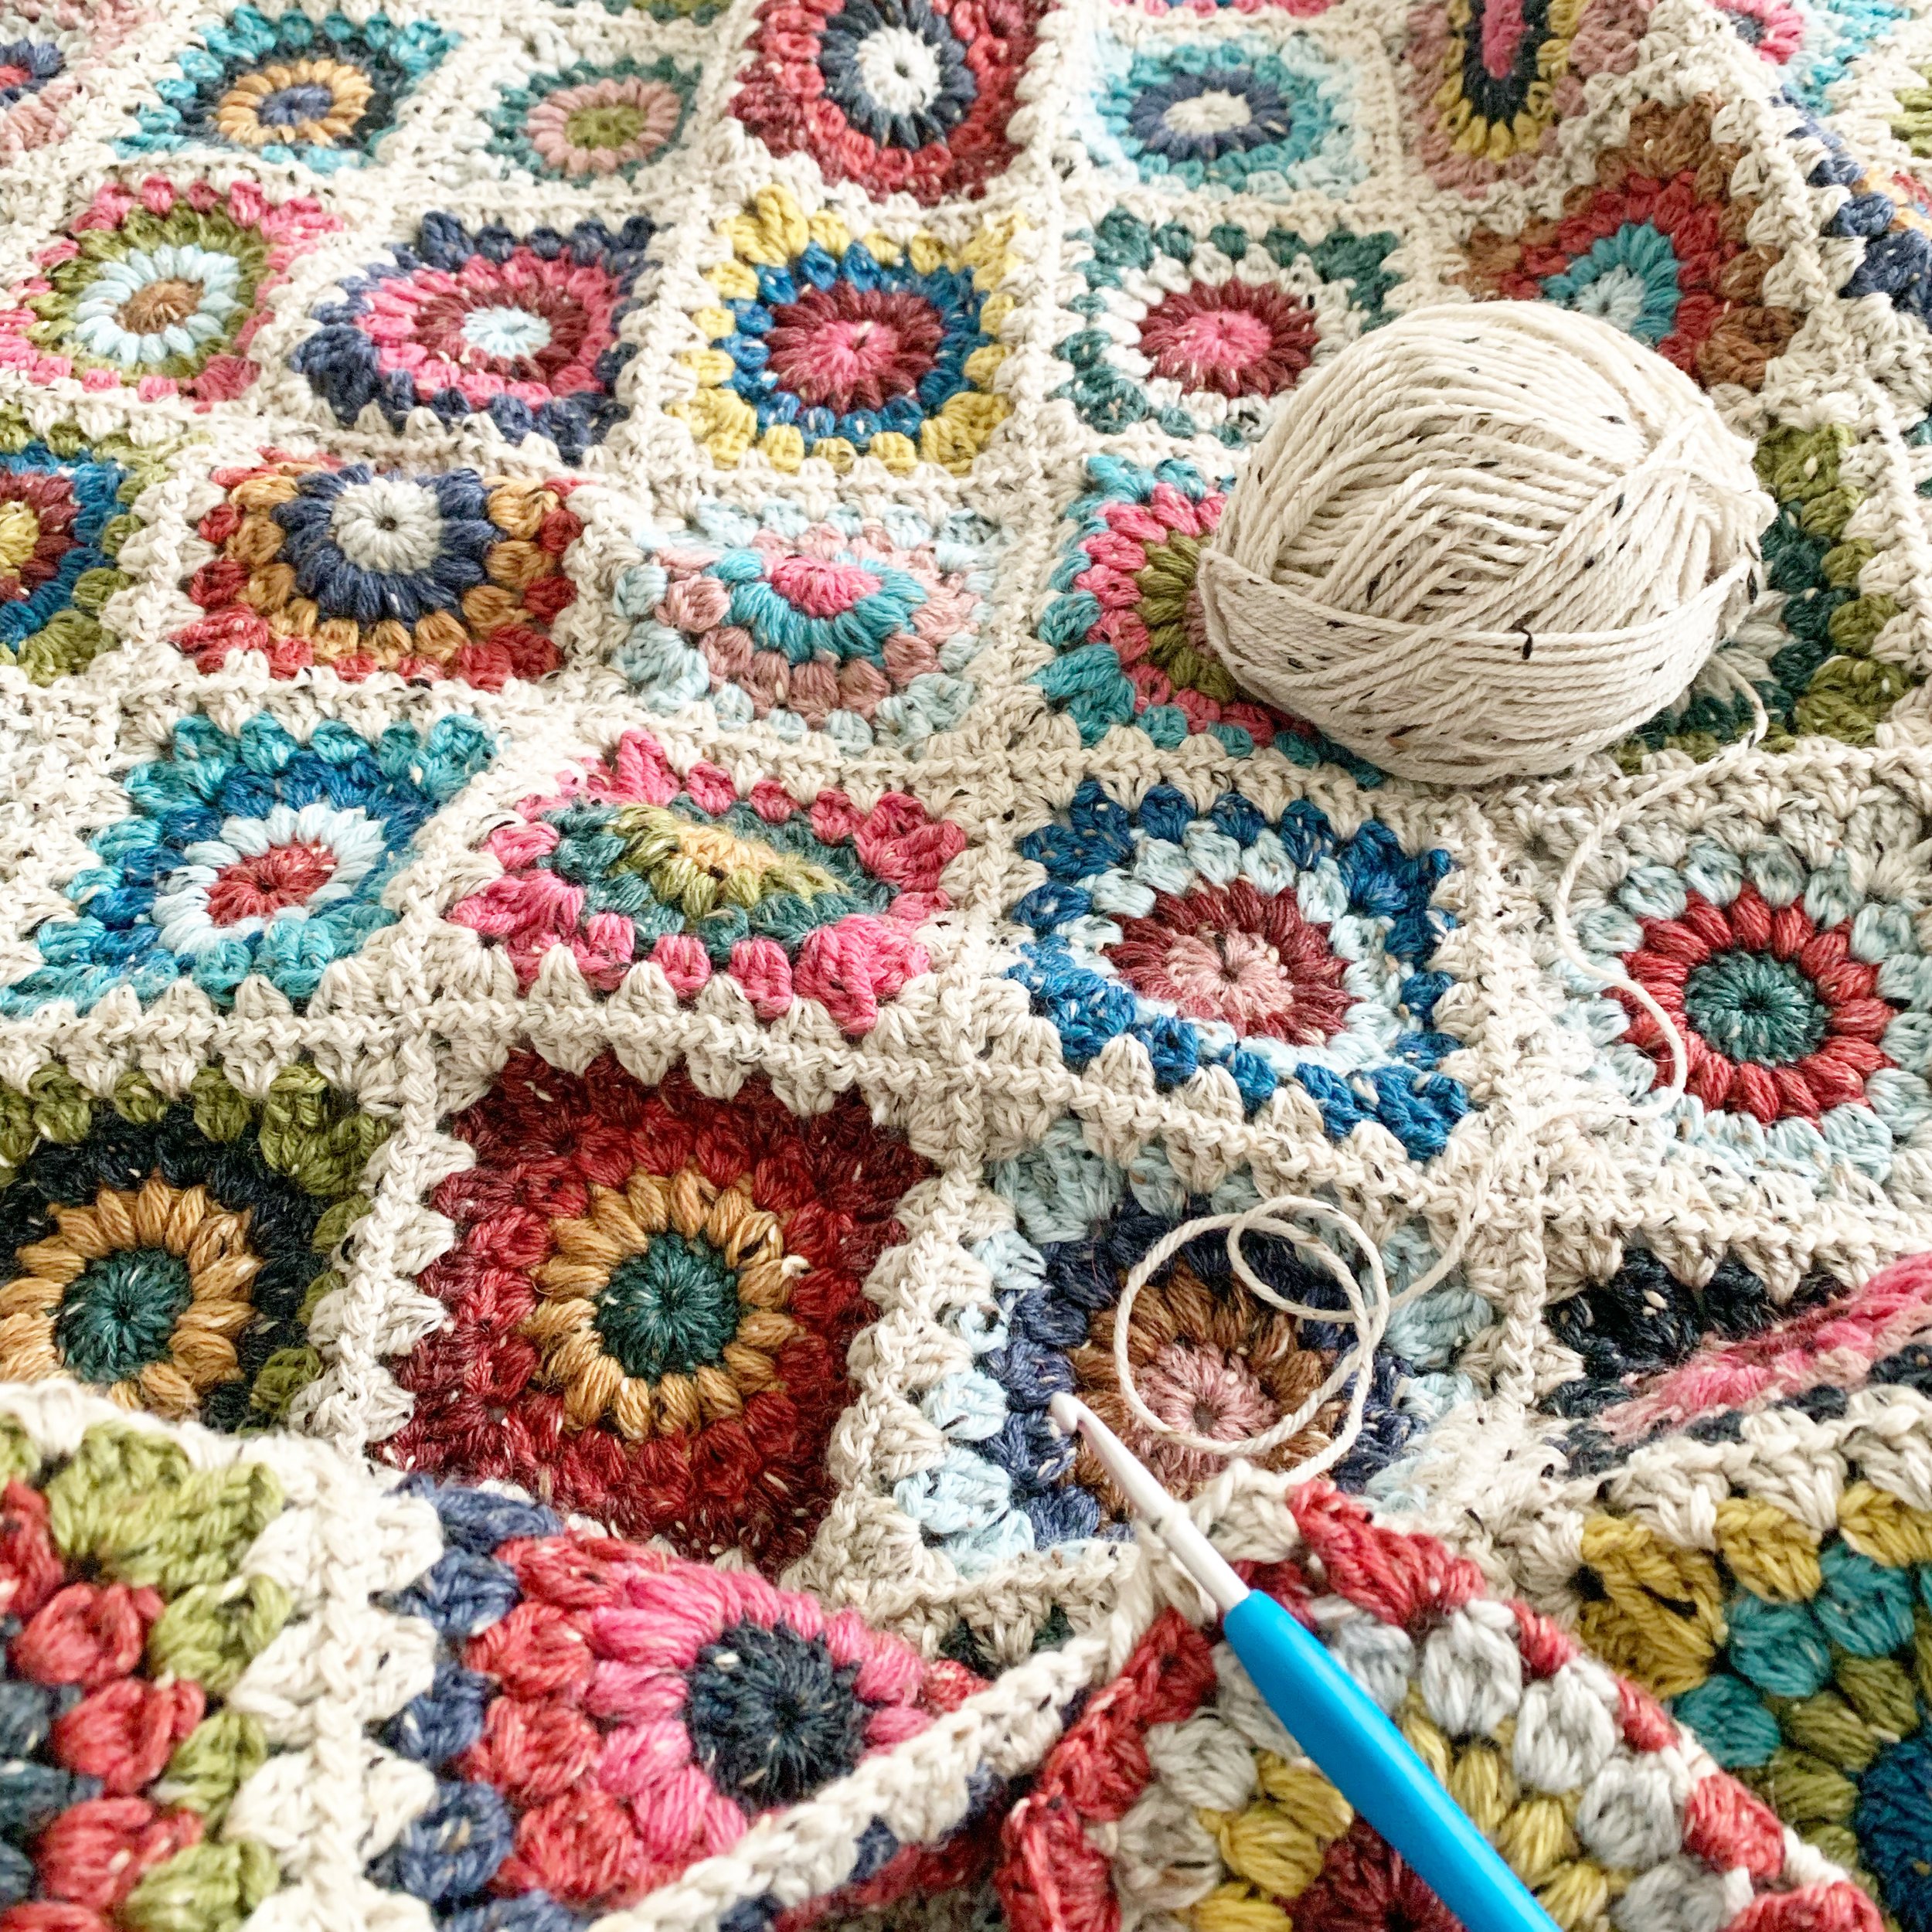
4 round sunburst granny square= 4.75” square (unblocked)
Finished Size
45” x 56” inches (blocked)
Glossary (using US Crochet Terminology)
st(s)- stitch(es)
ch- chain
ch-sp- chain space
sl st- slip stitch
rnd- round
YO- yarn over
SC- single crochet
HDC- half double crochet
DC- double crochet
tr- treble crochet
CJAYG- continuous join-as-you-go
cl st(s)- cluster stitch(es)
4 DC cl– 4 double crochet cluster stitch
puff- puff stitch
RS- right side

How to puff stitch (puff): YO and insert hook into st, YO and pull up a loop (pull up to about the height of a DC). Repeat this 2 more times. There should be 7 loops on the hook. YO and pull through all 7 loops.
How to 4 DC cl: YO and insert hook into sp, YO and pull up a loop, YO and pull through 2. Repeat 3 more times. There should be 5 loops on the hook. YO and pull through all 5 loops.
Pattern Notes
Ch 2 will count as DC throughout.
Ch 3 will count as tr throughout.
Gauge will affect yarn quantities. If your squares are larger than 4.75” inches square, you will require more yarn, please adjust hook size to meet gauge.
Blanket is constructed using CJAYG: where each sunburst is turned into a square while attaching to the previous square. IF you wish to join using a different method-please note you will require more yarn.
Please follow the written pattern for the sunburst granny square (rather than the tutorial). The tutorial was filmed long before I started writing patterns and is only meant to be a visual guide. There may be differences in the amount of chaining that occurs in the corners and beginning of rounds.
I did my absolute best to use up every inch of yarn in most of the skeins. For those indicated above with the full skein used –I usually had about a 6-20” tail of yarn leftover. Keep this in mind when ordering.
Don’t forget to share your makes on Instagram and Facebook! I always love seeing what you’ve all worked up. Tag me on Instagram @nautikrallcrochet or Facebook @nautikrall_crochet or use the hashtag #hyggeburstblanket

Pattern Graph
Blanket Dimensions: 8 squares x 10 squares = 80 squares total
Squares are numbered to coordinate with the colour chart below. Please use this chart for final placement of squares.


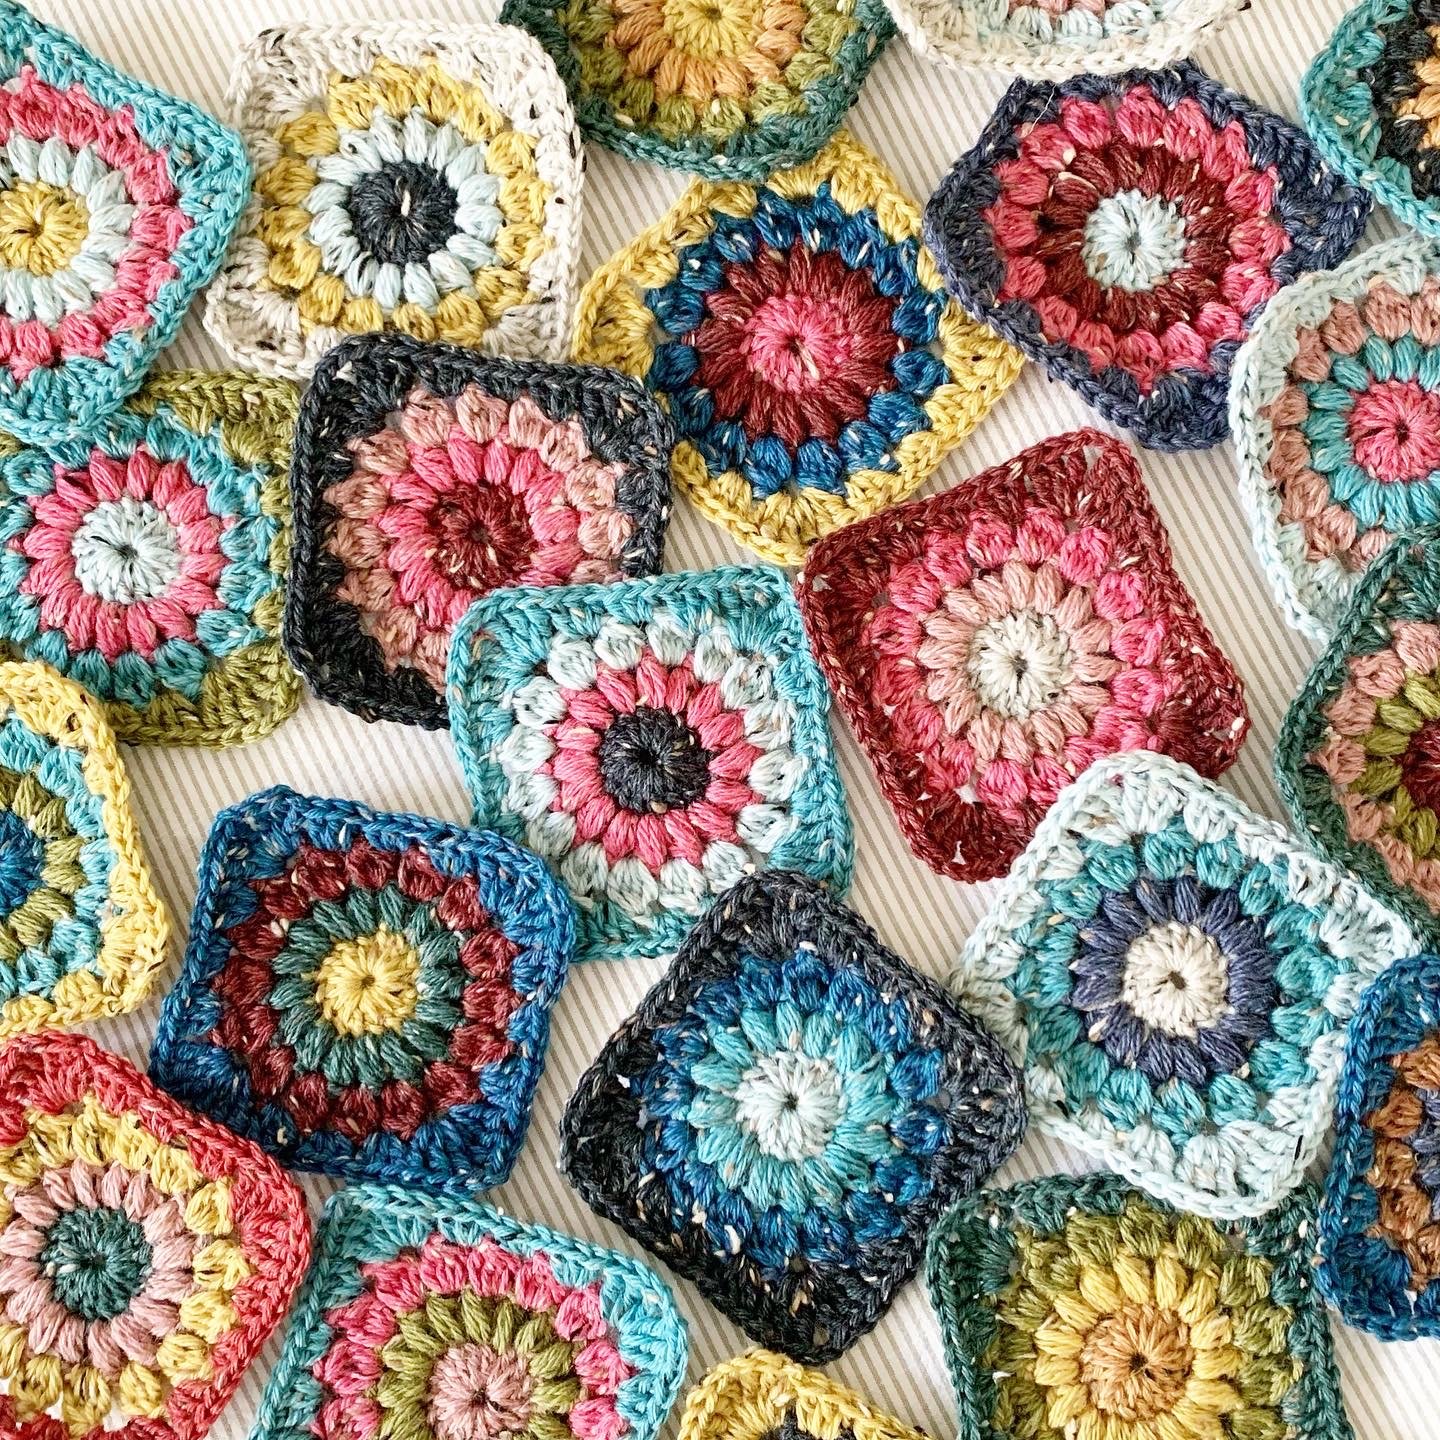
Pattern Sunburst Granny Square:
Make 80 squares.
Round 1
With first colour, Ch 5.
Sl st into 5th chain from hook to create centre ring.
Ch 2, 15 DC into centre ring (16 total).
Join with sl st to the top of first DC (not the chain 2), Fasten off.
Round 2
Join new colour into top of any st, ch 1.
Puff into same st, ch 1.
Puff and ch 1 into each st around (16 puff sts).
Sl st into the sp between the first two puff sts (NOT into top of the first puff st), Fasten off.

Round 3
Join new colour into any ch-1 sp, ch 2
Work a [4 DC cl, ch 2] into same sp.
Work a [4 DC cl, ch 2] into each ch-1 sp around (16 cl sts).
Sl st into the ch-2 sp between the first two cls (NOT into the top of the cl st), Fasten off.
Round 4
Join new colour into any ch-2 sp, ch 3.
Work [2 tr, ch 2, 3 tr] into same sp (completes 1st corner of square).
*Work 3 DC into the next ch-sp.
Work 3 HDC into the next ch-sp.
Work 3 DC into the next ch-sp.
Into the next ch-sp work [3tr, ch 2, 3 tr].*
Repeat from * to * 2 more times.
Work 3 DC into the next ch-sp.
Work 3 HDC into the next ch-sp.
Work 3 DC into the next ch-sp.
Sl st to the top of first tr (not the ch 3), Fasten off.
***Please see the YouTube video tutorial below on how to make Sunburst Granny Squares:
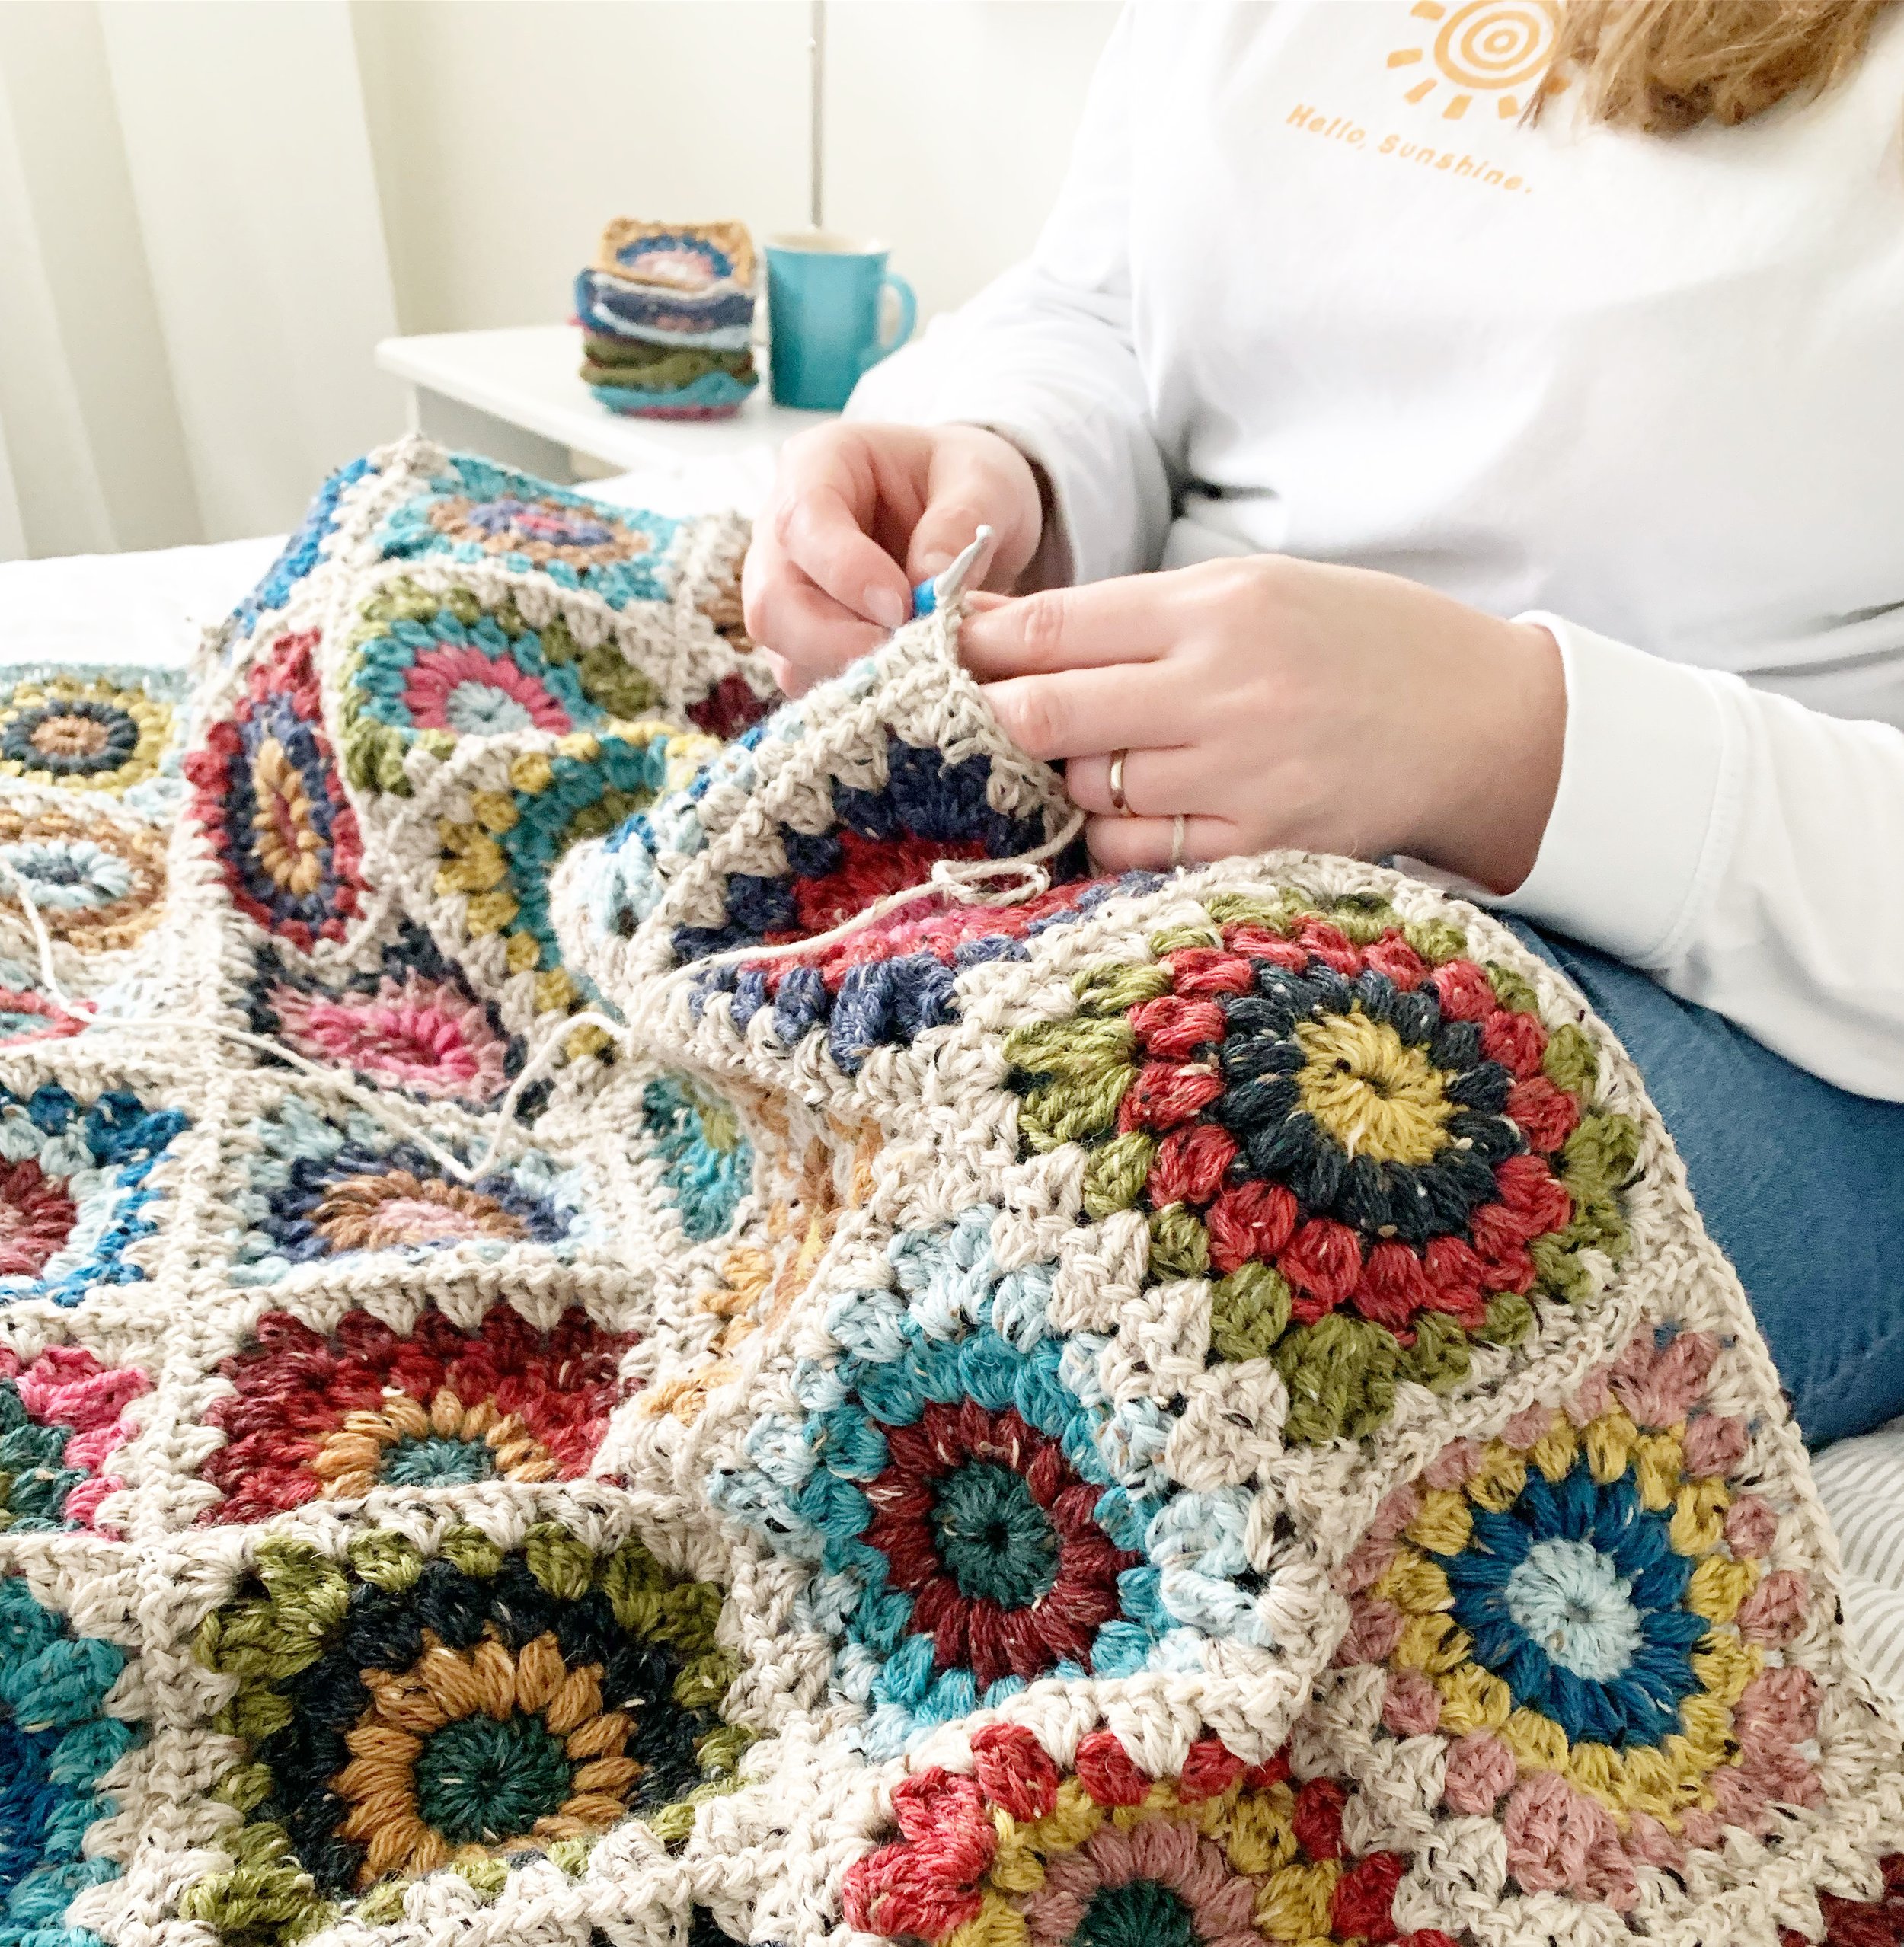
Assembling Blanket Squares (CJAYG):
With RS of squares face up, lay out all squares in the arrangement from the colour graph above.
Using colour Picket Fence, start in top right-hand corner to join squares across the rows.
Example: First row will be joined from square number 8 across to square number 1. The second row will start with square number 16 and be worked across to square number 9.
Following along with the video tutorial, crochet squares together until blanket is complete.
Once back to the start of the blanket (in the top right-hand corner)- DO NOT FASTEN OFF.
You are now ready to start border Round 1.
**Please see video tutorial below for how to join Sunburst Granny Squares with CJAYG to create blanket:
Border
Round 1
Sl st over two sts into the ch-2 corner sp.
Ch 2, work [2 DC, ch 1, 3 DC] into corner sp.
Continue working 3 DC into each sp between DC shells around edge of blanket.
Into each join (where two squares meet); work 2 DC on either side.
Work [3 DC, ch 1, 3 DC] into each corner.
To join round, sl st into the top of the first DC (not into the ch 2), do NOT fasten off.

Round 2
Sl st over two sts into the ch-2 corner sp.
Ch 2, work [2 DC, ch 1, 3 DC] into corner sp.
Continue working 3 DC into each sp between DC shells around edge of blanket.
Work [3 DC, ch 1, 3 DC] into each corner.
To join round, sl st into the top of the first DC (not into the ch 2), do NOT fasten off.
Round 3
Repeat Round 2, Fasten off.
Round 4
Join new colour (Farmhouse Heather) into any corner, ch 2.
Work [2 DC, ch 1, 3 DC] into corner sp.
Continue working 3 DC into each sp between DC shells around edge of blanket.
Work [3 DC, ch 1, 3 DC] into each corner.
To join round, sl st into the top of the first DC (not into the ch 2), do NOT fasten off.
Round 5
Complete one round of pom-pom border to finish off blanket.
Fasten off, weave in all ends.
**Please see video tutorial for how to crochet pom-pom border: How to Crochet the Pom-Pom Border.
~The End~
The pattern, the photographs and video tutorials in this document are the property of Nautikrall Crochet. You may sell items you make from this pattern; but may not sell, reproduce, or distribute this pattern, in whole or in part, as your own.
Copyright © 2021 Nautikrall Crochet – All right reserved.
