The Rolodex art card project

My friend Pamela introduced me to Rolodex art a few years ago. I had never seen them before and when I saw some of her displays, I was amazed and very much inspired.
What an incredible idea. Use Rolodex cards as places where to make art, and then have them on display for inspiration later. I already knew I loved to create small collages, so I knew I could make a go with Rolodex card art.
It took me a little while to get started, but last year I began making some.
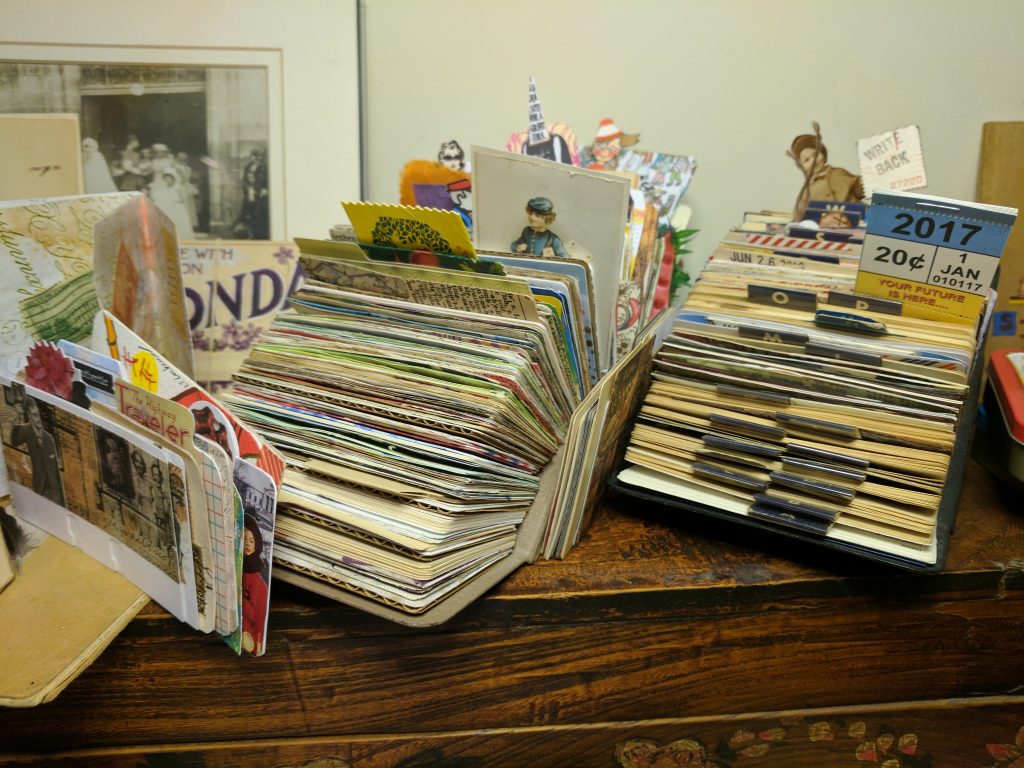
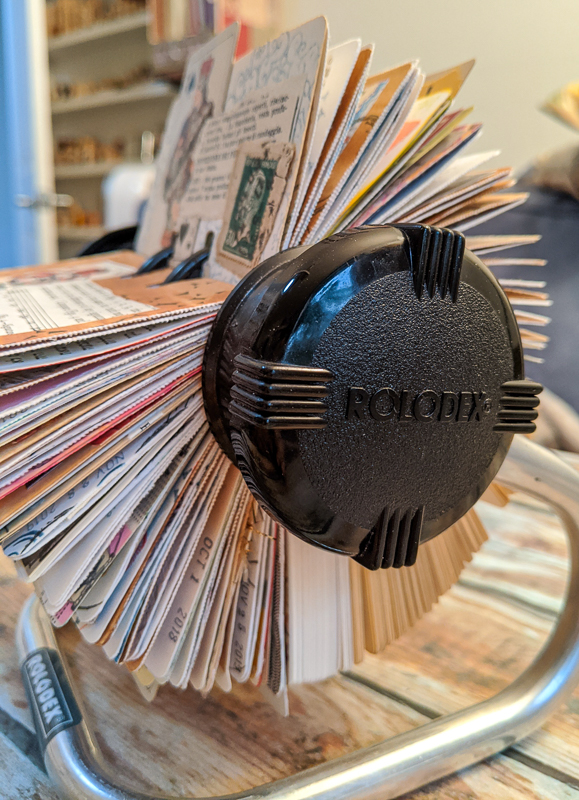
This year I wanted to create more but I began to think about how I wanted to display them. I found this "open rotary" Rolodex card file at a second-hand craft store, which holds the cards in a circular configuration, and knew that this was how I wanted to display my cards.
This file is an actual Rolodex product. It came with a bunch of old, yellowed cards. I'm keeping them and will use them as I continue to collage more. The paper is a bit thin, so I glue two cards together.
I love that I can flip through them and have visual access to all of them so quickly.
[video width="720" height="720" mp4="https://lupaina.s3.eu-north-1.amazonaws.com/uploads/2019/12/VID_90400607_150919_945.mp4"][/video]
How do I make them?
It can take some time to create a single card, so I prefer to do a series. I found pages of cards that are pre-cut at the Goodwill. They used to be a regular offering at most office supply stores. With the sheets, all I need to do is embellish, and when the page is complete (both sides), I can separate the cards easily. This process is great because I can get a colored background easily on multiple cards, or even run the whole page through my printer. This really gives me a lot of options for creating interesting collages.
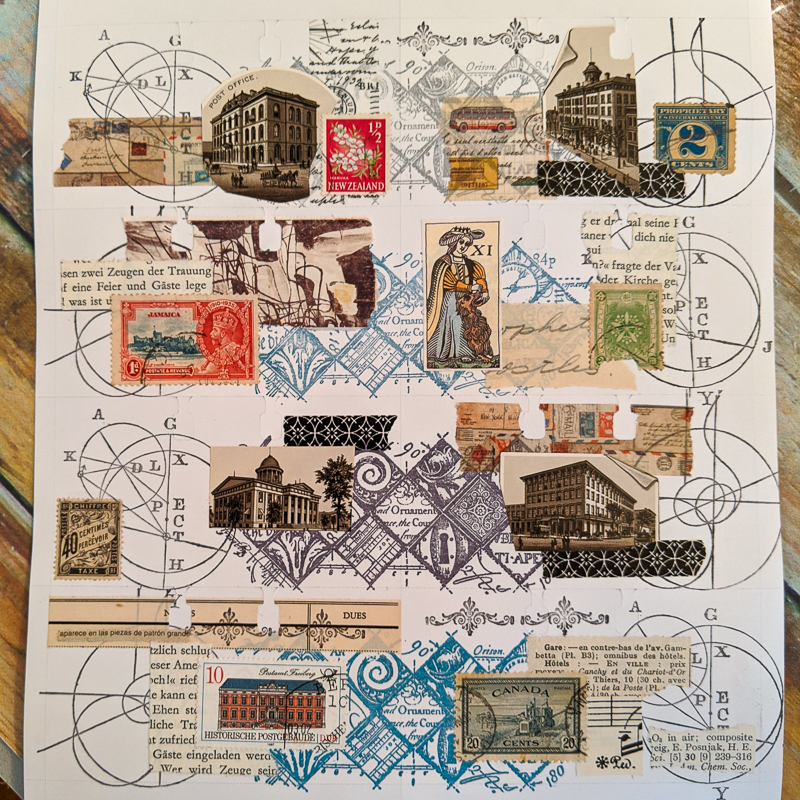
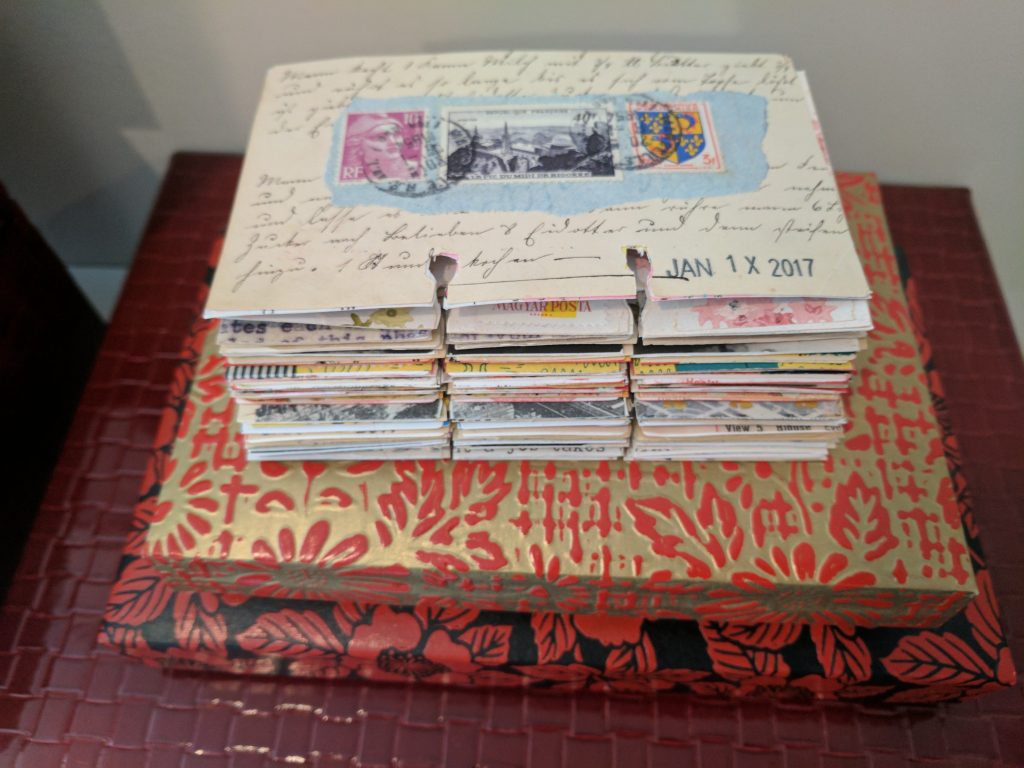
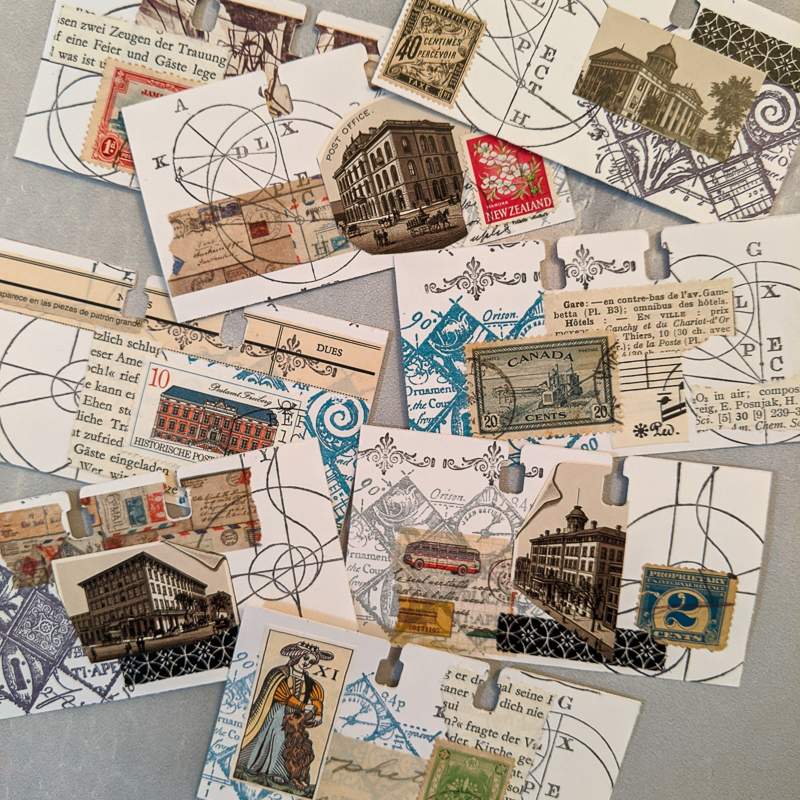
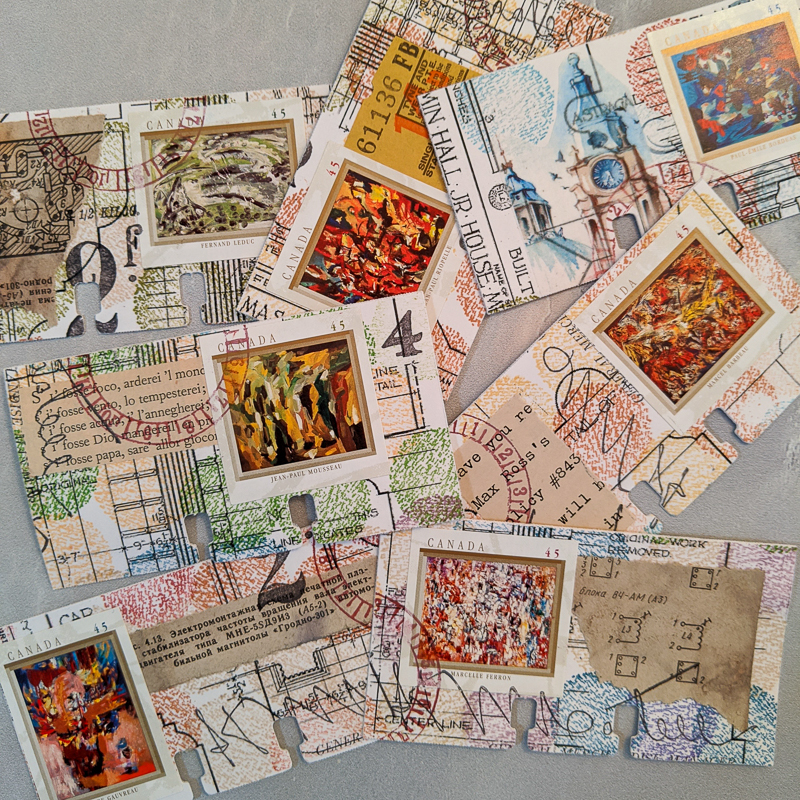
Here I used rubber stamps that straddle 2 cards. After I separate the cards, they look like the ones below.
In the cards above, notice the orientation of the notches--they are on top. That's because these are B sides. The second side is "upside down" so that you can see it displayed correctly when you flip through. The A side is with the notches at the base.
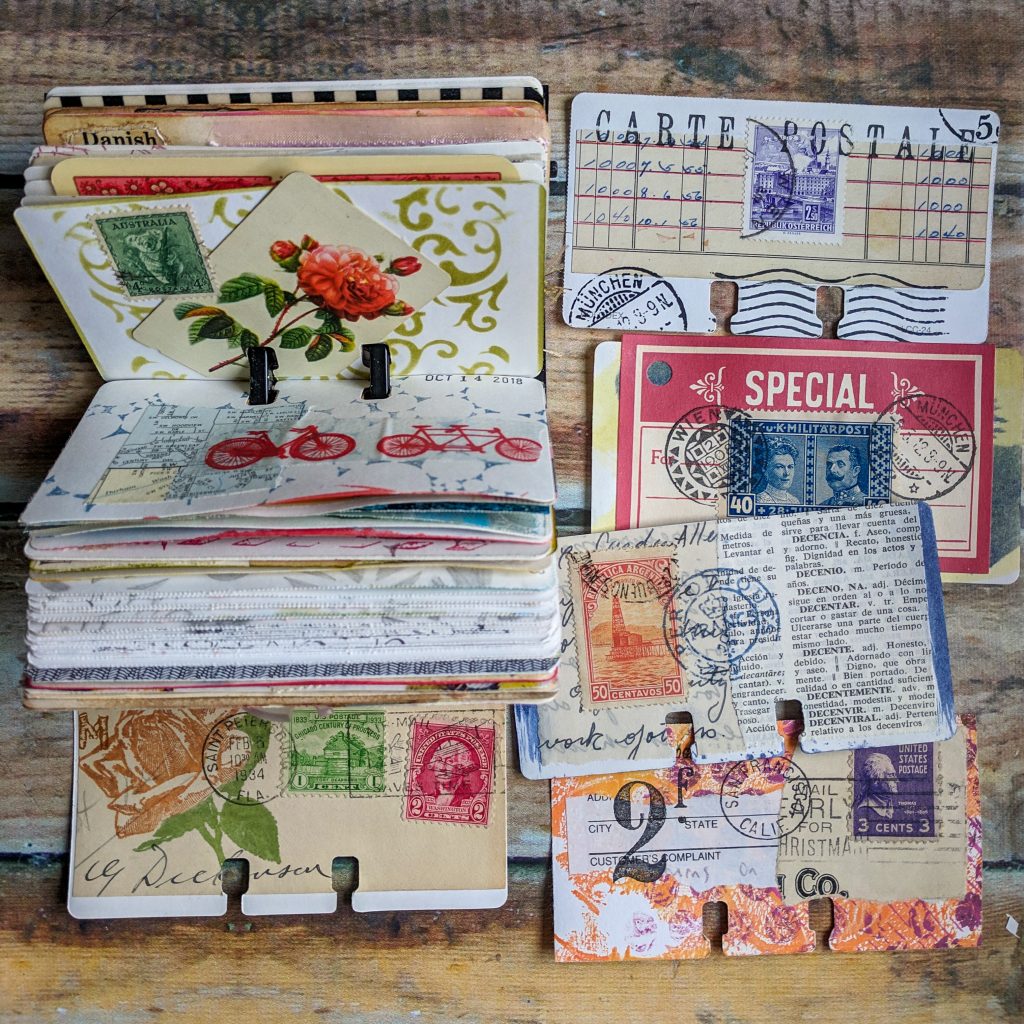
Here's the A side. It's hard to notice the notches at the base. You'll see them more clearly when they are separated.
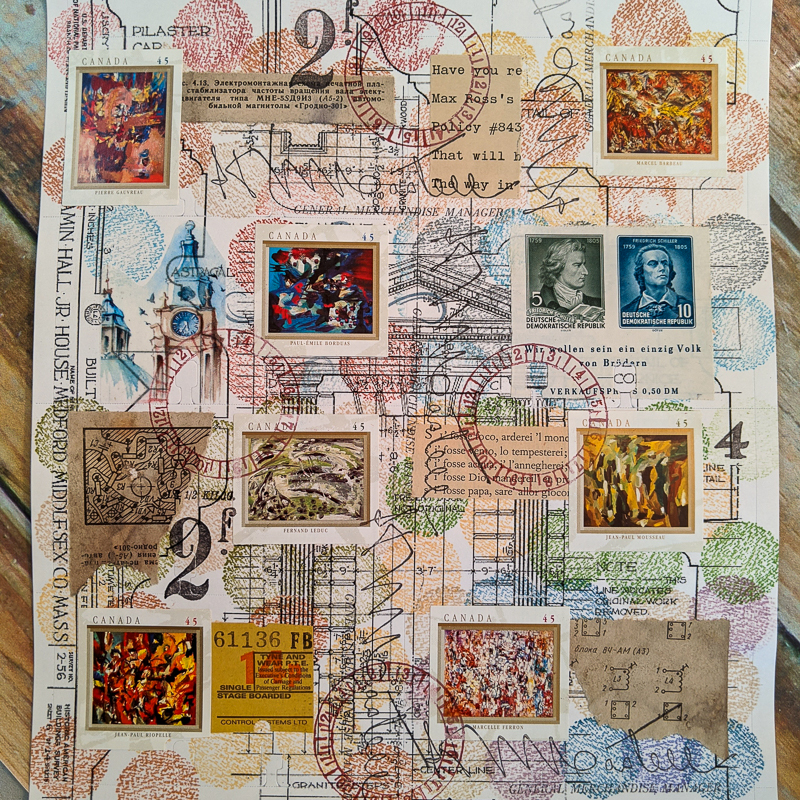
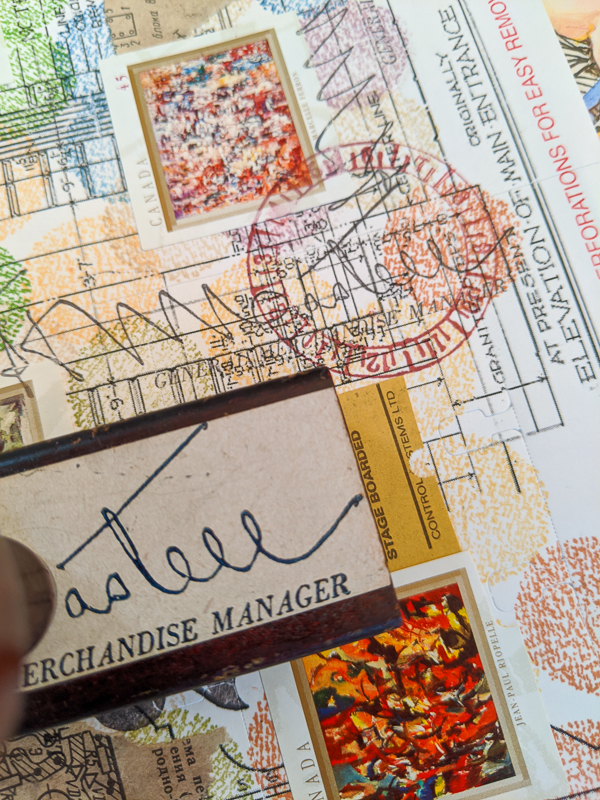
I finally got to use this neat rubber stamp with someones's signature that I picked up at an estate sale. I bet that Manager would never have guessed his signature would be used for something like this!
Here's how the cards look separated.
How do I cut out the notches?
One question I hear people ask is, how do I cut out the notches so cleanly? In the sheets, everything is pre-cut, but when I want to add papers near the notches, I use a punch for cutting the shape. A few years ago I found this punch by Heidi Swapp, and it's still being sold on Amazon. Here's the link: https://amzn.to/3IWzG6L
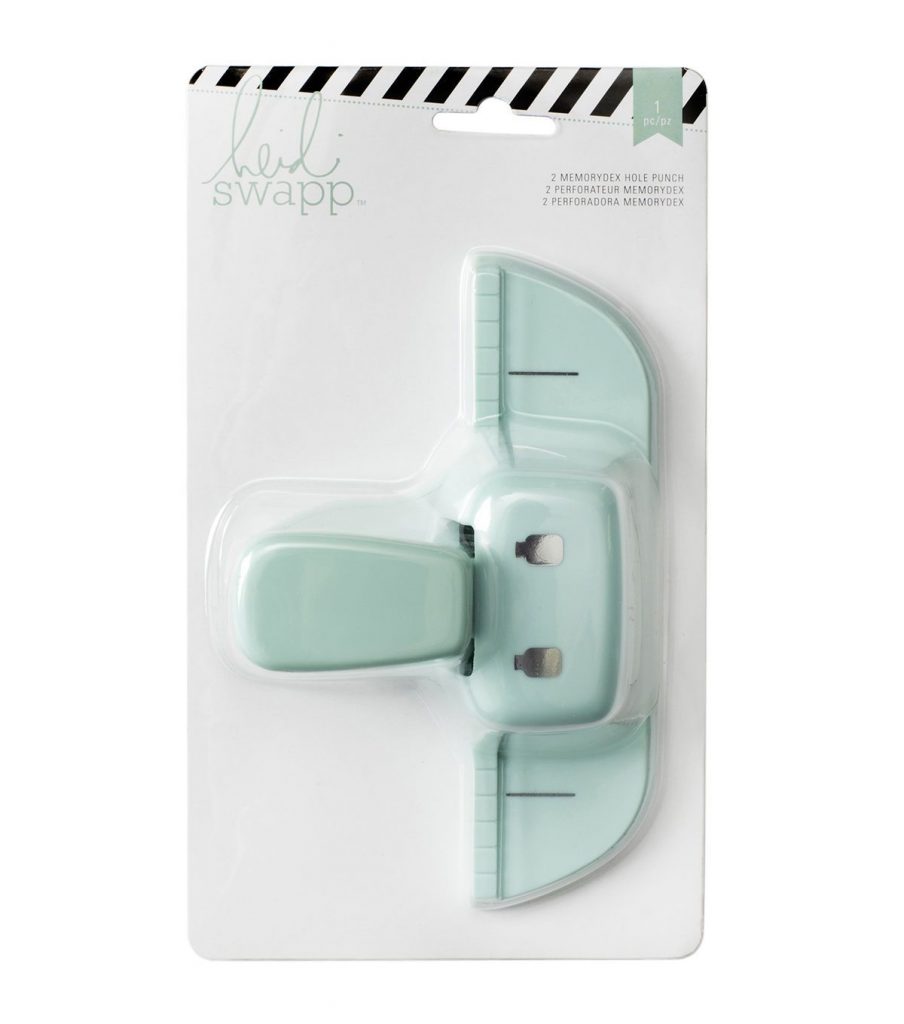
It isn't perfect, but it sure helps when I want to collage on the whole card. You could always use scissors to cut away the hole; that's what many others do. You can hardly notice when the cards are in the Rolodex file, anyway. Do a google search on "how to cut out a rolodex card", or "make your own rolodex card" and see what you find. There are also YouTube videos that will show you this.
I love the idea of a Rolodex system as a gluebook. It's a place I can store and display my collage art, so yes, it's a gluebook!