Install WebLogic Server 12c on Windows, create a new domain, and deploy a sample application, all in 30 minutes or less! A quick overview of the entire process, installation to deployment.

Installing Oracle WebLogic Server 12c on Windows
Oracle has made the installation and setup of WebLogic Server 12c on Windows, remarkably easy for us as developers. In less than a half-hour, you can install WebLogic Server, create a new WLS domain, configure the new WebLogic Server domain in NetBeans, and deploy your first application. In this post, we will run through the most basic example of the install and configuration process.
In an actual production environments, even on your development machine, you will have added considerations when deploying high-performance enterprise applications and services to WebLogic Server. Considerations, such as security, persistence, web service configuration, performance, monitoring, and messaging, not be covered. None the less, this post should show just how easy it is to get started with WebLogic Server.
In this brief post, we will cover :
- Installing Logic Server 12c on Windows
- Creating a New WebLogic Server Domain
- Accessing the New WebLogic Server Domain
- Creating a Sample Project to Deploy to Domain
- Deploying the Sample Project
Installing WebLogic Server 12c
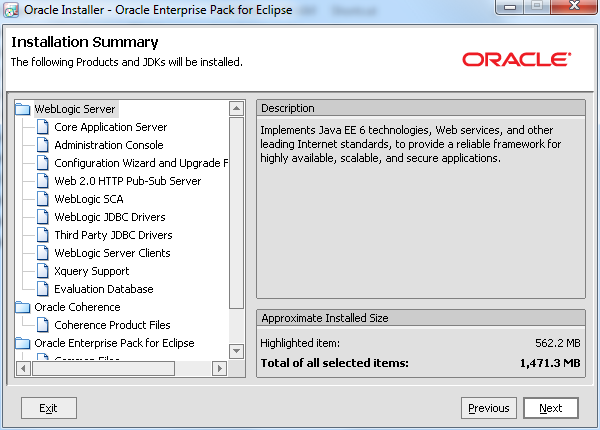
Download the latest version of WebLogic Server (WLS) from Oracle’s website. Once the rather large download is complete, double-click on the executable file to start the install process. I used all the default settings during the installation, illustrated below.
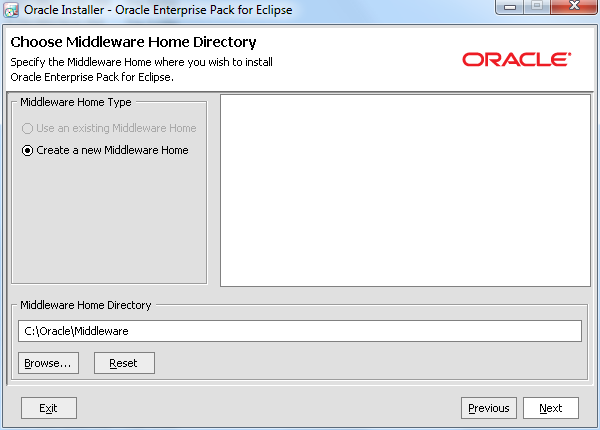

Oracle recommends you create a %MW_HOME% environmental variable, whose value is the Middleware Home Directory, shown in the screen-grab, below:
C:\Oracle\Middleware
Note the WebLogic Server Product Installation Directory in the screen-grab, below. You will need it for other configuration later in the post. You might also consider creating a %WL_HOME% environmental variable to store this value. It saves time when executing WLS commands in the terminal:
%MW_HOME%\wlserver_12.1


If you exit the Quick Start utility, and wish to return to it later, you can run the following command script:
%WL_HOME%\common\quickstart\quickstart.cmd
Creating a New WebLogic Server Domain
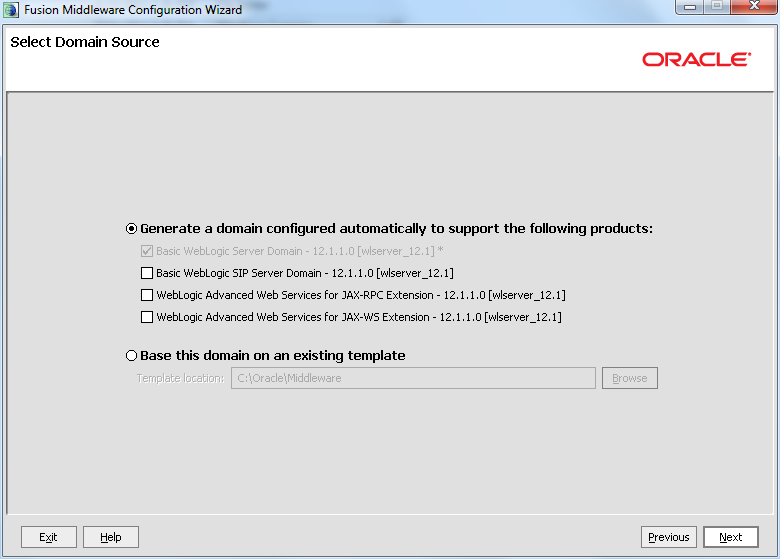
With WLS installed, the first thing you will want to do is create a new WebLogic Server domain to host your applications. The easiest way to create a domain is the Fusion Middleware Configuration Wizard. To start the Wizard, run the following command script (there is also an executable in the same directory):
%WL_HOME%\common\bin\config.cmd
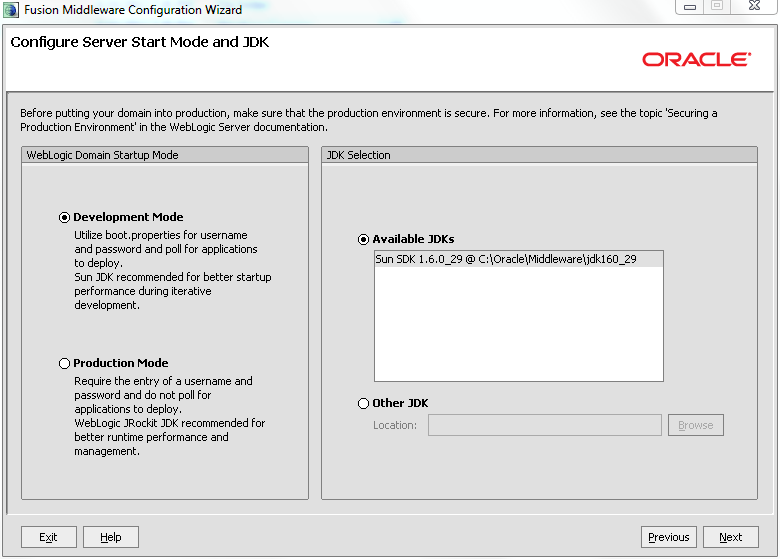
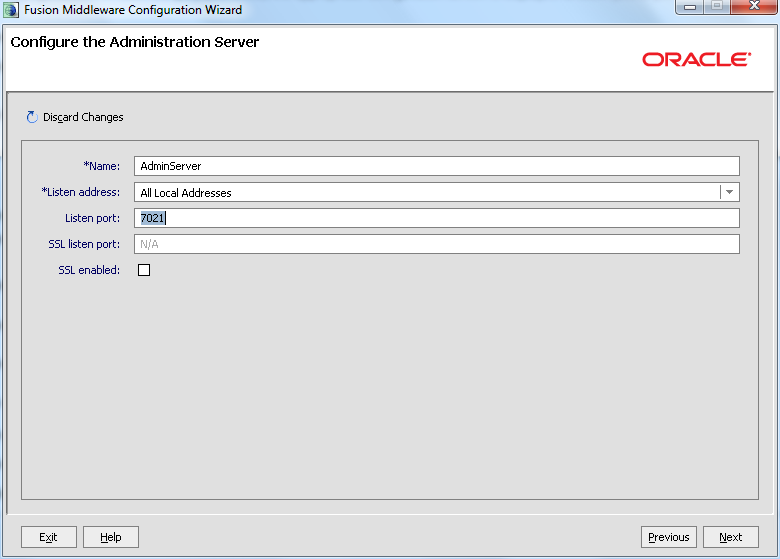
The following screen-grabs show the creation a basic domain using the Wizard, without any added feature and functionality, such as web services, messaging, or persistence.


Make sure to note the username, password, and port you choose during the set-up. You will need them later to start the domain and to deploy to it.


Accessing the New WebLogic Server Domain
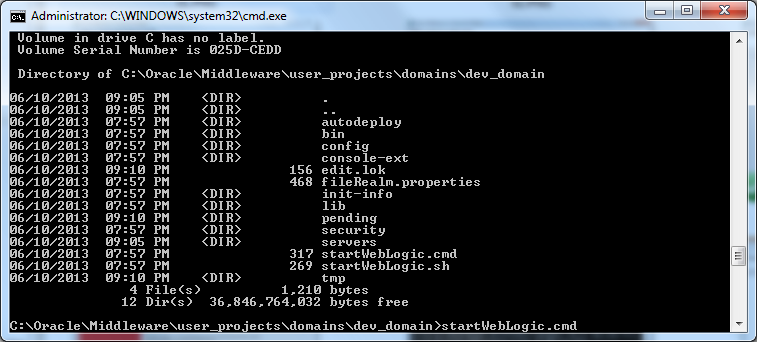
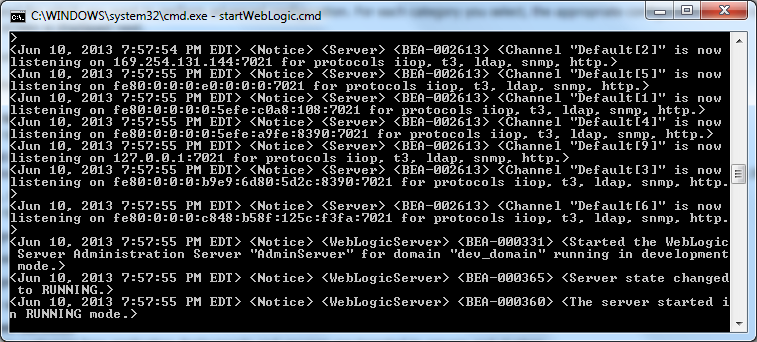
To start the new domain, run the following command script:
%MW_HOME%\user_projects\domains\dev_domain\startWebLogic.cmd
Once started, to reach the domain’s Administration Console, open a browser and enter the following URL (adjust it for the port you chose earlier):
http://localhost:7021/console/login/LoginForm.jsp
Log into WLS using the username and password you chose during the domain creation in the previous steps.


Configuring WebLogic Server in NetBeans
Open NetBeans and switch to the ‘Services’ Tab, right-click on ‘Server’, and select ‘Add Server…’. Enter the values used during the installation and domain creation steps, above.

The ‘Server Location’ will be the same value as our %WL_HOME% variable:
C:\Oracle\Middleware\wlserver_12.1

The ‘Domain’ path will the root of our new domain, located where all domains are, in the ‘domains’ directory:
C:\Oracle\Middleware\user_projects\domains\dev_domain


Creating a Sample Project to Deploy to Domain
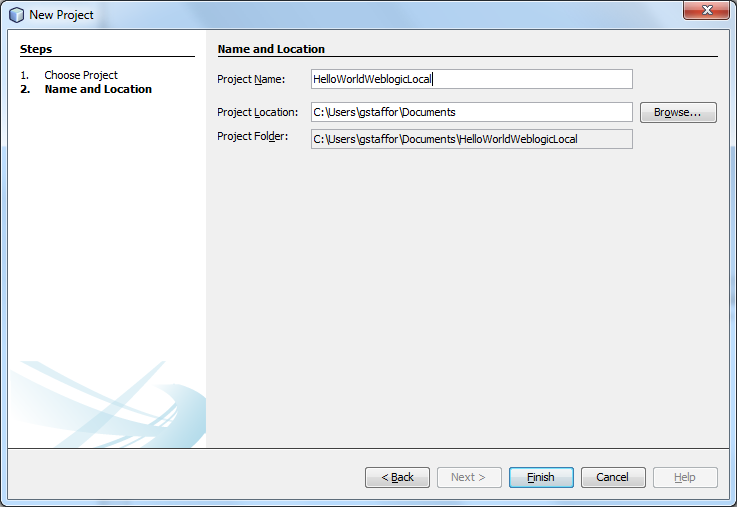
To test your new WLS domain, create a quick Java EE Hello World RESTful web service NetBeans sample project. We have used this sample many times before in previous posts to demonstrate various server deployments.

Right-click on the project, and select ‘Properties’, and then select the ‘Build’ -> ‘Run’ menu item. Change the Server to ‘Oracle WebLogic Server’. Leave all the other options with their default values.

Deploying the Sample Project
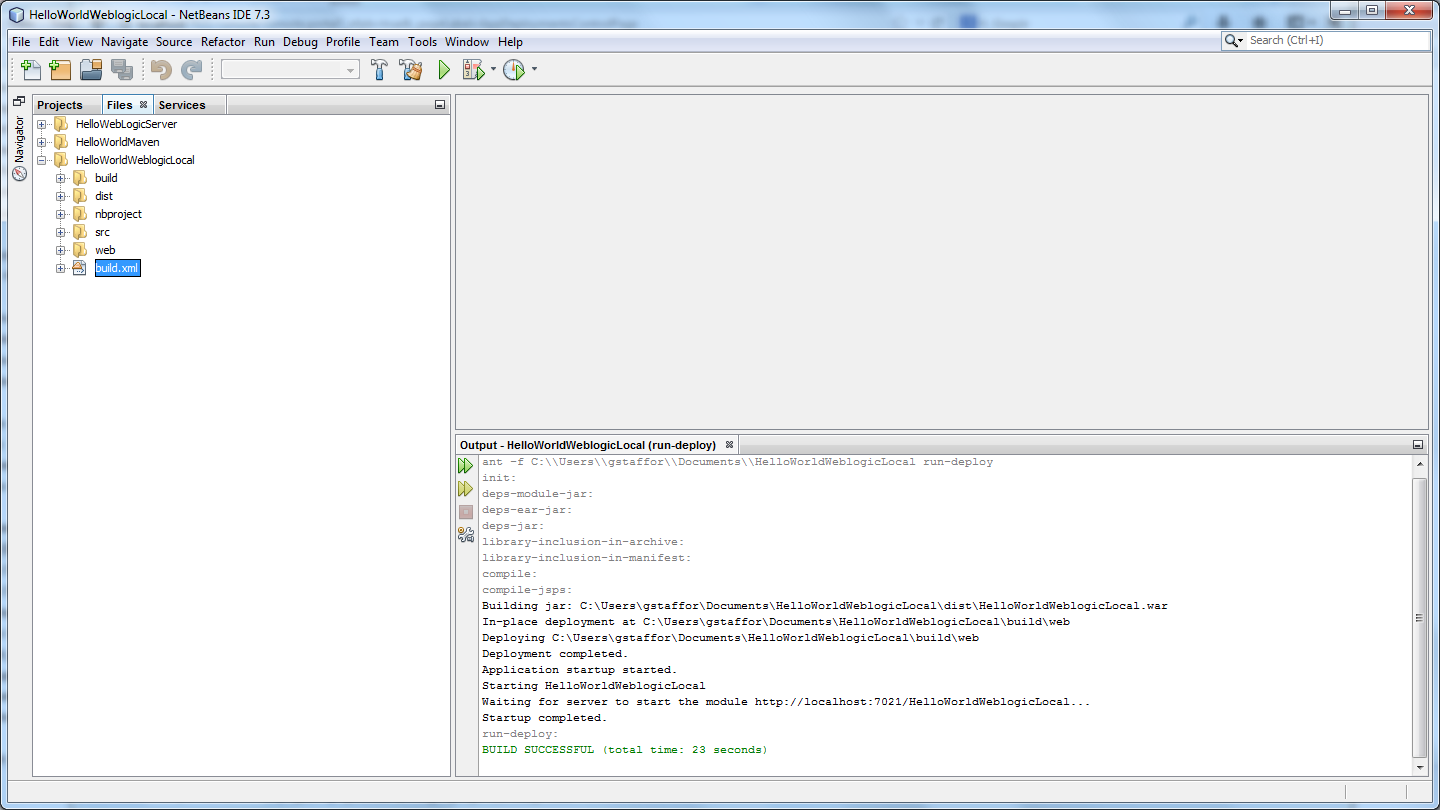
Right click on the Apache Ant ‘build.xml’ file on the ‘Files’ tab. Select ‘Run Target’ -> ‘Other Targets’ -> ‘run-deploy’. Apache Ant will run the run-deploy target, which will run a series of dependent targets. They will compile the project, build the .war file, and deploy the .war to the newly created WLS domain. Since we did not configure any additional server within the domain, the project will be deployed to the existing ‘AdminServer’ server.
Return to the Administrative Console, and switch to the ‘Deployments’ window to view the newly deployed project.

To view the deployed project, open a second web browser window and enter the following URL:
http://localhost:7021/HelloWorldWeblogicLocal/resources/helloWorld

Conclusion
There you have it, a whirlwind WebLogic Server installation to deployment demonstration. So, how long did it take you?

#1 by Zach on June 13, 2013 - 9:22 am
Great post! I’ve always been curious how WebLogic is setup/configured.
#2 by Gary A. Stafford on June 16, 2013 - 10:35 am
Thanks Zach.
#3 by SutoCom on June 22, 2013 - 7:51 am
Reblogged this on Sutoprise Avenue, A SutoCom Source.
#4 by phenorhapsody on May 10, 2014 - 6:22 am
Reblogged this on PhenoRhapsody.
#5 by Tony on September 27, 2014 - 10:38 pm
Excelent and easy, thanks!!!.
#6 by Can Kutay on November 27, 2014 - 3:09 am
Hello
ı’m doing everything step by step. but at the end my browser does not work. what can be the problem? i don’t have a database, do i have configure it to my weblogic domain? or i’m having errors like there’s defined machines to your server. if you help i’d be grateful, thank you. best regards