Mermaid Modeling: A Professional Mermaid’s Ultimate Guide to Posing in a Mermaid Tail!
Whether you’re a new mermaid seeking modeling guidance or an experienced mermaid looking for photo inspiration, this series is designed to help YOU reach your full mermaid modeling potential through a close analysis of the top mermaid poses! & if you’re a photographer looking to expand into mermaid photography, I share lots of tips to help you capture the most captivating angles and framing as tried and true on Instagram.
PIN THIS PAGE for photo references during your next photoshoot!
The following is a list of my Top 10 mermaid modeling poses on land, AND they’re listed in the order I think is most helpful to perform them in. This order takes into consideration both the most ergonomic movements to transition between poses (since its usually difficult to maneuver in a tail) and it factors in your tail getting sandy / muddy as you move, which may or may not pertain to you depending upon your environment. Click into the title of any pose for a “How-to” guide and a more in-depth view of how & why the pose works!
Mermaid Modeling Poses on Land

1. Over the Shoulder
Begin your mermaid photoshoot with this simple pose as a quick and captivating way to chronicle your adventures! In one shot, you can capture a beautiful behind-the-scenes POV of the location, as well as document your hair or makeup before getting wet, sandy, or otherwise altered by the elements.
Detailed Guide for Modeling “Over the Shoulder”

2. Carried Away
“Carried Away” requires a strong partner, but the beauty of this pose is that it can typically be captured naturally at the beginning, end, or during a photoshoot- if you need to be lifted & moved by hand. This is because the Classic “Carried Away” Pose is also the most common method of mermaid transportation!
Detailed Guide for Modeling “Carried Away”

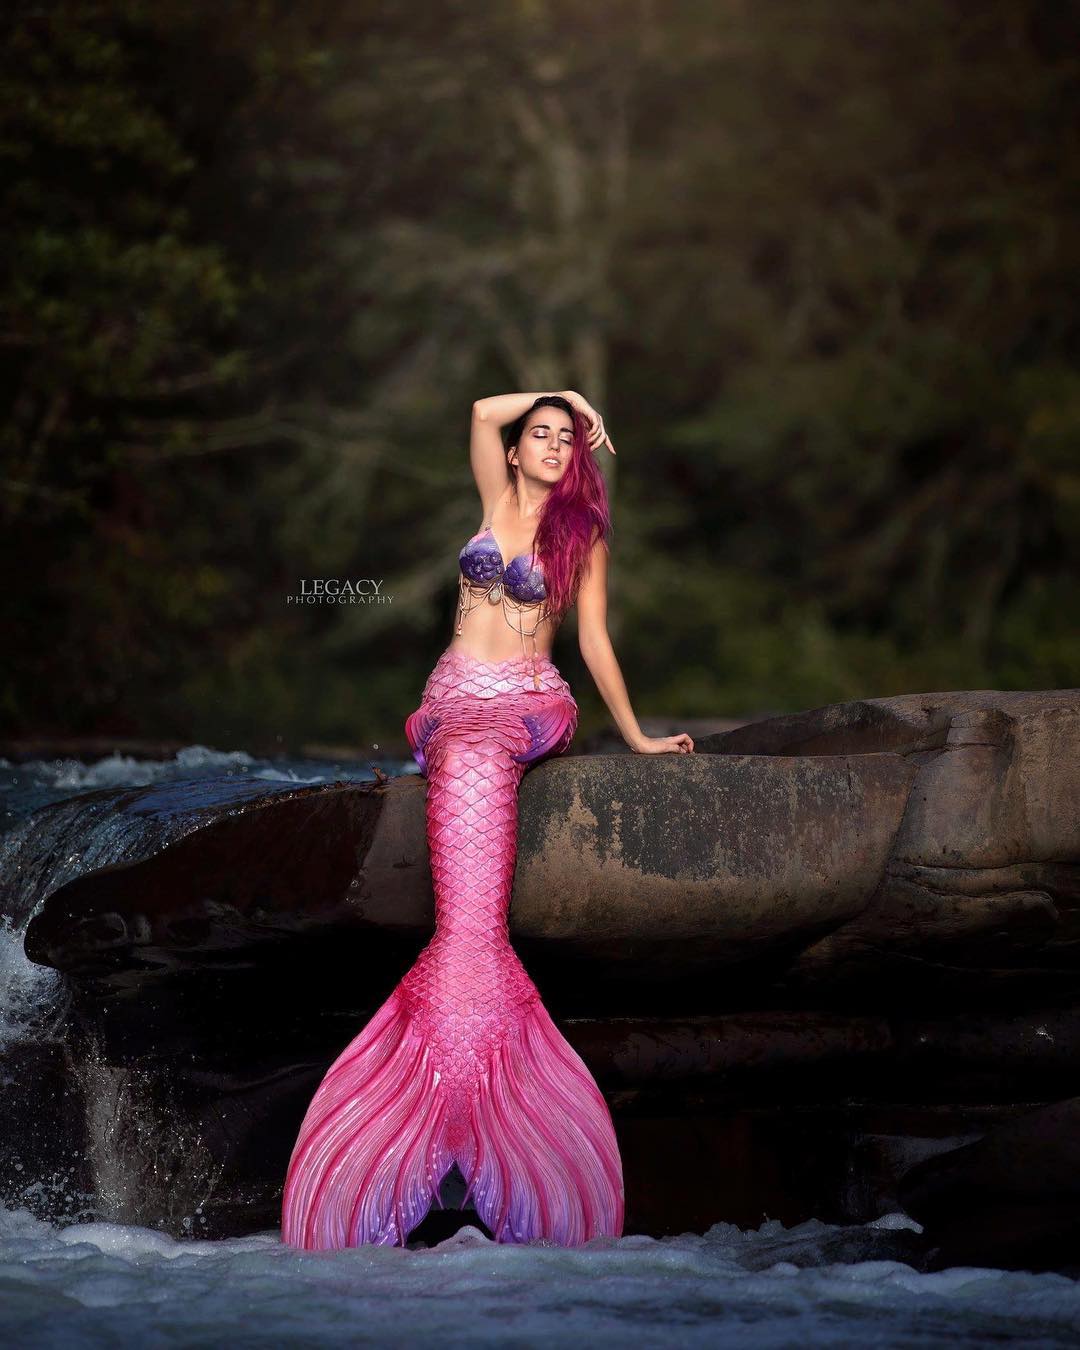
3. Hang Fluke
You will hear me say this again and again – Use your Environment! If there is a safe way to let your fluke hang long over the edge of say a rock, tree branch, boat, etc. this is one of the most beautiful poses IMO. Start with this pose once you get in your tail to show off your tail, hair & make up in all its glory before the elements get to you!
Detailed Guide for Modeling “Hang Fluke”

4. Sitting Mermaid + Variations
After coming down from your “throne” try sitting mermaid. You can prop your fluke up for a fun change!
Detailed Guide for Modeling “Sitting Mermaid” + Variations

5. On the Side
From “Sitting Mermaid pose”, roll onto your side stacking your hips and planting both hands in front of you for support, while you find balance in your fluke. You want the fluke to stand tall for the camera to create that iconic mermaid silhouette.
*NOTE*
This is where the environment begins to affect your next look- you can choose start here with #6 and be sandy for photos 8, 9, 10 or skip ahead to those poses first!
Detailed Guide for Modeling “On the Side”

6. Laid Back
“Laid Back” is the easiest Mermaid pose on land and is a total thumb-stopper in the feed. Literally just lay back! *This pose may get your back, tail & hair sandy or otherwise affected.*
Detailed Guide for Modeling “Laid Back”

7. Lay back, Flukes Up
From the “laid back” pose, get into an “L” position by bringing your legs straight up in the air.
Depending on the weight of your fluke, you may be able to easily lift your legs into this position, or you may need an assistant to help lift. You can let your fluke flop forward down toward your face or balance / whip it up straight so it stands tall.
Detailed Guide for Modeling Lay back, Flukes Up

8. Kneeling Mermaid
From “On-the-Side” pose, roll forward onto your knees & shins letting your fluke lay flat on the floor. Shift your weight back into your hips and use your hands to push up off the ground into a sitting position. Try sitting all the way back on your fluke or off to the side of it. *this pose will get you sandy shins & down!
Detailed Guide for Modeling Kneeling Mermaid

9. Perched Mermaid
From “Kneeling mermaid”, walk your hands forward until you are laying down on your stomach. You can push up on your hands while arching your back similar to the yoga position “cobra pose.” *This pose will get your front (tail & stomach) sandy!
Detailed Guide for Modeling “Perched Mermaid”

10. Flukes Up
This pose is pretty simple for light fabric tails, but definitely requires practice for heavy silicone tails. Lay on your stomach and slowly raise up your fluke, engaging your core and lifting with your calves. One of my all time favorite poses!! If you are using a fabric tail, I’d recommend doing this pose before getting your tail wet so that it stands up better (if it is a tail that carries water).

Leave a Comment