
Mr. Hankey Christmas Cookie Recipe!

Howdy Ho, boys and girls! If you’re looking for a way to inject a little life into your shitty little Christmas season, we have you covered! These delicious little pieces of poo are actually a chocolate & cinnamon flavored, biscotti style cookie that pair fantastically well with Mexican style hot chocolate or a dark roast coffee. Before we keep rambling on and turn into one of those long winded food bloggers we all loathe, here’s the low-down:
Yields: About 14 Mr. Hankeys
Baking Time: 25 - 30 minutes

Ingredients For Cookie Dough
1 package of plain German chocolate cake mix
8 tablespoons (1 stick) melted butter
2 large eggs
1 cup all purpose flour
½ teaspoon ground cinnamon
1. Pretty standard fare, but you’re gonna want to preheat the oven to a balmy 350ºF while you go and mix up the dough. You’ll also want to line a cookie sheet with a piece of parchment paper so it’s ready to go.

2. Place the cake mix, eggs, cinnamon, flour and melted butter (that’s cooled off slightly as to not scramble the eggs) into a large mixing bowl. While you can mix the dough by hand, we recommend using an electric stand mixer if you have one available. Put the mixer on a low speed for 3 to 4 minutes until one cohesive dough ball has formed. Wrap the dough ball in plastic wrap and let it chill in the fridge for about 30 minutes or so - the dough will firm up a bit and make it slightly easier to work with.

3. Once your dough has had a chance to firm up a bit, you’ll want to flour your work surface so the dough doesn’t stick, and do the same to the top of the dough ball itself so the rolling pin doesn’t stick to it. Roll out your dough ball until it has reached approx. ¼ of an inch thickness. Grab your “laminated” Mr. Hankey outline, place it on the dough, and get to cutting out your little friends with a paring knife.

4. Place all your poo on your cookie sheet about ½ an inch apart from each other, then bake between 25-30 minutes. Ovens vary, so the cookies could go a bit longer, but what you’re looking for in the end is a slightly risen, crispy cookie.
Decorating The Cookies

Now, there are many ways you could go about decorating these cookies depending on how much time you’re willing to sink into this process. If you follow along with how I did it (a relatively inexperienced baker, mind you) it’s gonna eat up the better part of your Saturday afternoon. Working alone, the cookie making process took me about 5 hours and some change, and the decorating took most of that time. That being said, I was going for accuracy and repeatability, mostly for some nice photos for this article with the hopes of impressing Matt & Trey if for whatever reason they found themselves reading this (hi boys). If you’re just making these as a fun little holiday project to pass the time, I think you could totally get away with some of the pre-made bags of colored cookie icing with the decorating tips they sell at Walmart for like, $3.

Before we get into it, this first photo is a template I made up that you’re going to need to download & print out to make these cookies. Cut out all the shapes and “laminate” the pieces with some packing tape so the moisture from the dough & fondant doesn’t ruin the templates.

Once all your pieces are cut out, it’s fondant time. I know that you CAN make your own, but I found out that Walmart actually has some pre-made in the cake decorating section. It’s probably not as good as the homemade stuff, but it’ll certainly cut down on the prep time and it doesn’t taste terrible either, so win win!
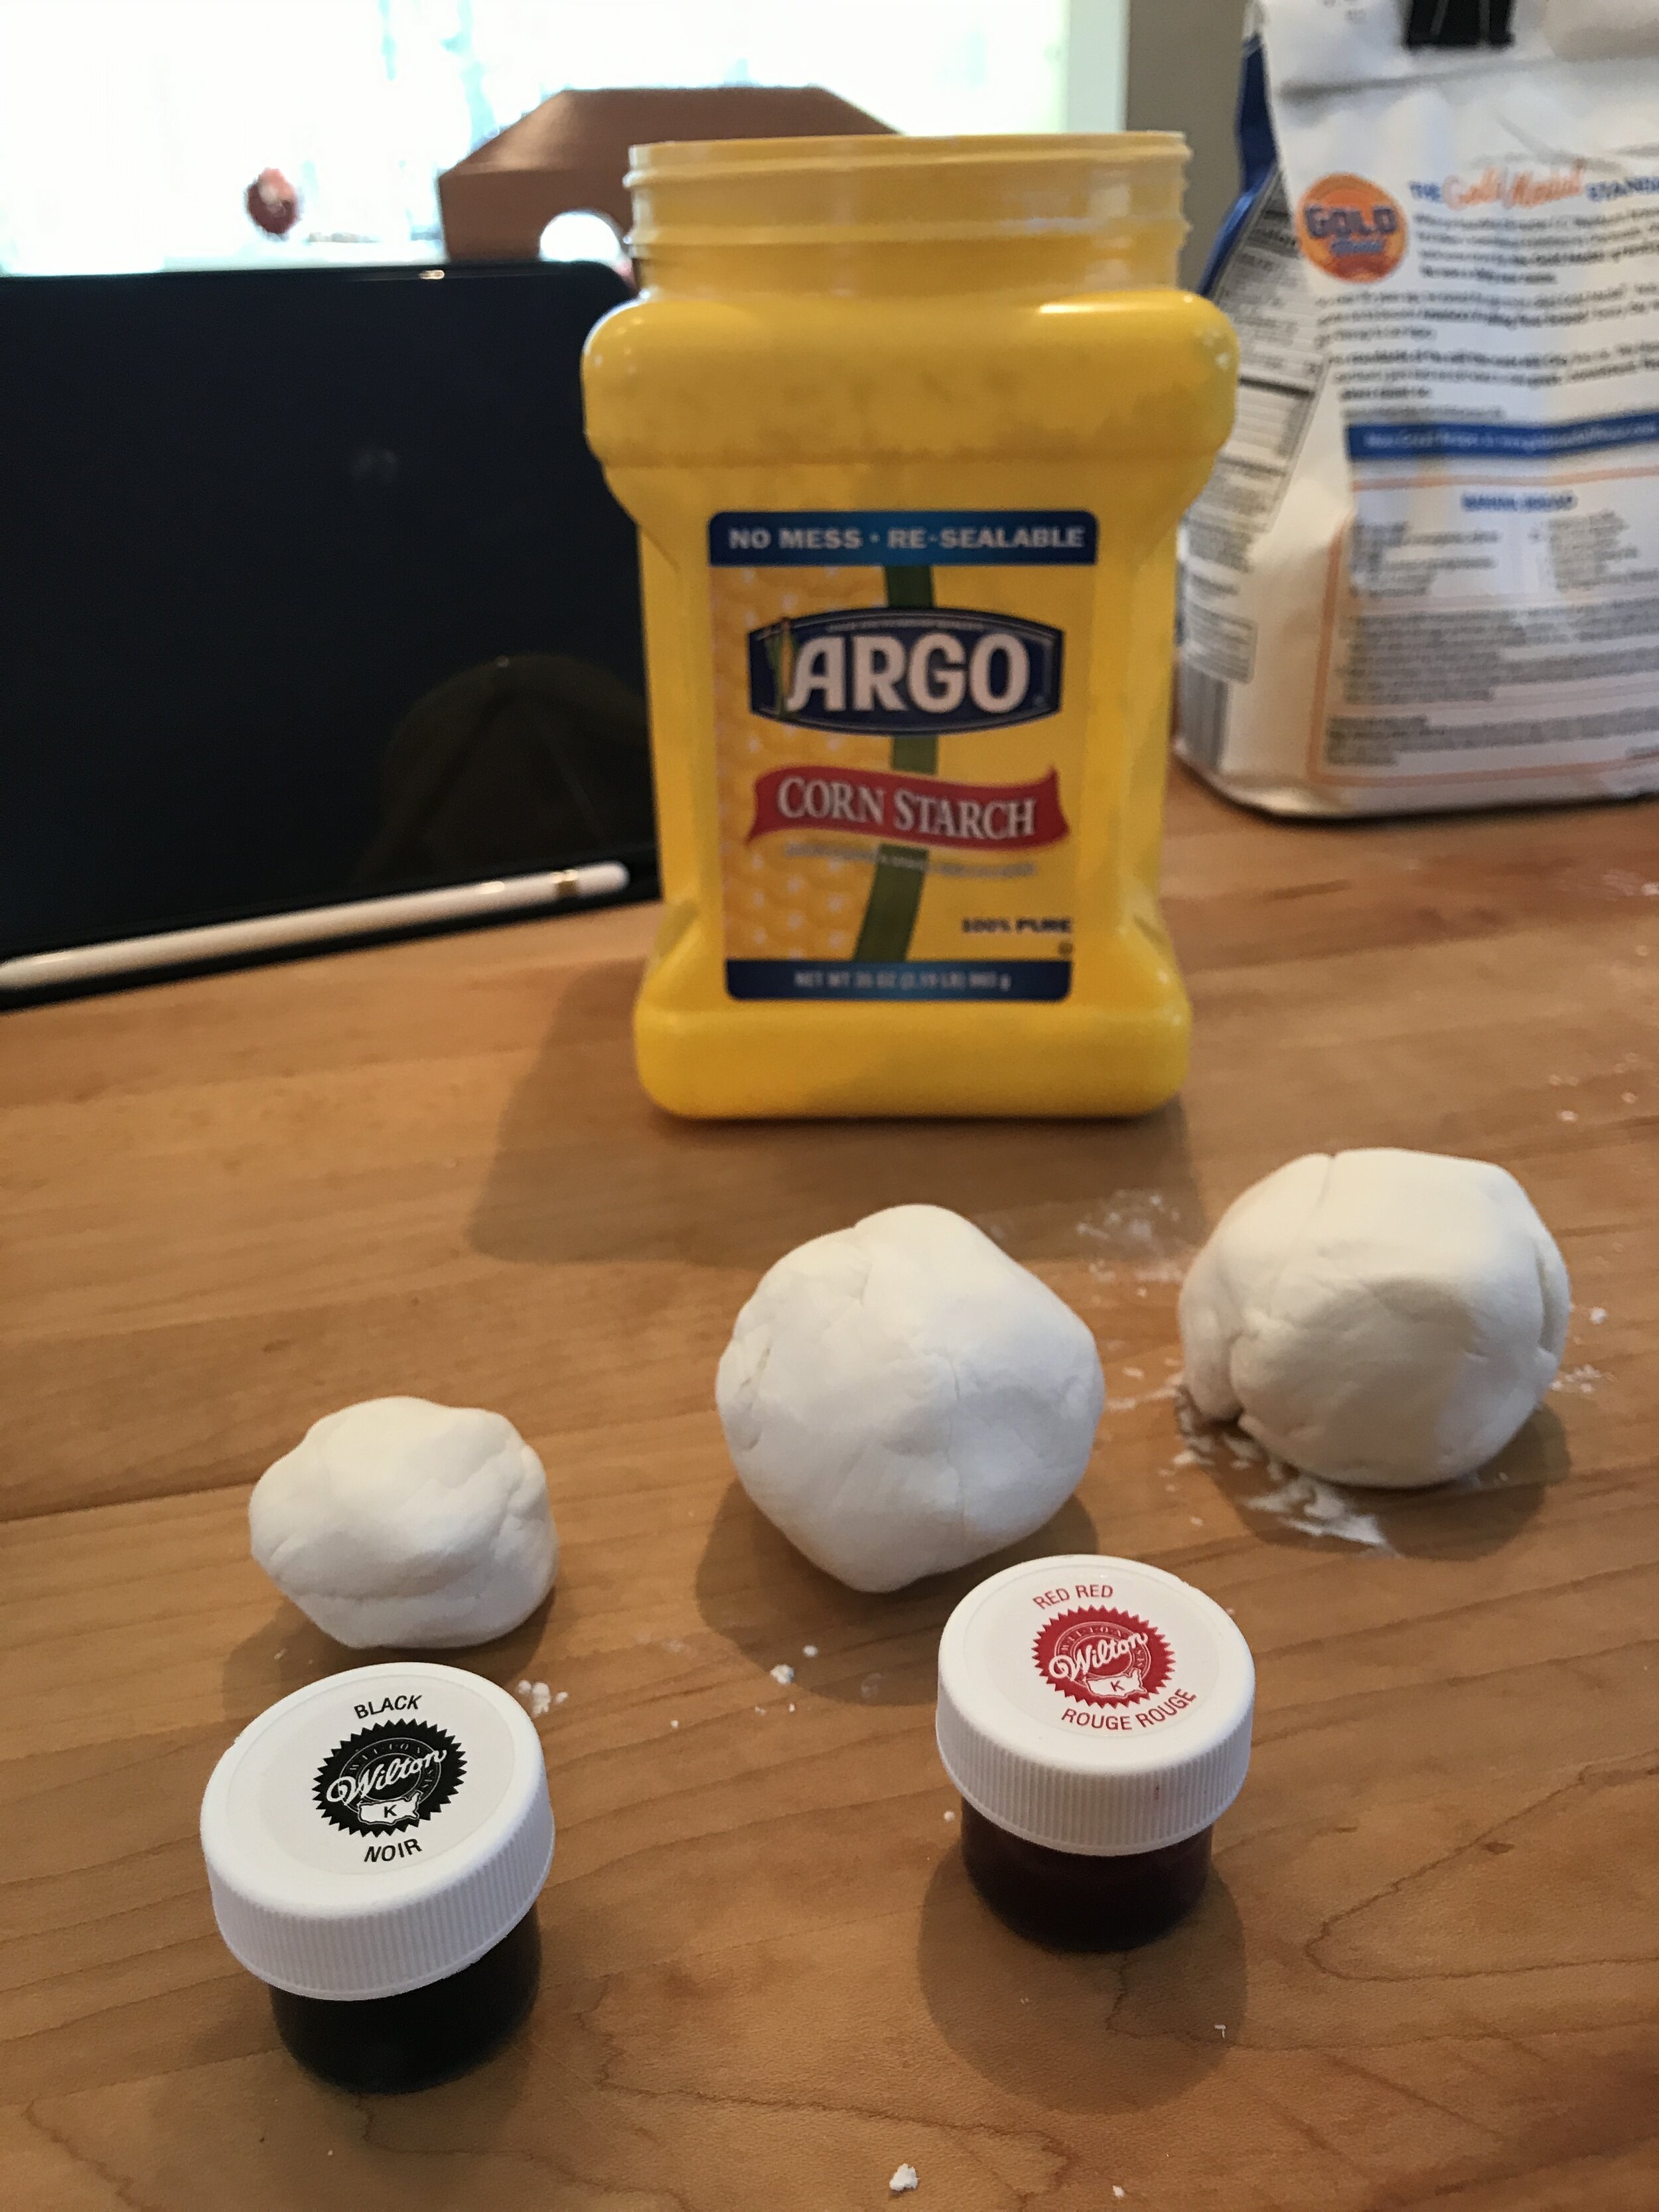
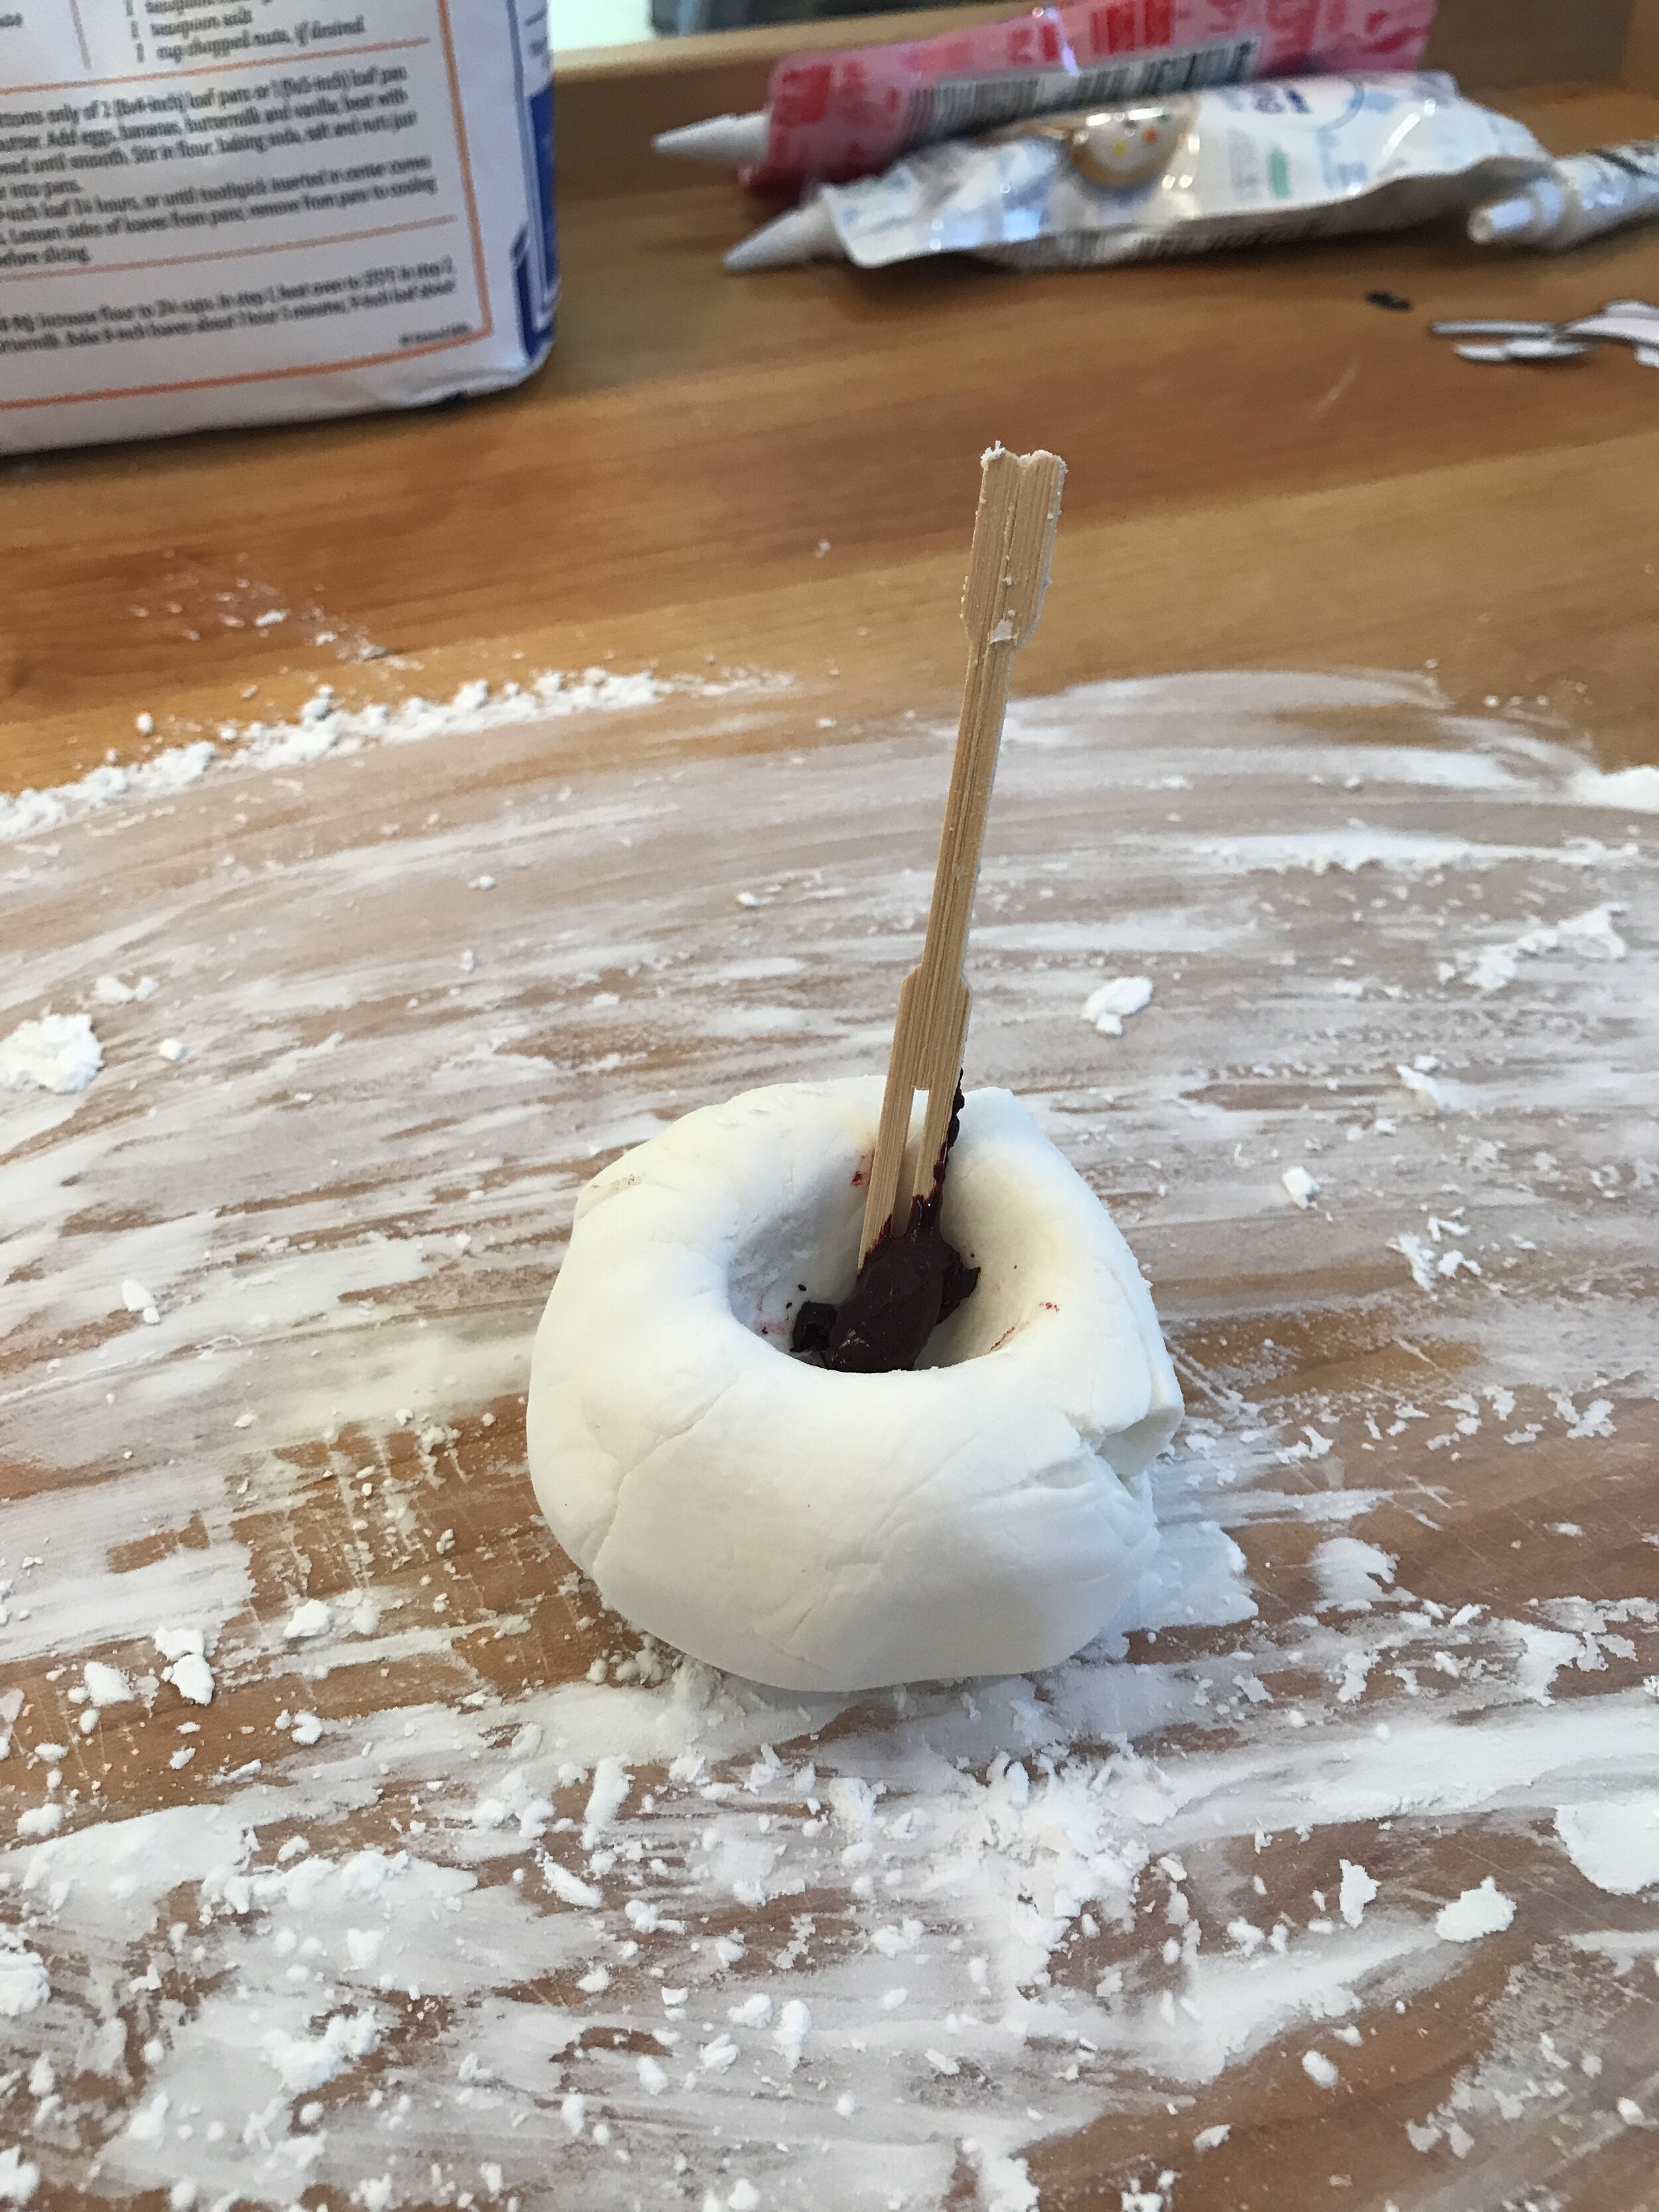
You’re going to want to divide the fondant into three pieces, then grab some *gel* food coloring, as it won’t run all over the place nor add any unnecessary liquid into the mix. Make a well with your thumb into two of the balls, and add black to one and red to the other. You’re gonna want to knead the fondant like it’s a bread dough to incorporate the color evenly throughout. This isn’t rocket science, if the color isn’t deep enough, simply keep adding food coloring until you reach your desired hues!
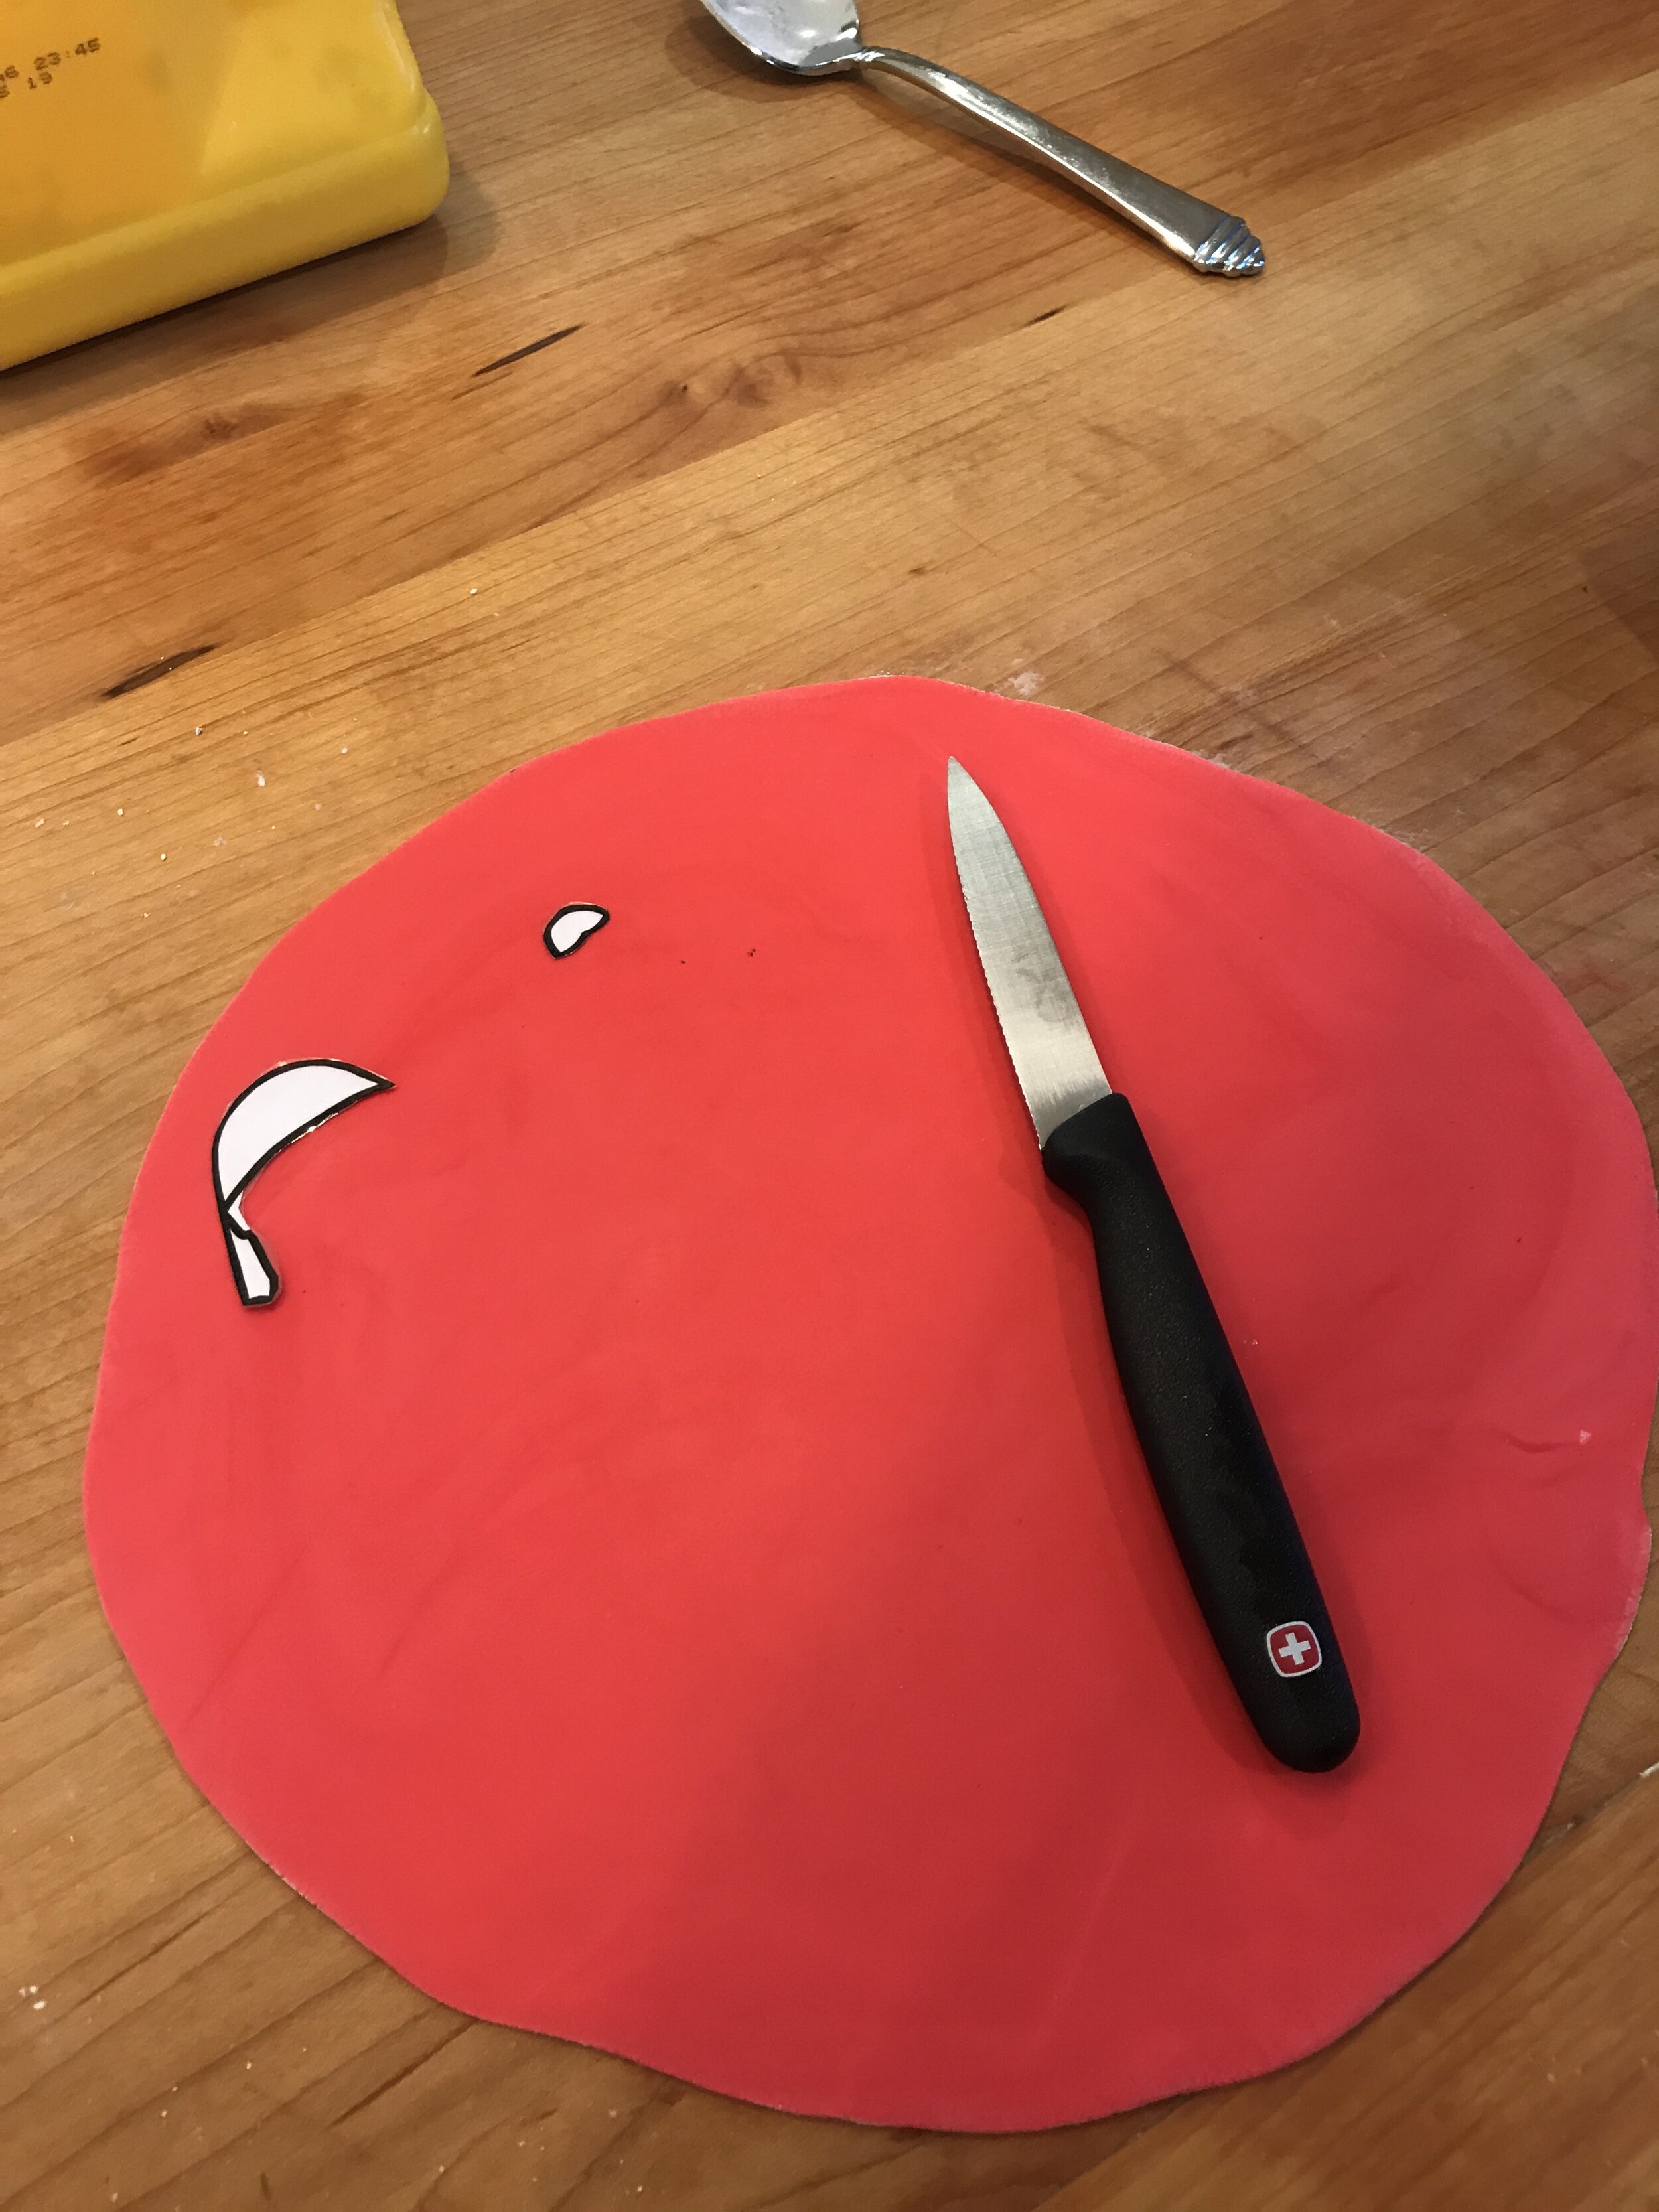
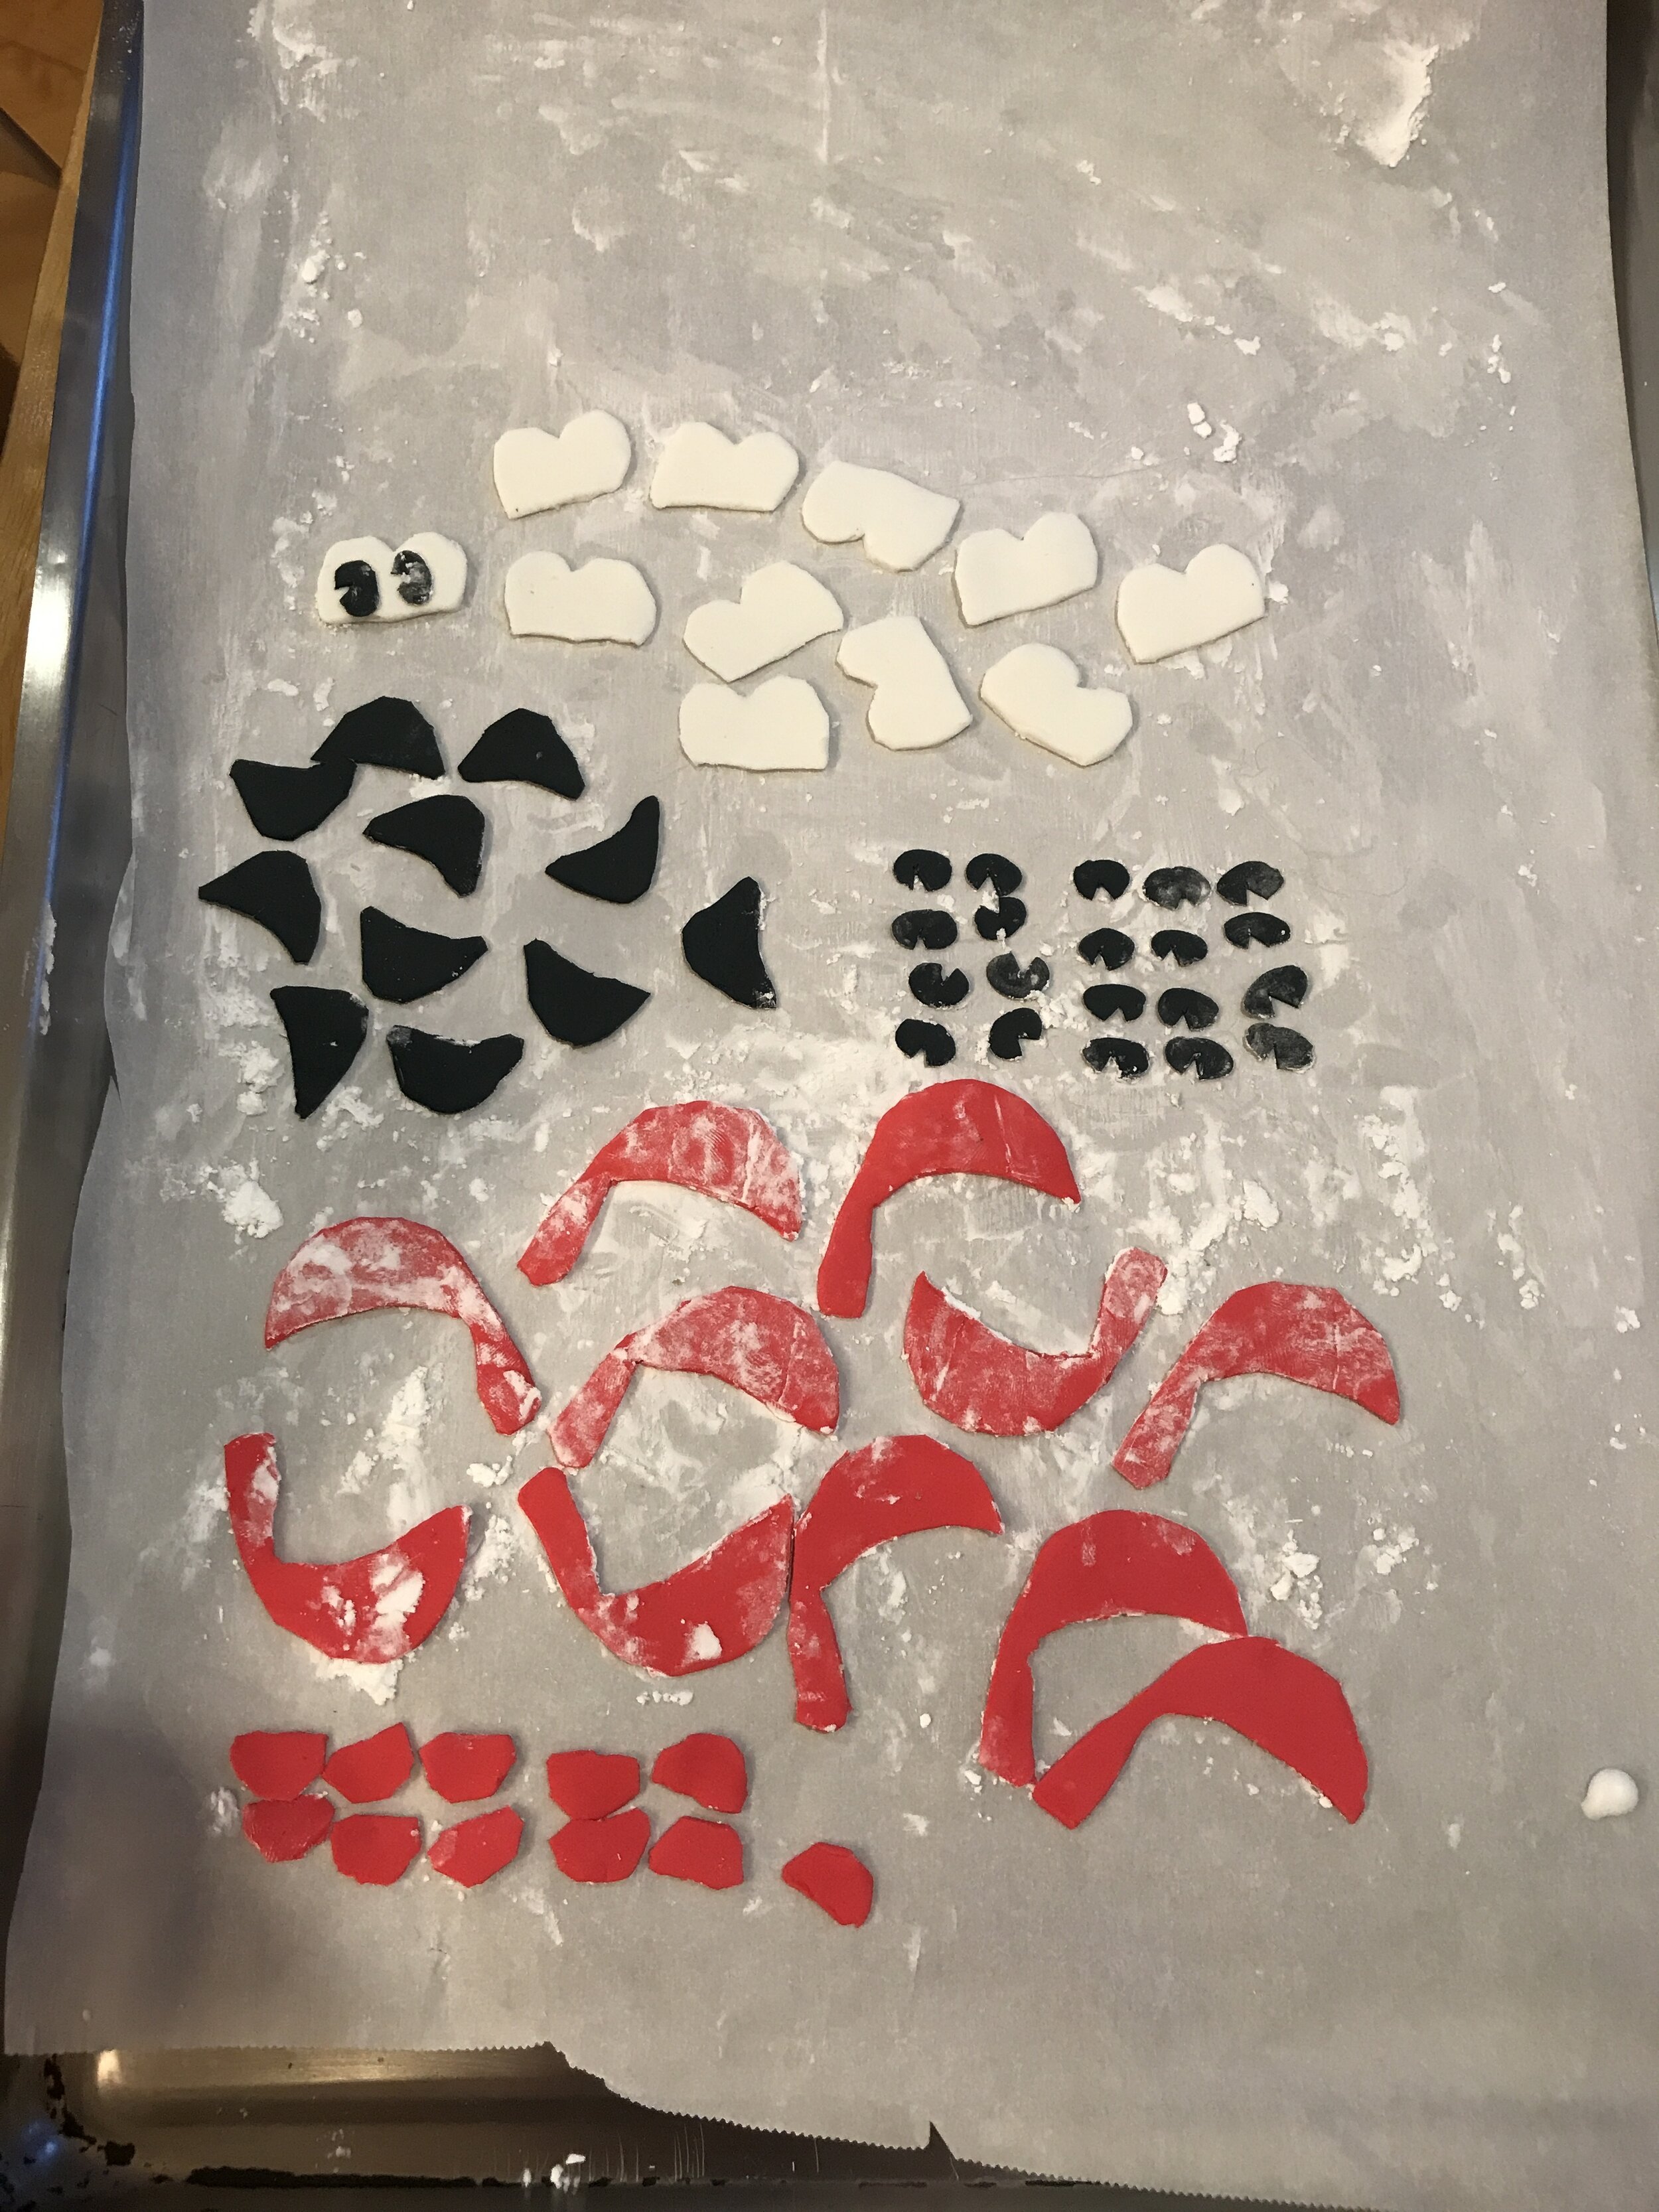
Once all your fondant has been dyed, it’s time to roll the fondant out as thin as you can get it, and get to cutting out your shapes. I found that dusting the work surface and rolling pin with corn flour really helped eliminate any sticking issues I might have run into, similar to how we floured our cookie dough.

Assembly time! This is probably the most fun and rewarding part of this project by far. You’re so close to the finish line, and you get to see Mr. Hankey come to life layer by layer! It’s pretty simple too - just grab an old paintbrush and some water, wet the back of the fondant and lay it on the cookie, believe it or not that’s all you need for it to stick to the cookie.

That’s pretty much all there is to it folks! If you feel like getting ambitious, for extra laughs you can add a peanut or two, which you’d adhere to the cookie with some of that aforementioned cookie icing that you may or may not have purchased (or made). At this point, take a million photos for Instagram to make your friends jealous, and then sit down with one or two of these bad boys and snack away while you watch your favorite South Park Christmas specials!
Thanks for reading, and have a great holiday season!