Datel should have made a Shark Vet accessory
Cheat devices have been a staple in video games, no question about it. By the time the N64 was released, most people were quite familiar with the usefulness of accessories like Game Genie and Action Replay. Gameshark was yet another brand, but seemingly only started with the Saturn, PS1 and N64. Datel's Gameshark and Gameshark Pro accessories for N64 would become quite popular and sold reasonably well. The regular Gameshark was intended for the average player, who simply wanted to apply cheats and codes to their favorite games. For what it did, the regular Gameshark was very handy and could do cool things with games. The Gameshark Pro however, was intended for people who wanted more direct control over the cheat codes, including the ability to design their own codes. The Gameshark Pro could be connected to a PC via a printer / parallel cable. This one feature would eventually make the Gameshark Pro capable of some truly impressive things... Including reviving dead Gamesharks.
N64 Gameshark cartridges were, honestly, rather low quality. As such, over the years, more and more are dying. They're quite plentiful though, so there's a decent supply to go around. Of course, there's only so many, so repairing Gamesharks will make the supply last longer. One of the most common areas of failure in the Gameshark is the Flash chip that contains the Gameshark system ROM. Even just adding codes or using a keycode to start up special games can cause the Gameshark ROM to corrupt and in turn, brick the entire device. Clearly a design flaw. Thankfully, there is a work around. The parallel port found on Gameshark Pro carts is what makes reflashing corrupted Gamesharks possible. Even Gamesharks without parallel ports can be reflashed.
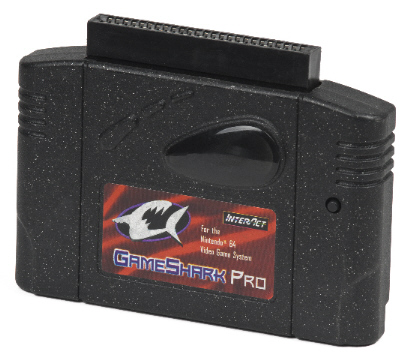
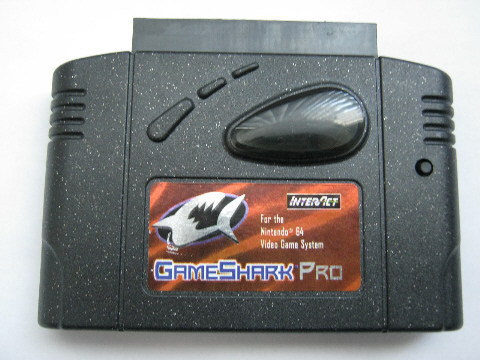
Before we delve into the repair steps for this method though, it must be pointed out that not all Gameshark Pro cartridges are the same. Earlier ones are sparkly and are marked "V3.2" on the back. Some have V3.3 as well. These Gamesharks have a fully working parallel port and are valuable to anyone who dabbles with N64 Gamesharks.
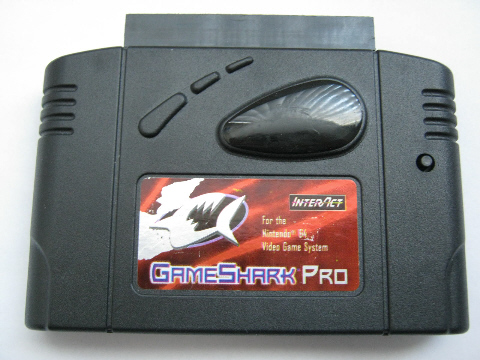
Late in the N64's lifespan, Datel had to cost reduce the Gameshark Pro and actually removed parts from the cartridge board that made the parallel port work properly. These cartridges are usually not sparkly and come with V3.3 of the Gameshark ROM installed. These cartridges can have their functionality restored, but not many people can solder, so best to stick with the sparkly Gamesharks.
Now, with that out of the way, you'll need a few things:
- Gameshark Pro with working parallel port
- Male to female printer / parallel cable
- IBM compatible Pentium-class PC, with a parallel port (parallel to whatever adapters don't work well)
- Windows 95, 98, ME or 2000 (Windows XP doesn't seem to work here)
- One or more corrupted Gamesharks
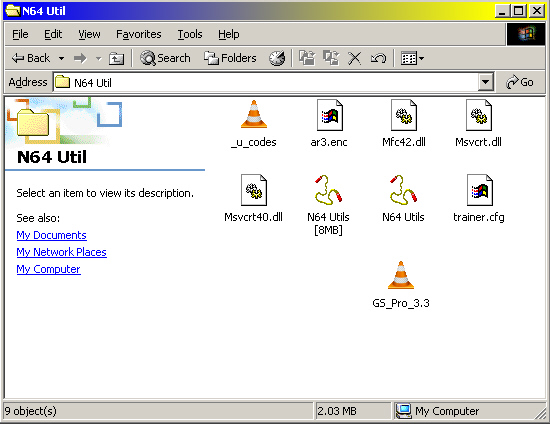
- N64 Version 3 Utilities program, downloadable here
The guide from here on will be referring to the N64 Utilities program. You'll probably have to use the 8MB bug fixed version.
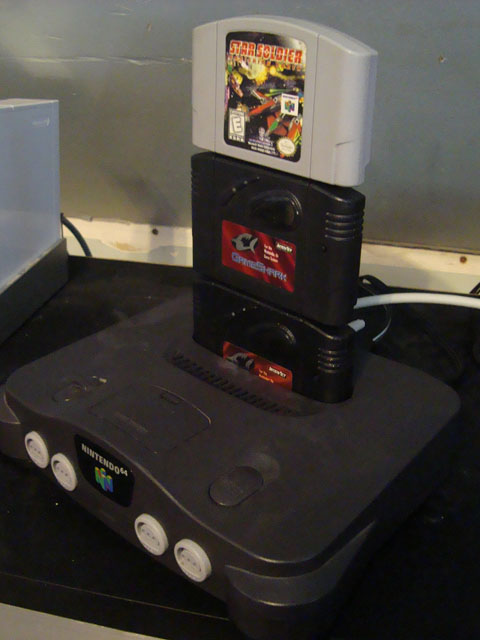
First step is to set up the N64 console. All you have to do is plug the working Gameshark Pro into the N64, then mount the non-working Gameshark into the top, then fit a game on top of the upper Gameshark. Yes, it's really tall, but there's no other way.
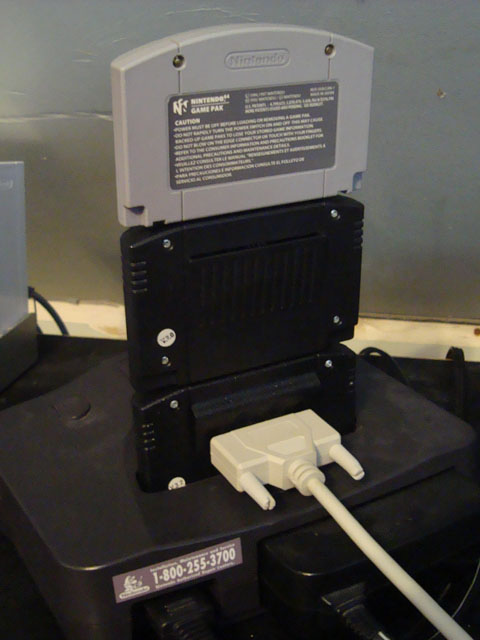
Next, you need to hook up the lower, working Gameshark to the PC using a parallel cable. The PC can be running while doing this, but don't turn the N64 on until the cable is attached.
All you have to do now is turn on the N64, wait until the Gameshark reaches the main menu, then move over to the PC. Don't navigate away from the main menu.
NOTE: If the upper, broken Gameshark never starts up, even with the working Gameshark, it might be dirty or damaged further than just corrupted flash RAM. Physically broken Gamesharks is a separate guide entirely. Also, Gamesharks have a tendency of crashing, even with clean connectors, so don't be surprised if you have to start over.
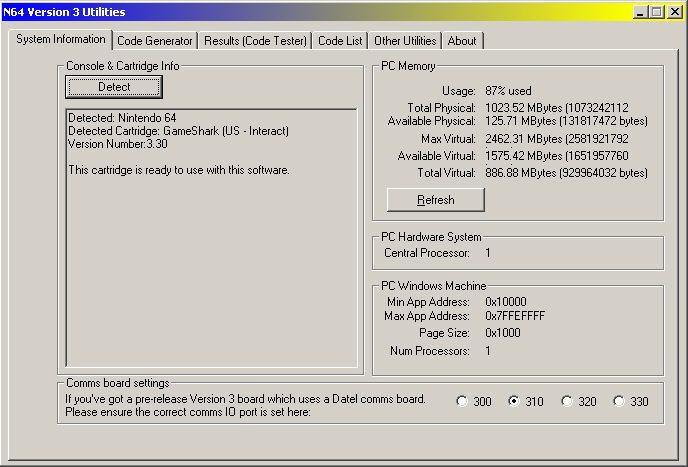
From here on, you only have to worry about the PC end of things. Start up N64 Version 3 Utilities, whichever version doesn't crash. First, click the detect button on the system information tab. If it finds a Gameshark and there's no error, then continue with the guide. If there's a problem, make sure the parallel port is plugged in firmly on both ends.
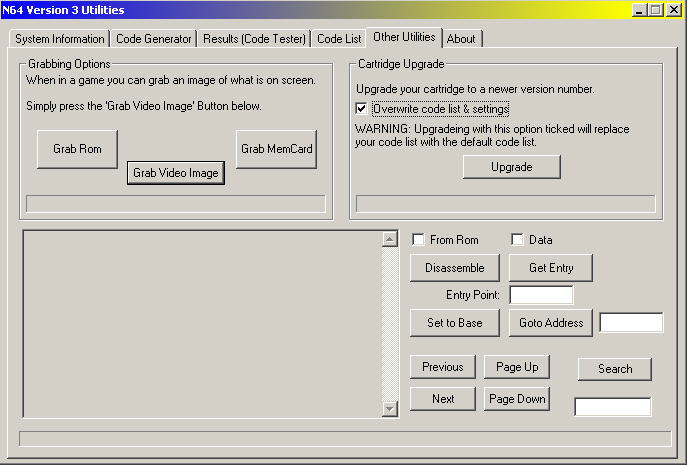
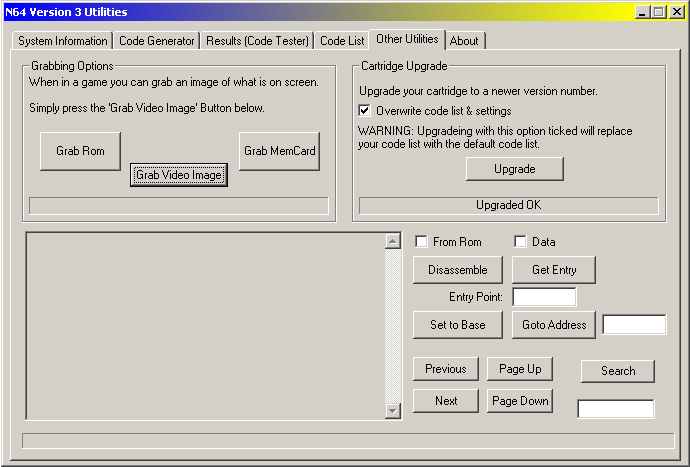
Next, go to the Other Utilities tab. Here you can upgrade the Gameshark cartridge to a newer number. I couldn't find a place in the program to use a specific ROM version, so it probably either uses it's built in ROM, or will use one in the folder the program resides in. It's hard to say, so try both. We included the V3.30 ROM in the N64 Utils folder anyway. So, just click the upgrade button and wait while the PC updates the Gamesharks. Overwriting the code list and settings helps ensure a clean reflashing, but your custom codes will be gone, so consider using the "Download Codes from Cartridge" dialog under the Code List tab before reflashing.
NOTE: All stacked Gamesharks will be reflashed at the same time with this method, including the bottom Gameshark.
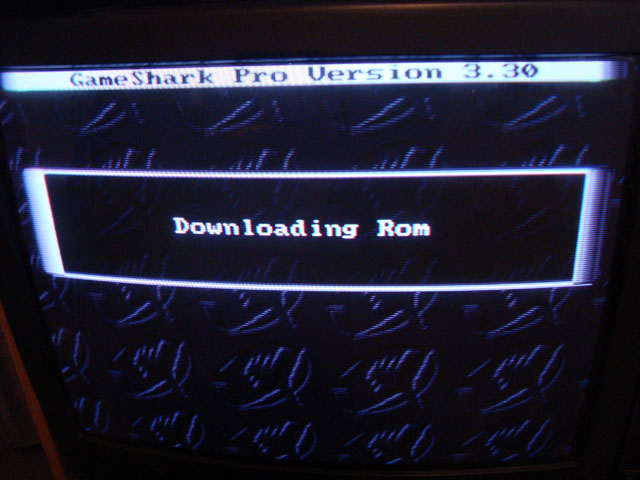
What makes this reflashing procedure interesting is when two or more Gamesharks are stacked one on top of each other, the upper Gamesharks will mirror the functions of the lower, master Gameshark. You can easily tell by the number display on the cartridges. The TV screen will display a dialog box saying the Gameshark is updating, but it doesn't animate or anything, so it can be difficult to tell if the Gamesharks have crashed or not, which they tend to do a lot. Watch the number display to see what the Gameshark is doing.
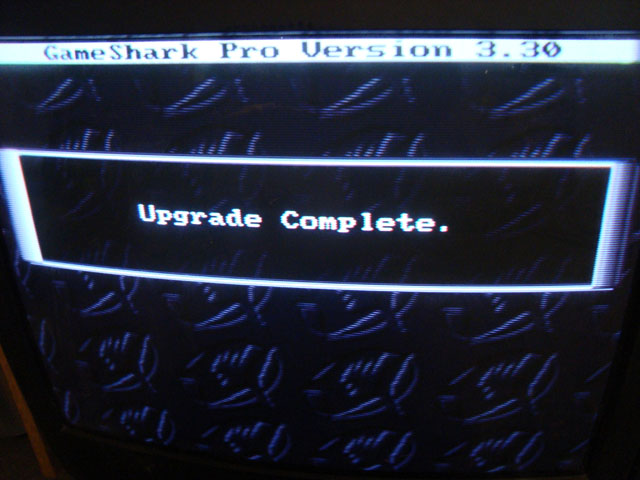
Reflashing the Gameshark ROM doesn't take much time. In fact, it probably finished long before you reached the end of the previous paragraph. Once the Gamesharks are done reflashing, turn off the N64 and try out the previously corrupted Gameshark on it's own. If it boots up, problem solved. If not, you might have to reflash it a second time, or clean the connectors more. They're finicky sometimes. One sparkly Gameshark Pro I fixed required multiple reflashings before it came back to life.
This concludes the fix for one of the Gameshark's most common issues. They can break in other ways though, so this might not be the only Gameshark repair guide on Micro-64 for long. Hopefully this guide will prevent more Gamesharks from ending up in the trash. They are incredibly useful, especially with a parallel port.
Written by Aaron Wilcott
February 24 2013
|